


_ANZ-Group-shot_v2.png?w=100&v=f3a4afac-70ac-4758-8474-ff17fe163b1c&itok=Z_Qi2FlQ)


.png?w=100&v=76611618-74f9-4150-85bd-f3f88e49eece&itok=5ehAJg_Q)


.png?w=100&v=5053a26b-c336-46d9-b44e-ab91738f07c9&itok=efvsqCNL)


.png?w=100&v=d5f9955a-145e-481e-8081-5ddf4d74c7cc&itok=hKuNtBOw)


.png?w=100&v=2695a42f-b099-4e31-bdbd-c1b445ff88c0&itok=Md9-7E8t)


%20(2).png?w=100&v=a9b7928b-cece-4e51-b913-62ae316129a9&itok=fEHREjki)
_ANZ-Group-shot.png?w=100&v=72a4a24c-7670-47f7-a68e-edeaafa41c8d&itok=k25pq8iJ)
_ANZ-Group-shots.png?w=100&v=4d5e1cd2-60a9-45da-bcfb-1b8500ccaea9&itok=v6A67Pxg)


Drill into timber, soft metal and hard materials including brick and concrete with the RYOBI 18V ONE+ Hammer Drill.


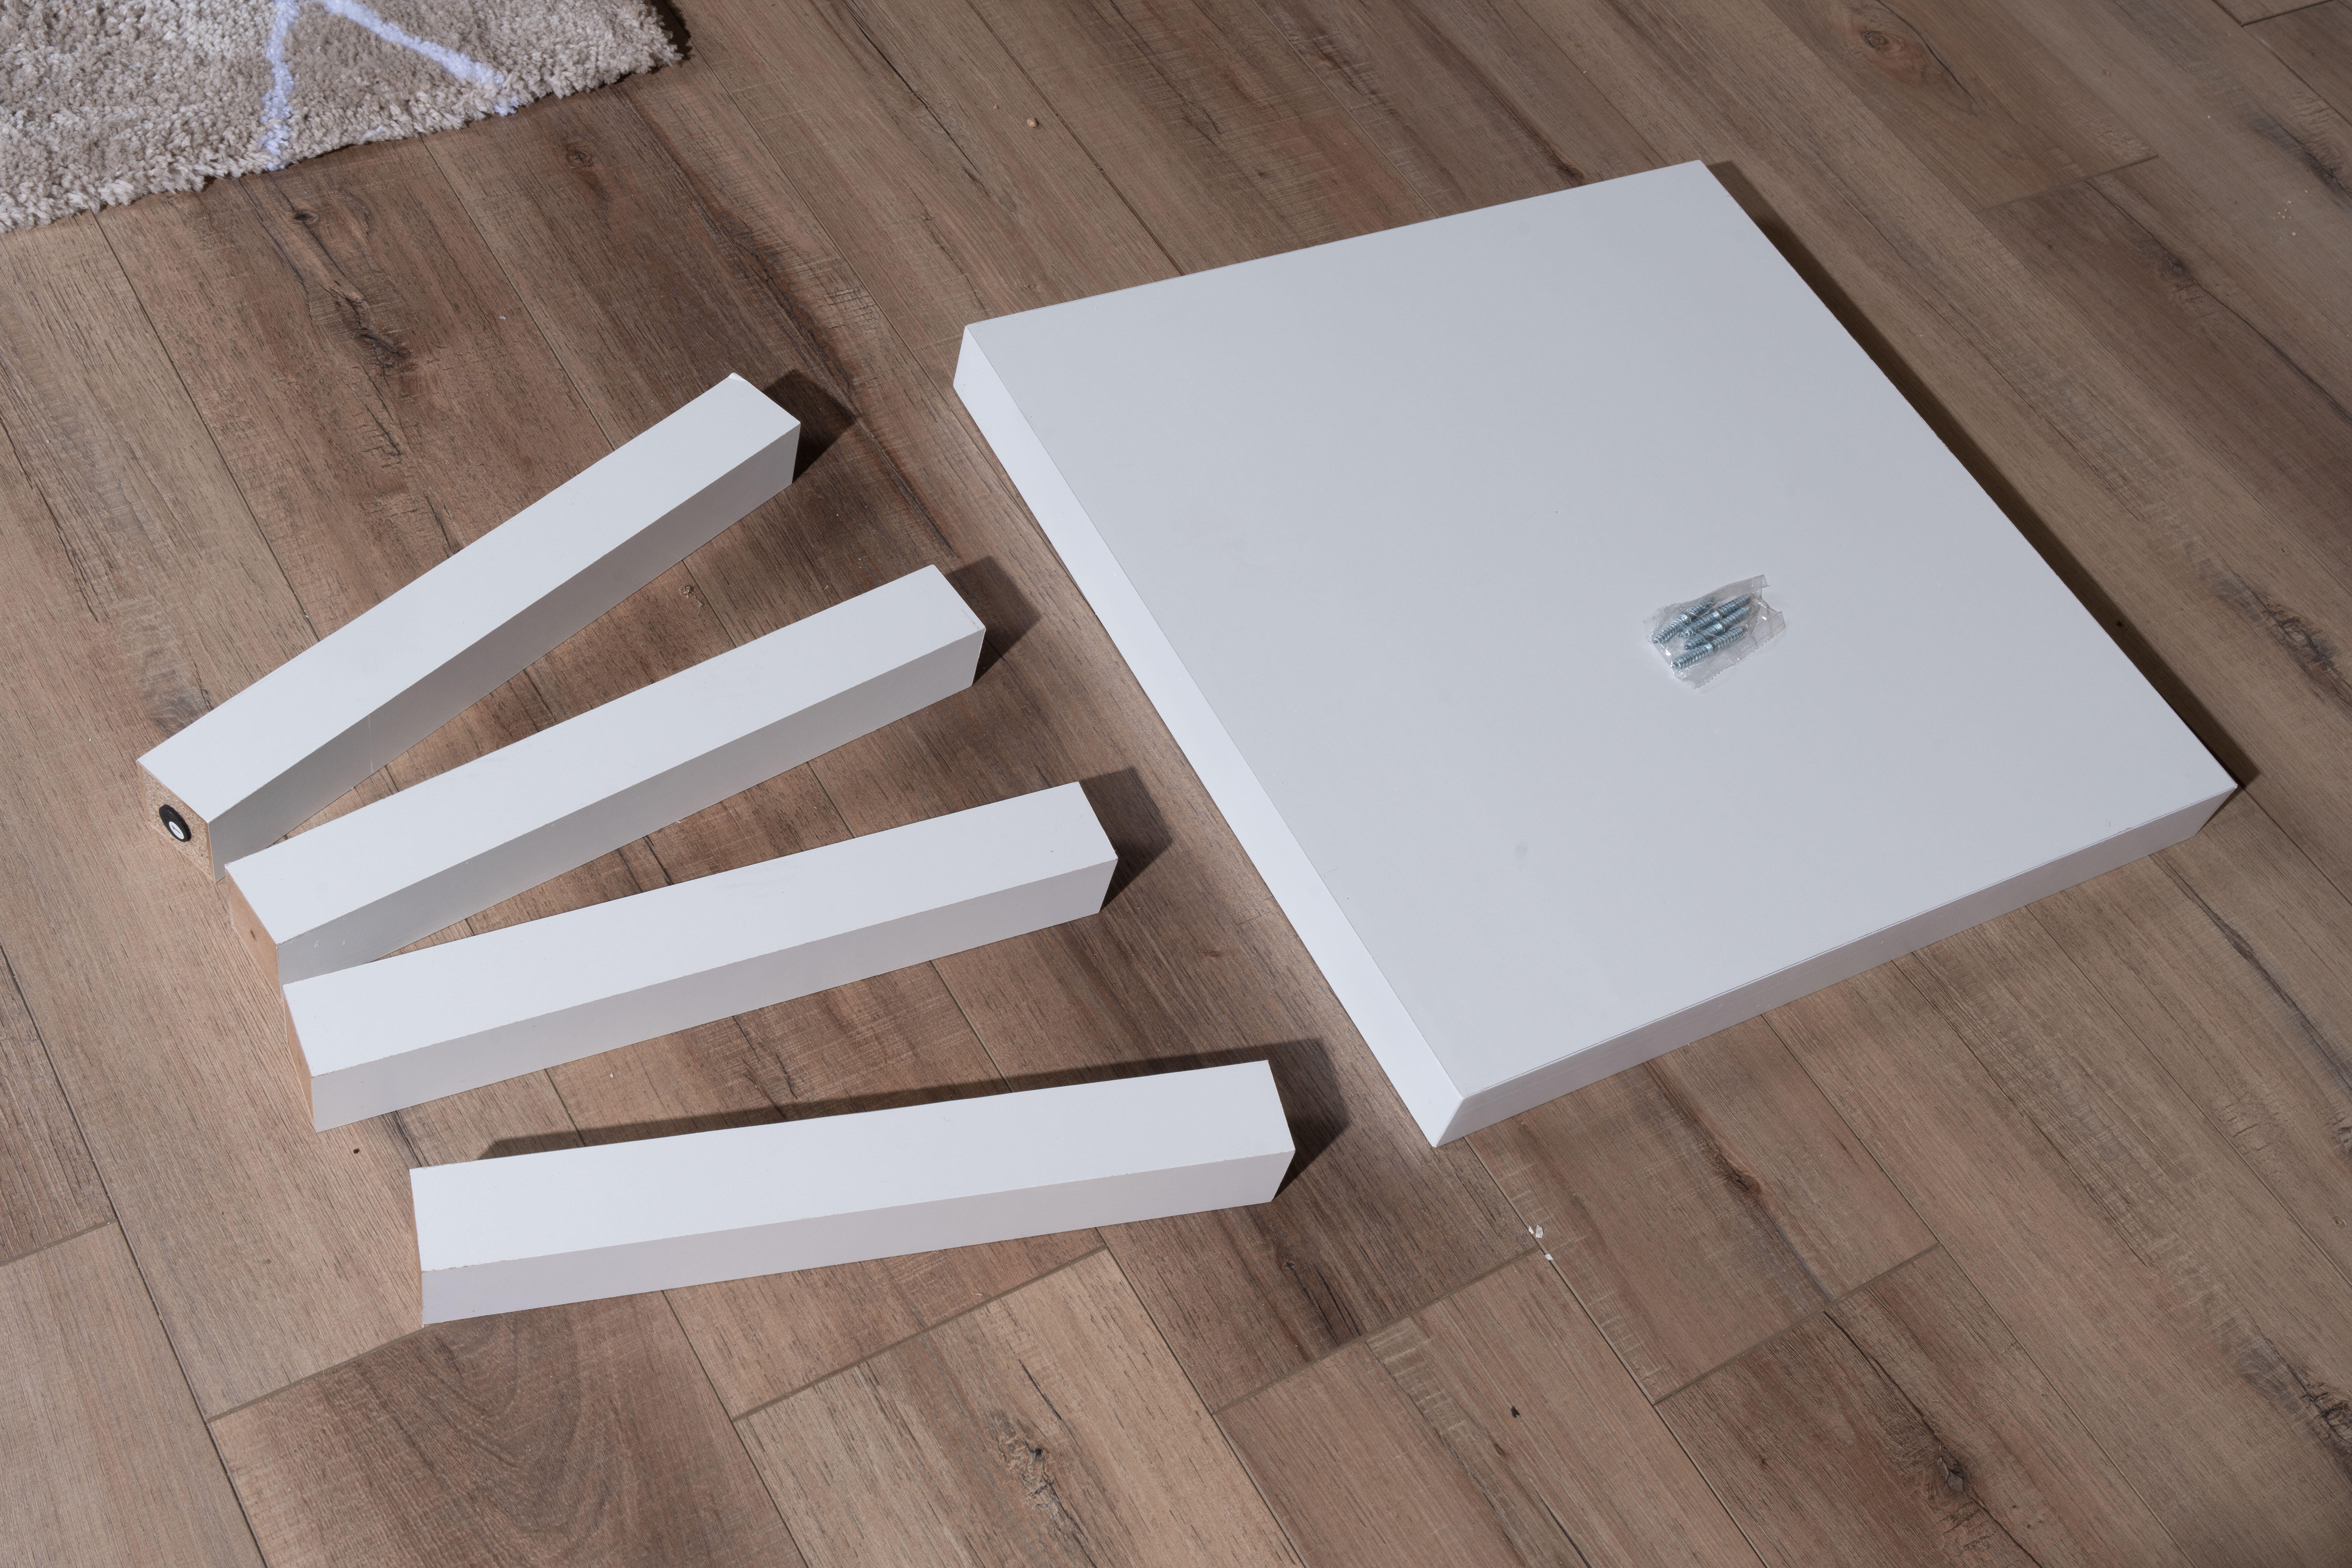
Want to impress your friends when you host your next get-together? Or want something novel for a teenager’s bedroom? Why not turn a boring corner in a room into something ‘flash’? Whatever your motivation, this DIY Infinity Coffee Table is easy to create.
Cut out the thin timber top of the hollow core table about 5cm in from the edges. This will be replaced with the glass top. Do this carefully with a box cutter and a straight edge (fig. 1). Remove the top timber panel and any ‘filler’. Gently sand any rough edges from the cut-out (fig. 2).
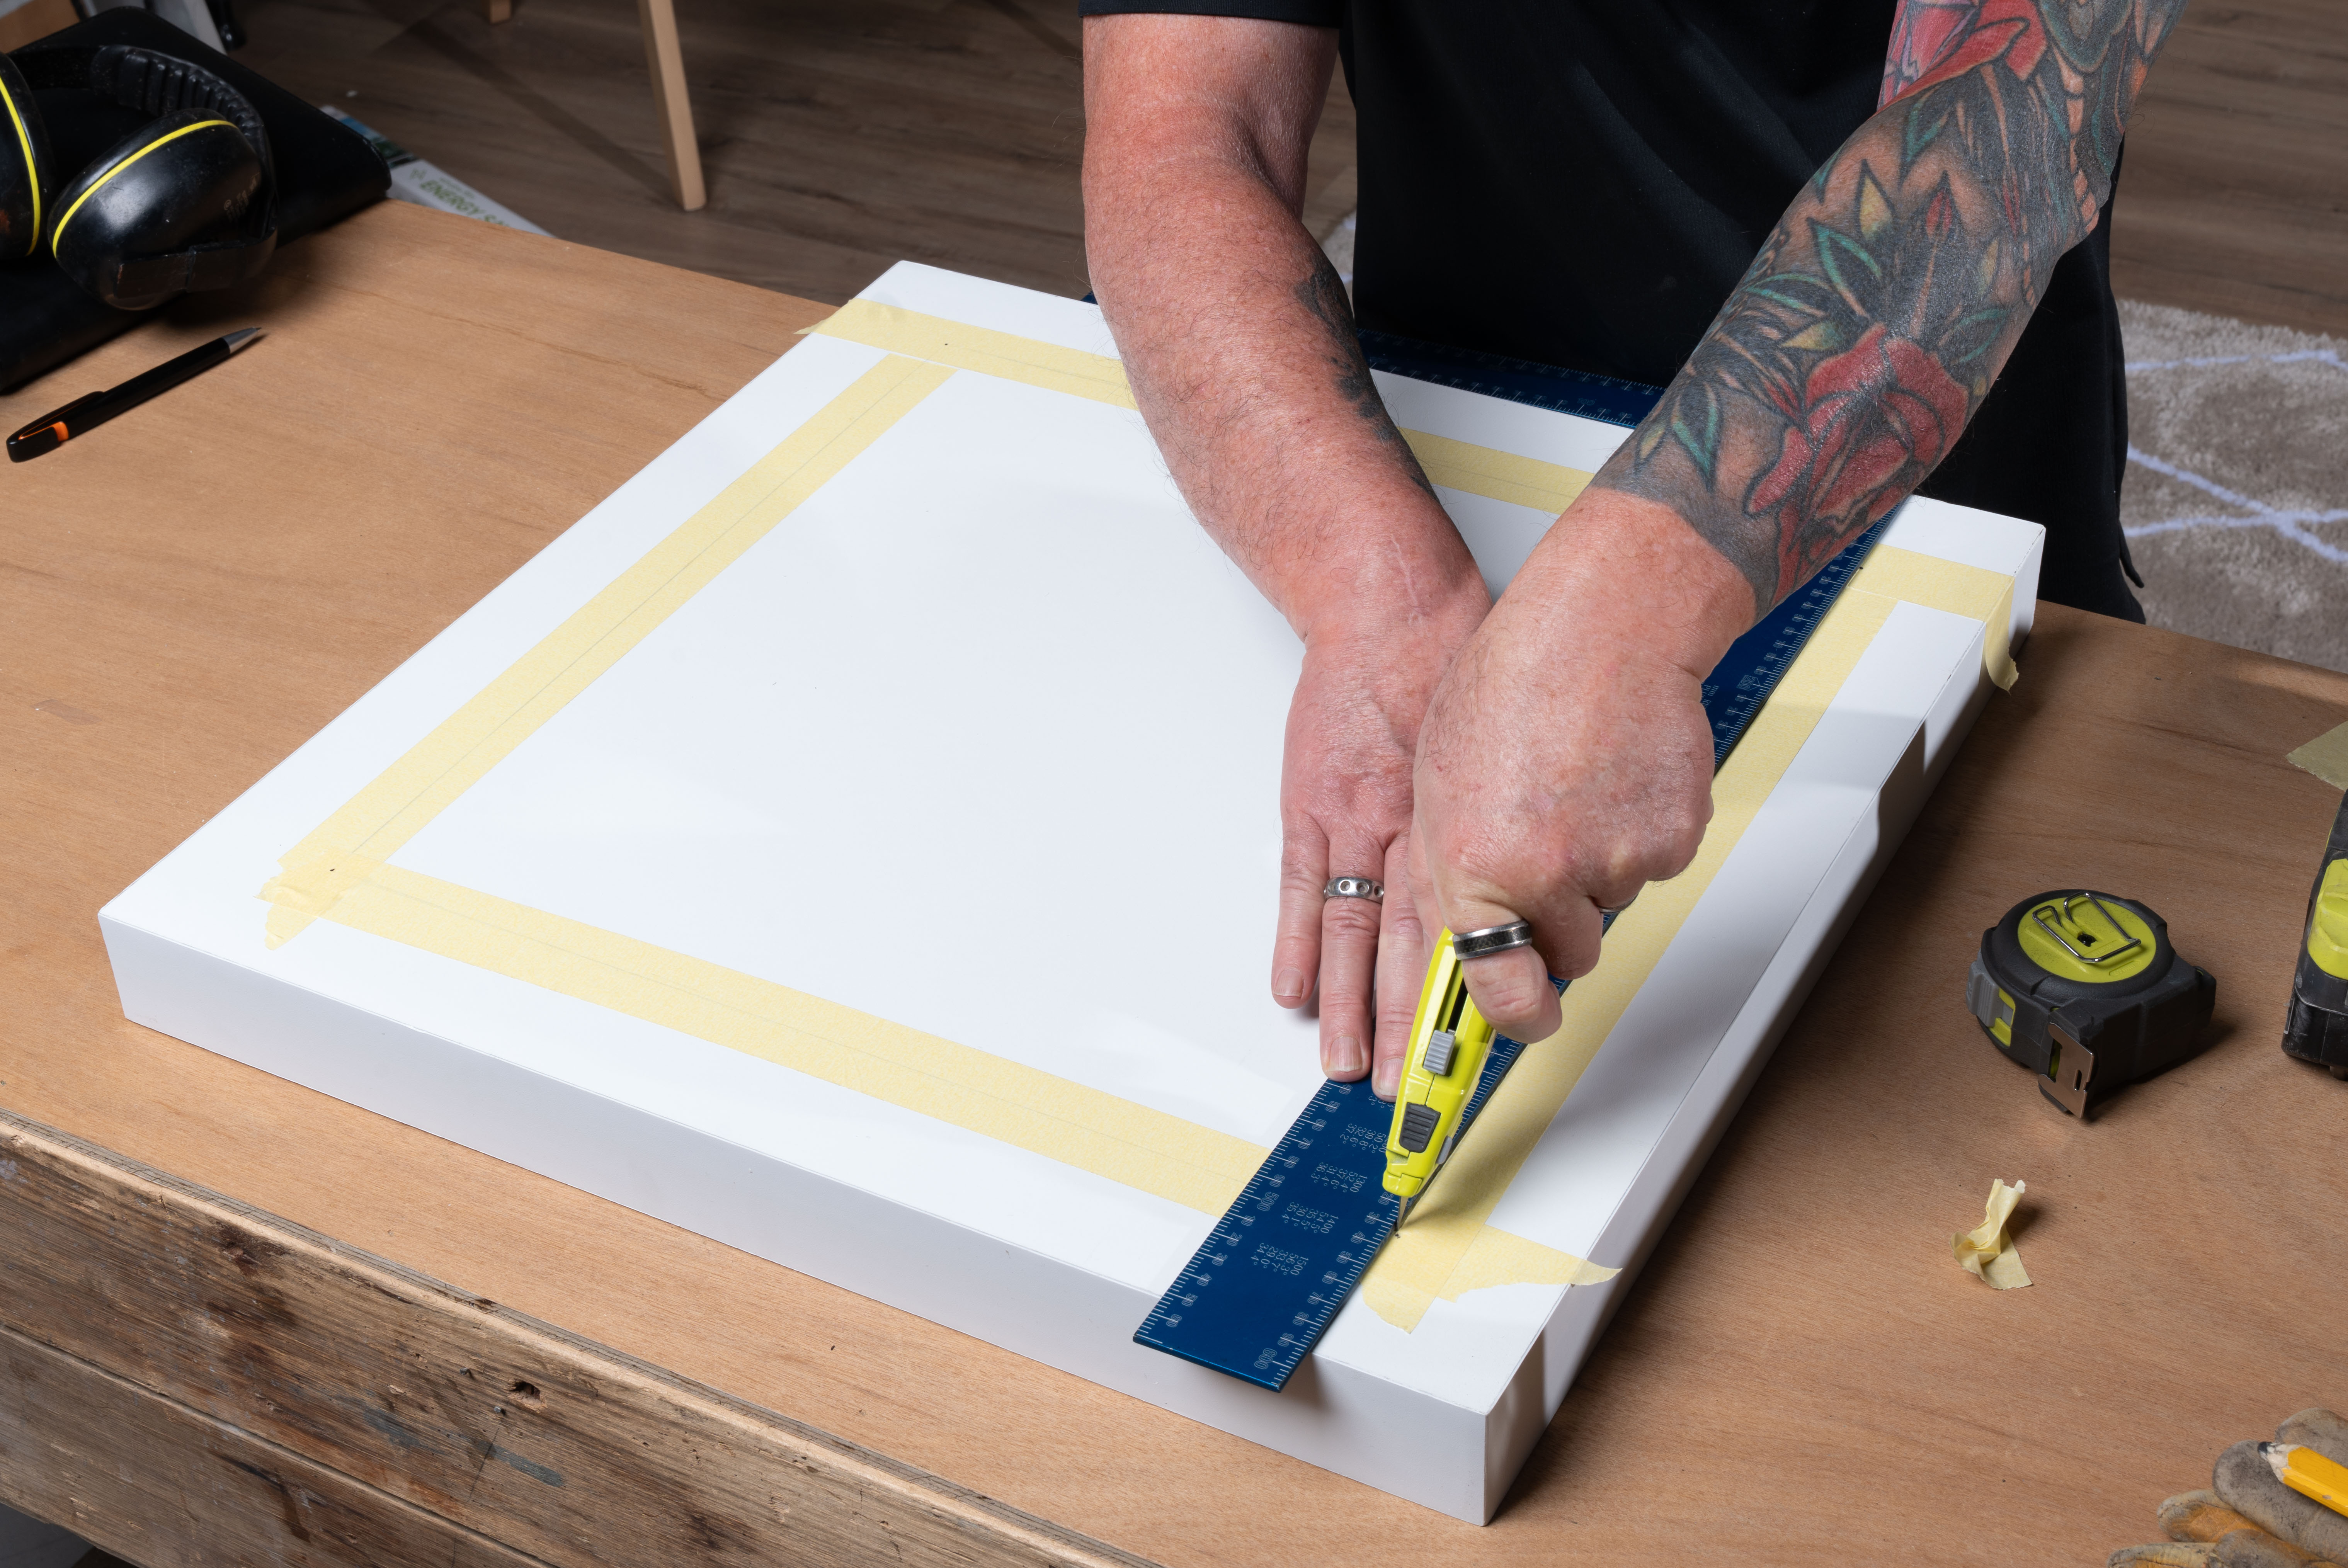
Fig. 1.1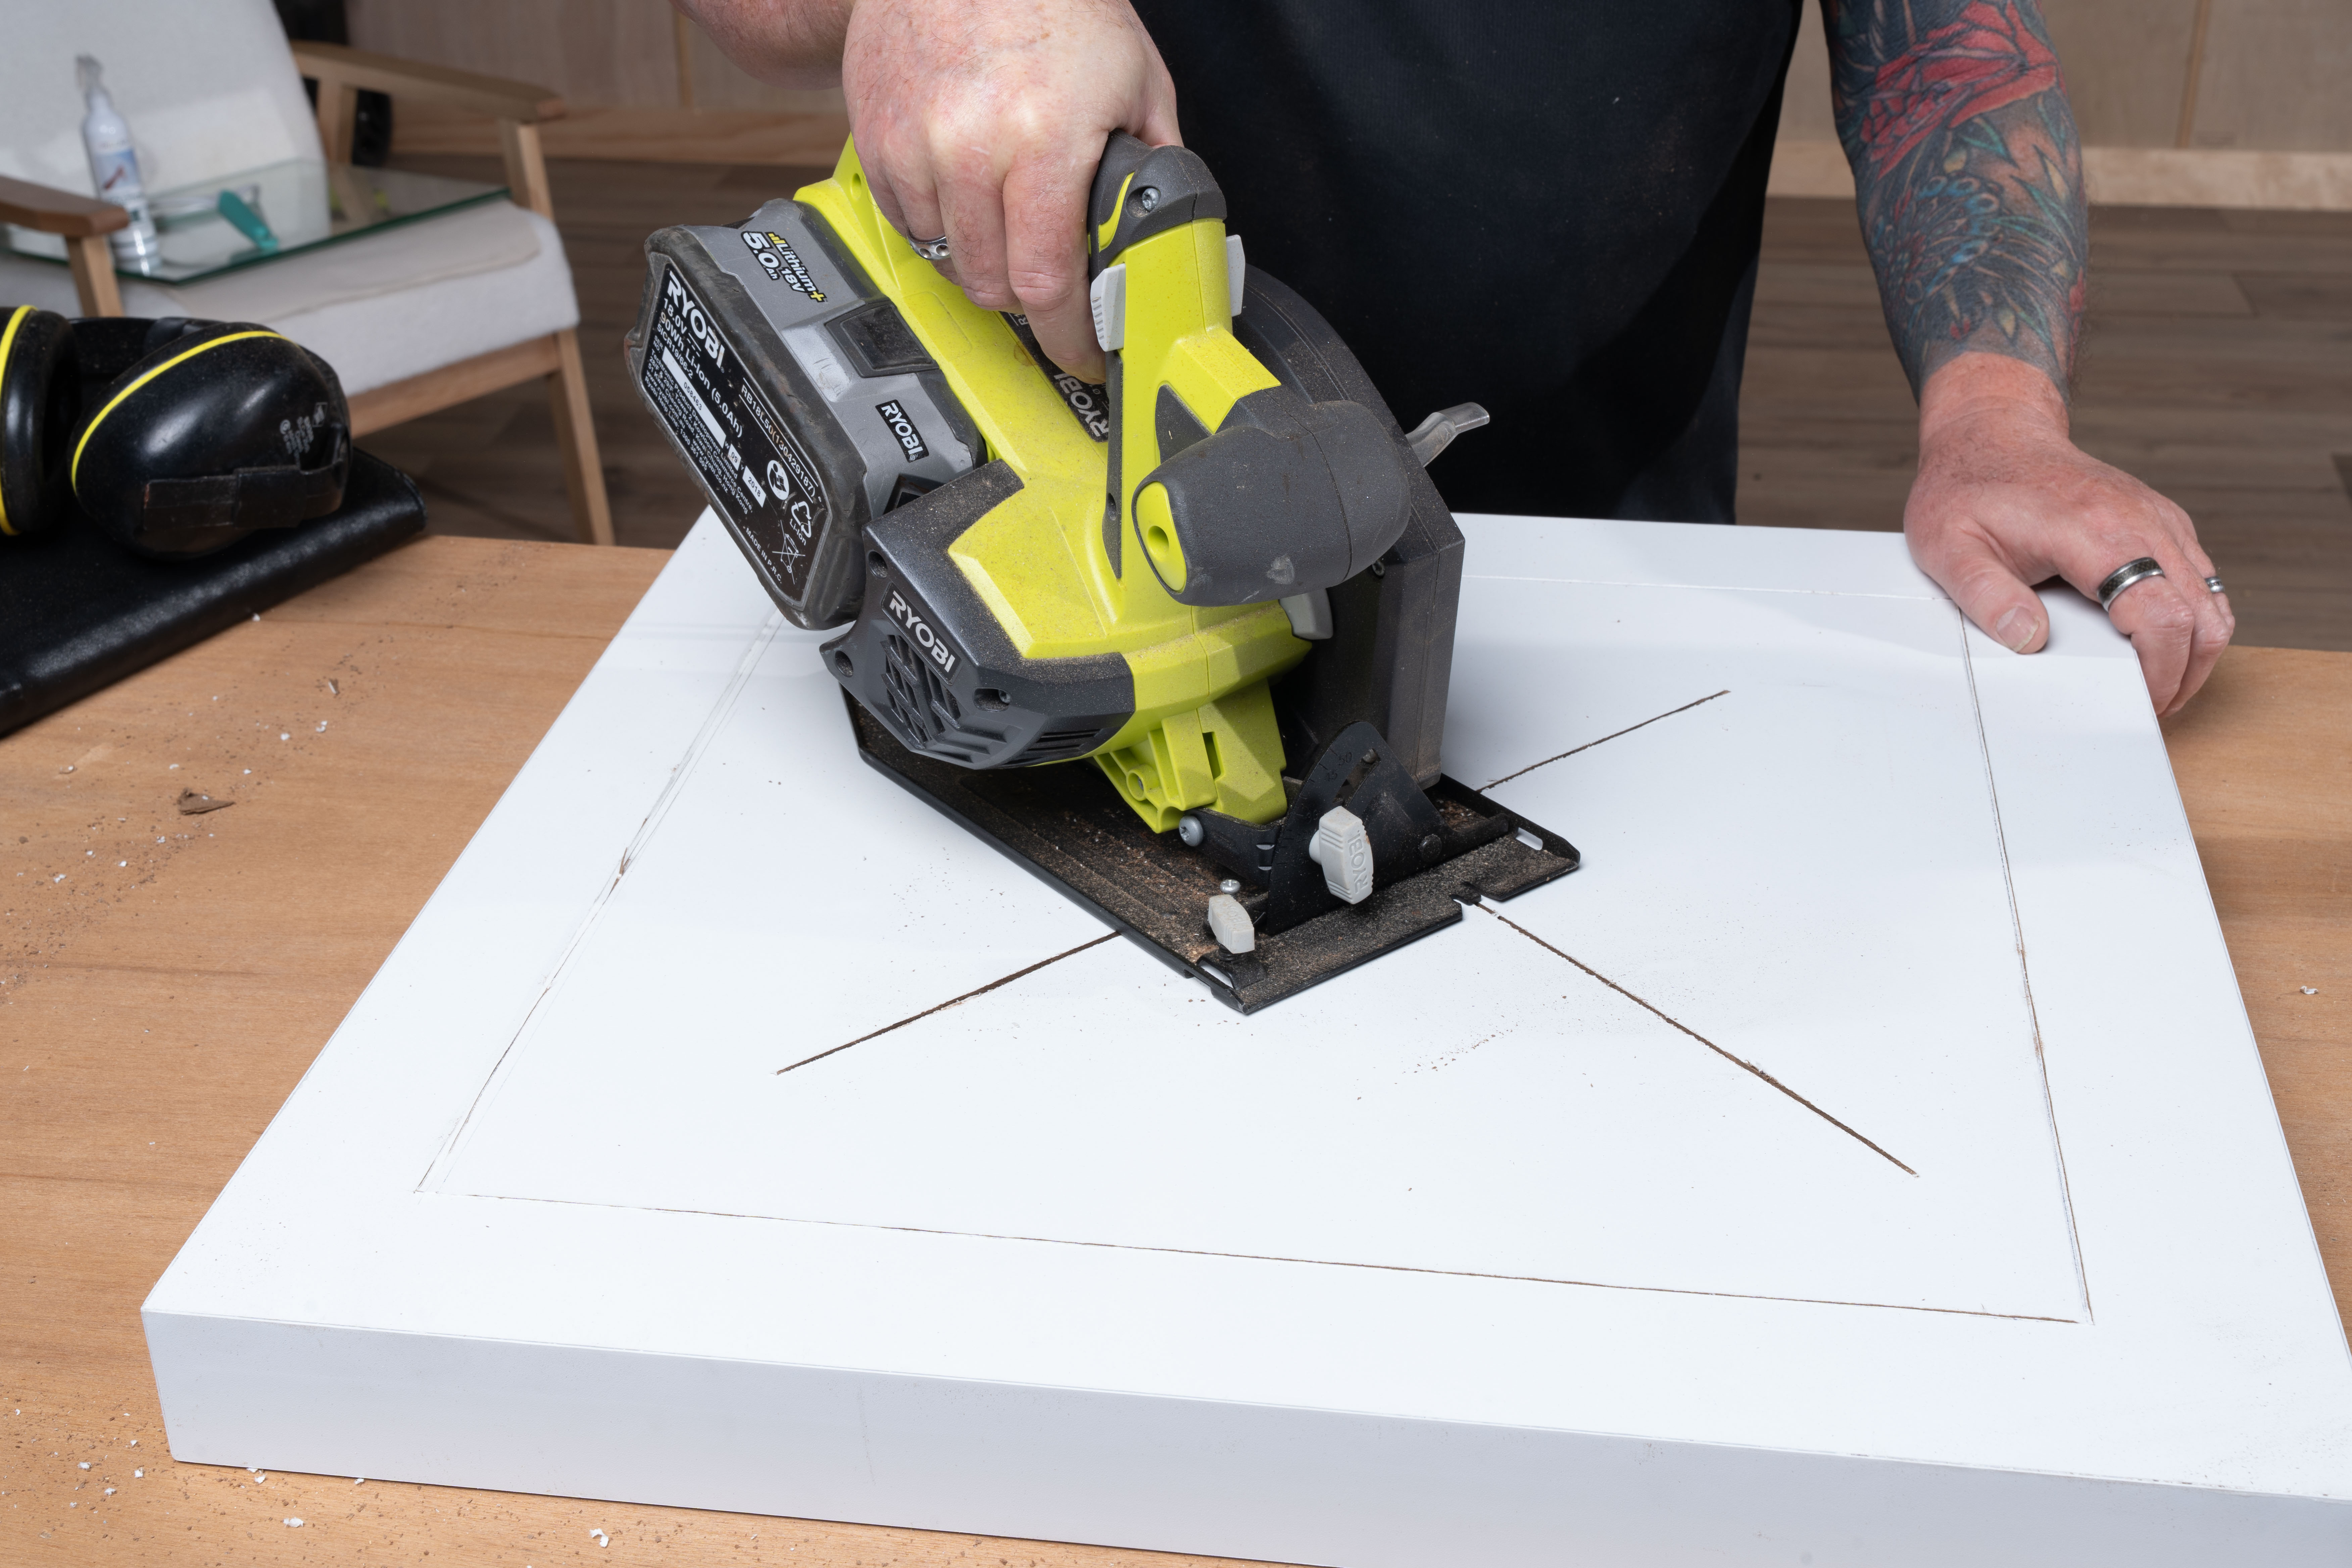
Fig. 1.2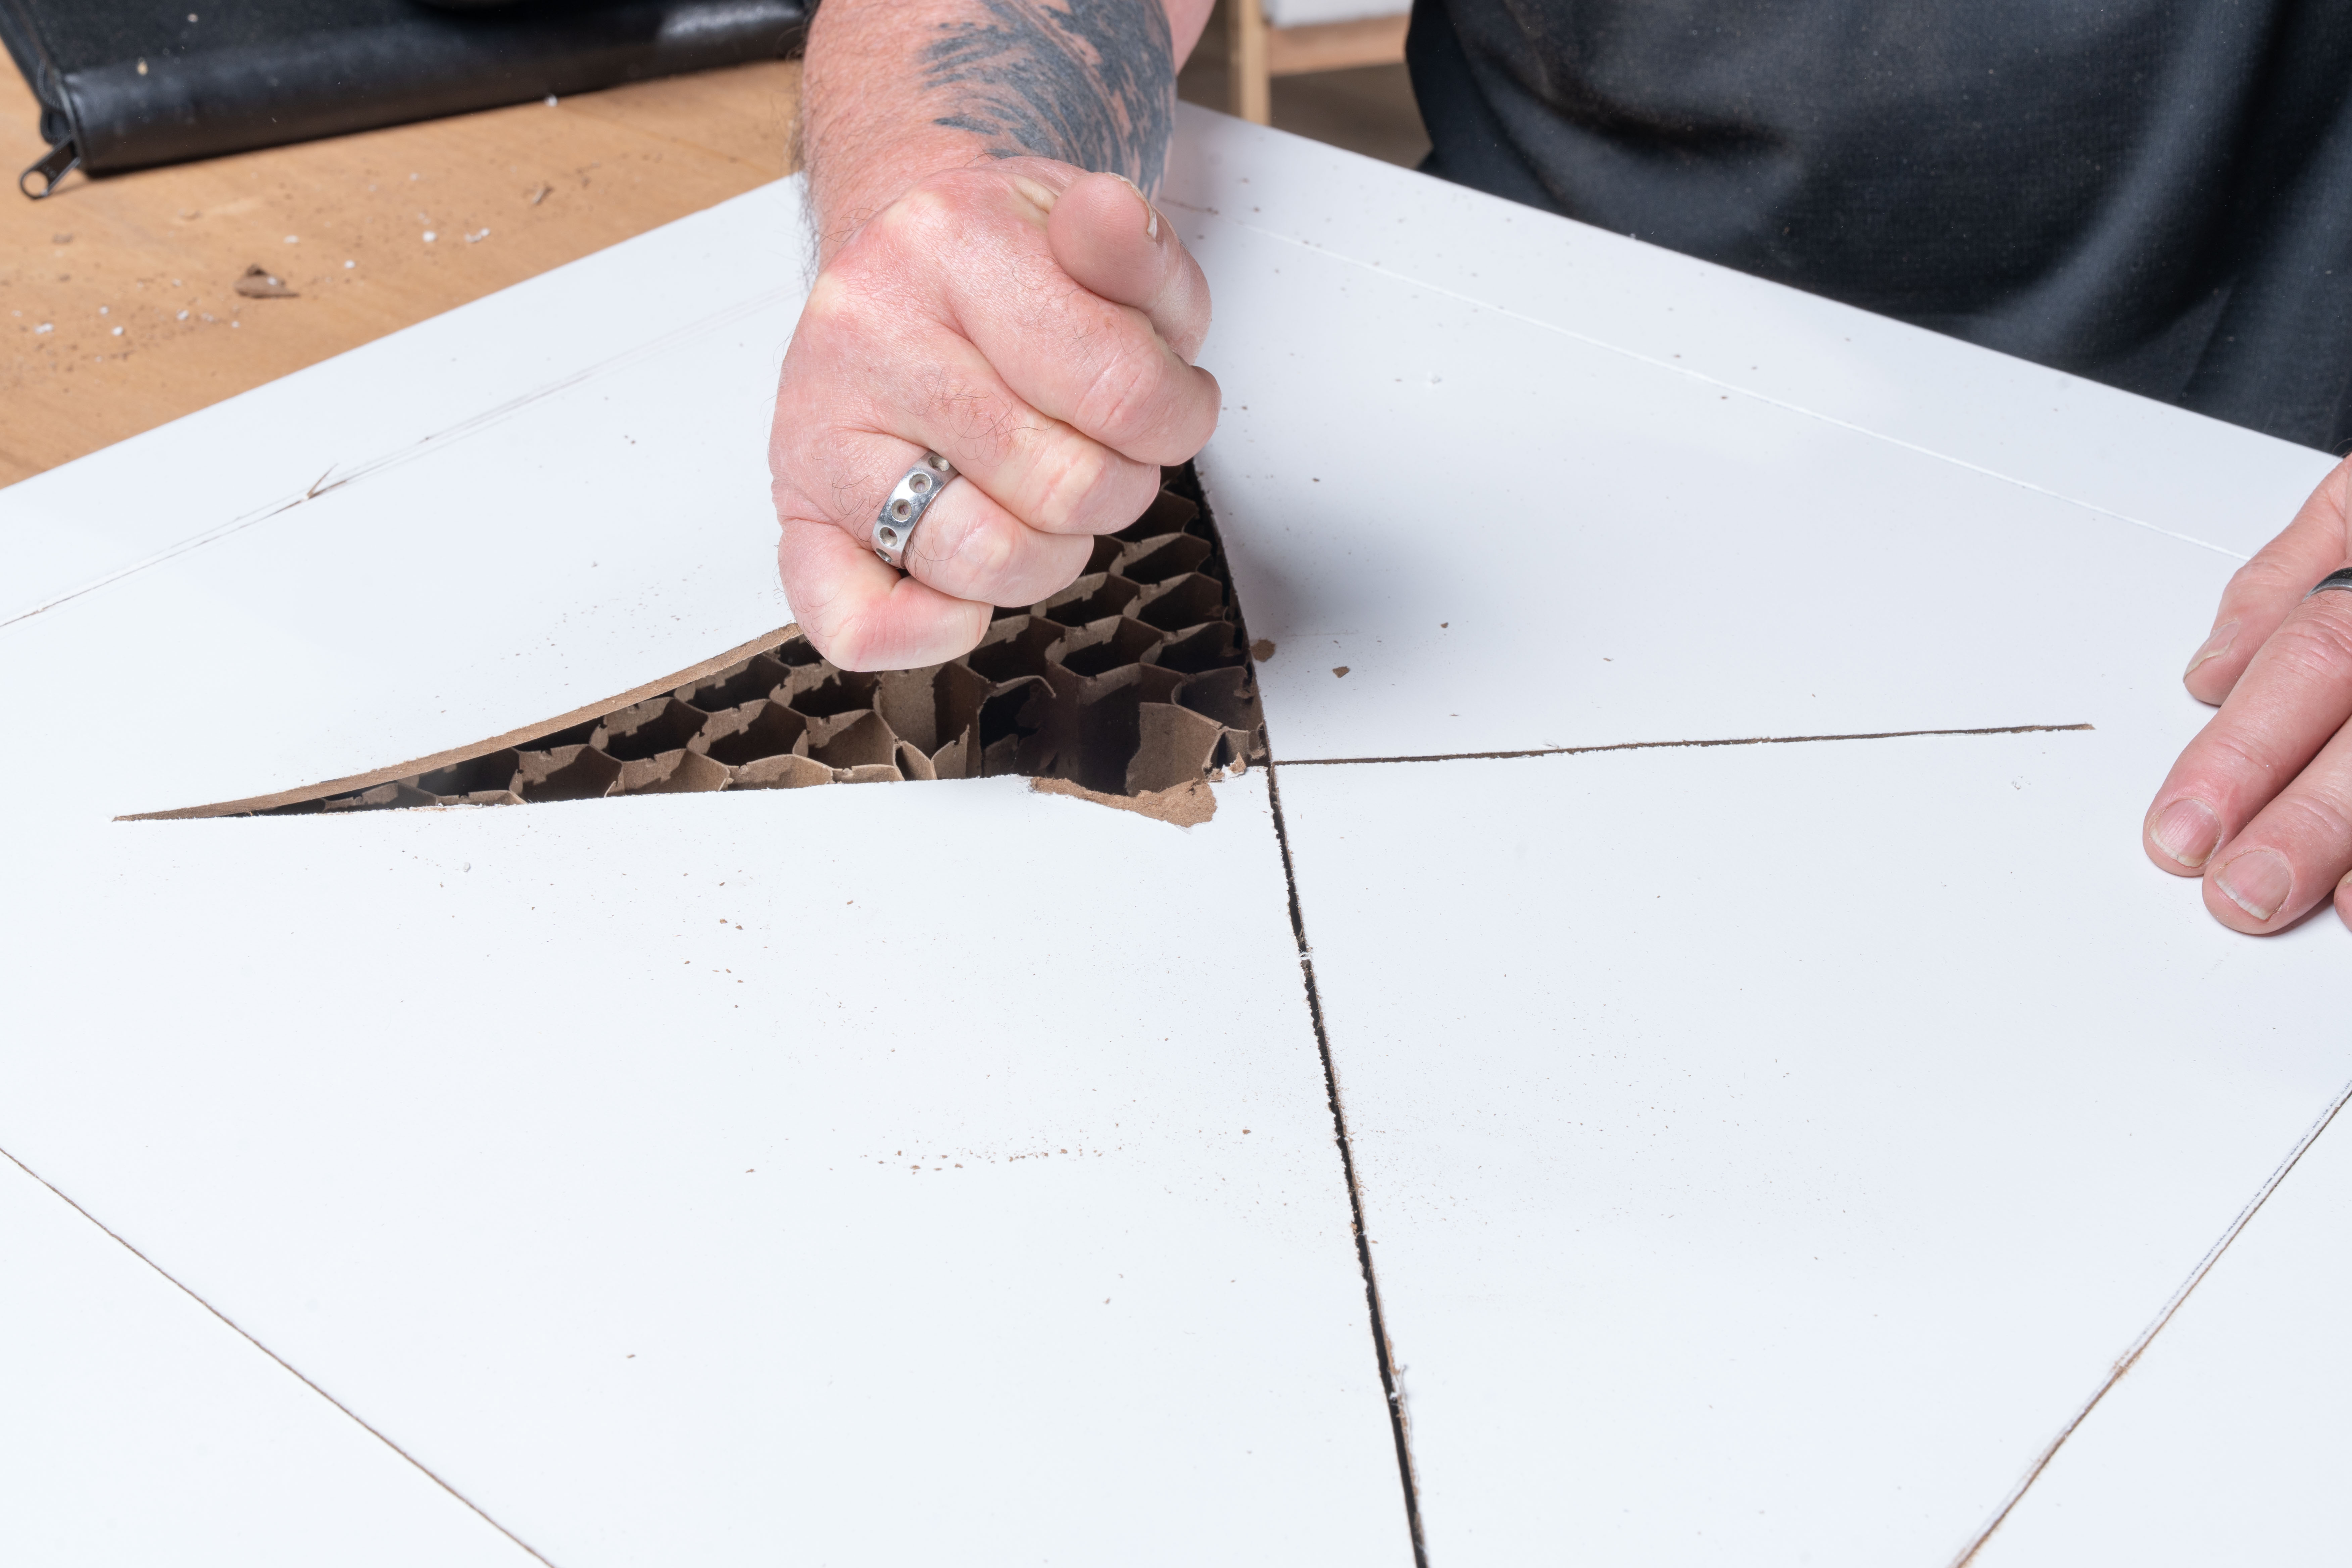
Fig. 1.3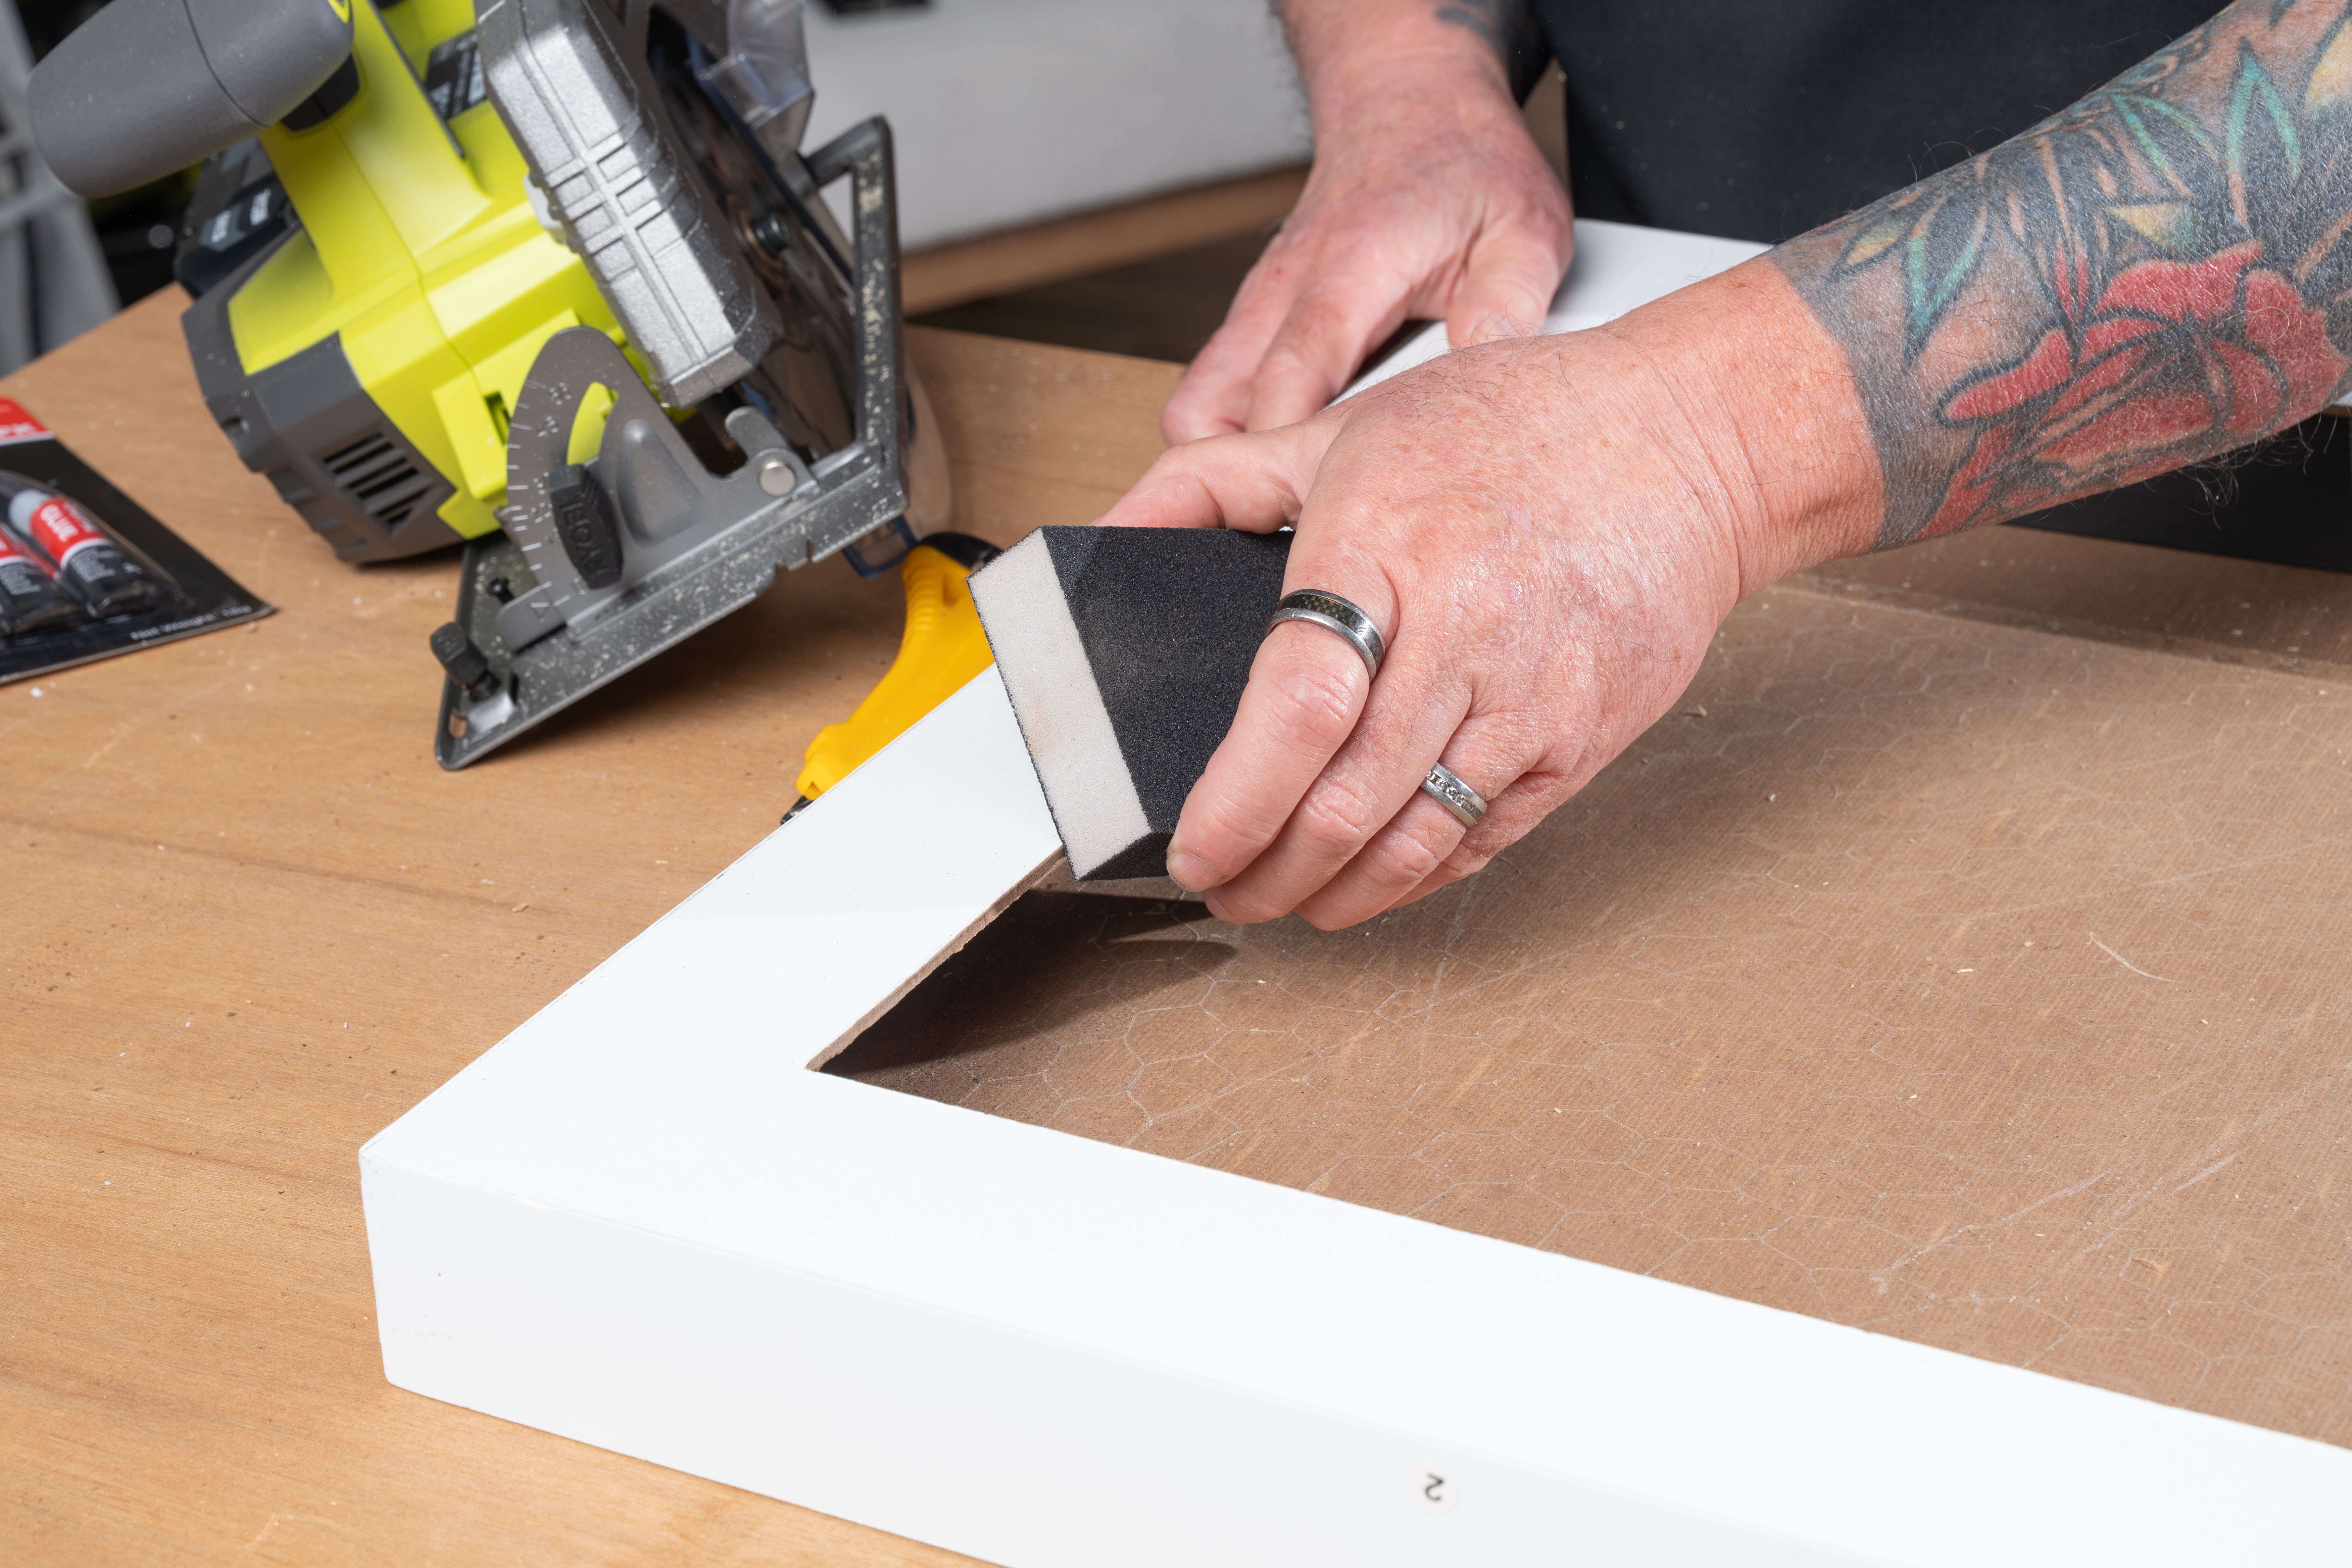
Fig. 2
Build a frame to hold the glass top (10mm overhang inside the hole you cut). The frame timber should be the same height as the gap inside the table between the top and bottom timber pieces. Paint the frame black, and when it’s dry, glue it into place, making sure it’s square and its placement is even on all sides (fig. 3).
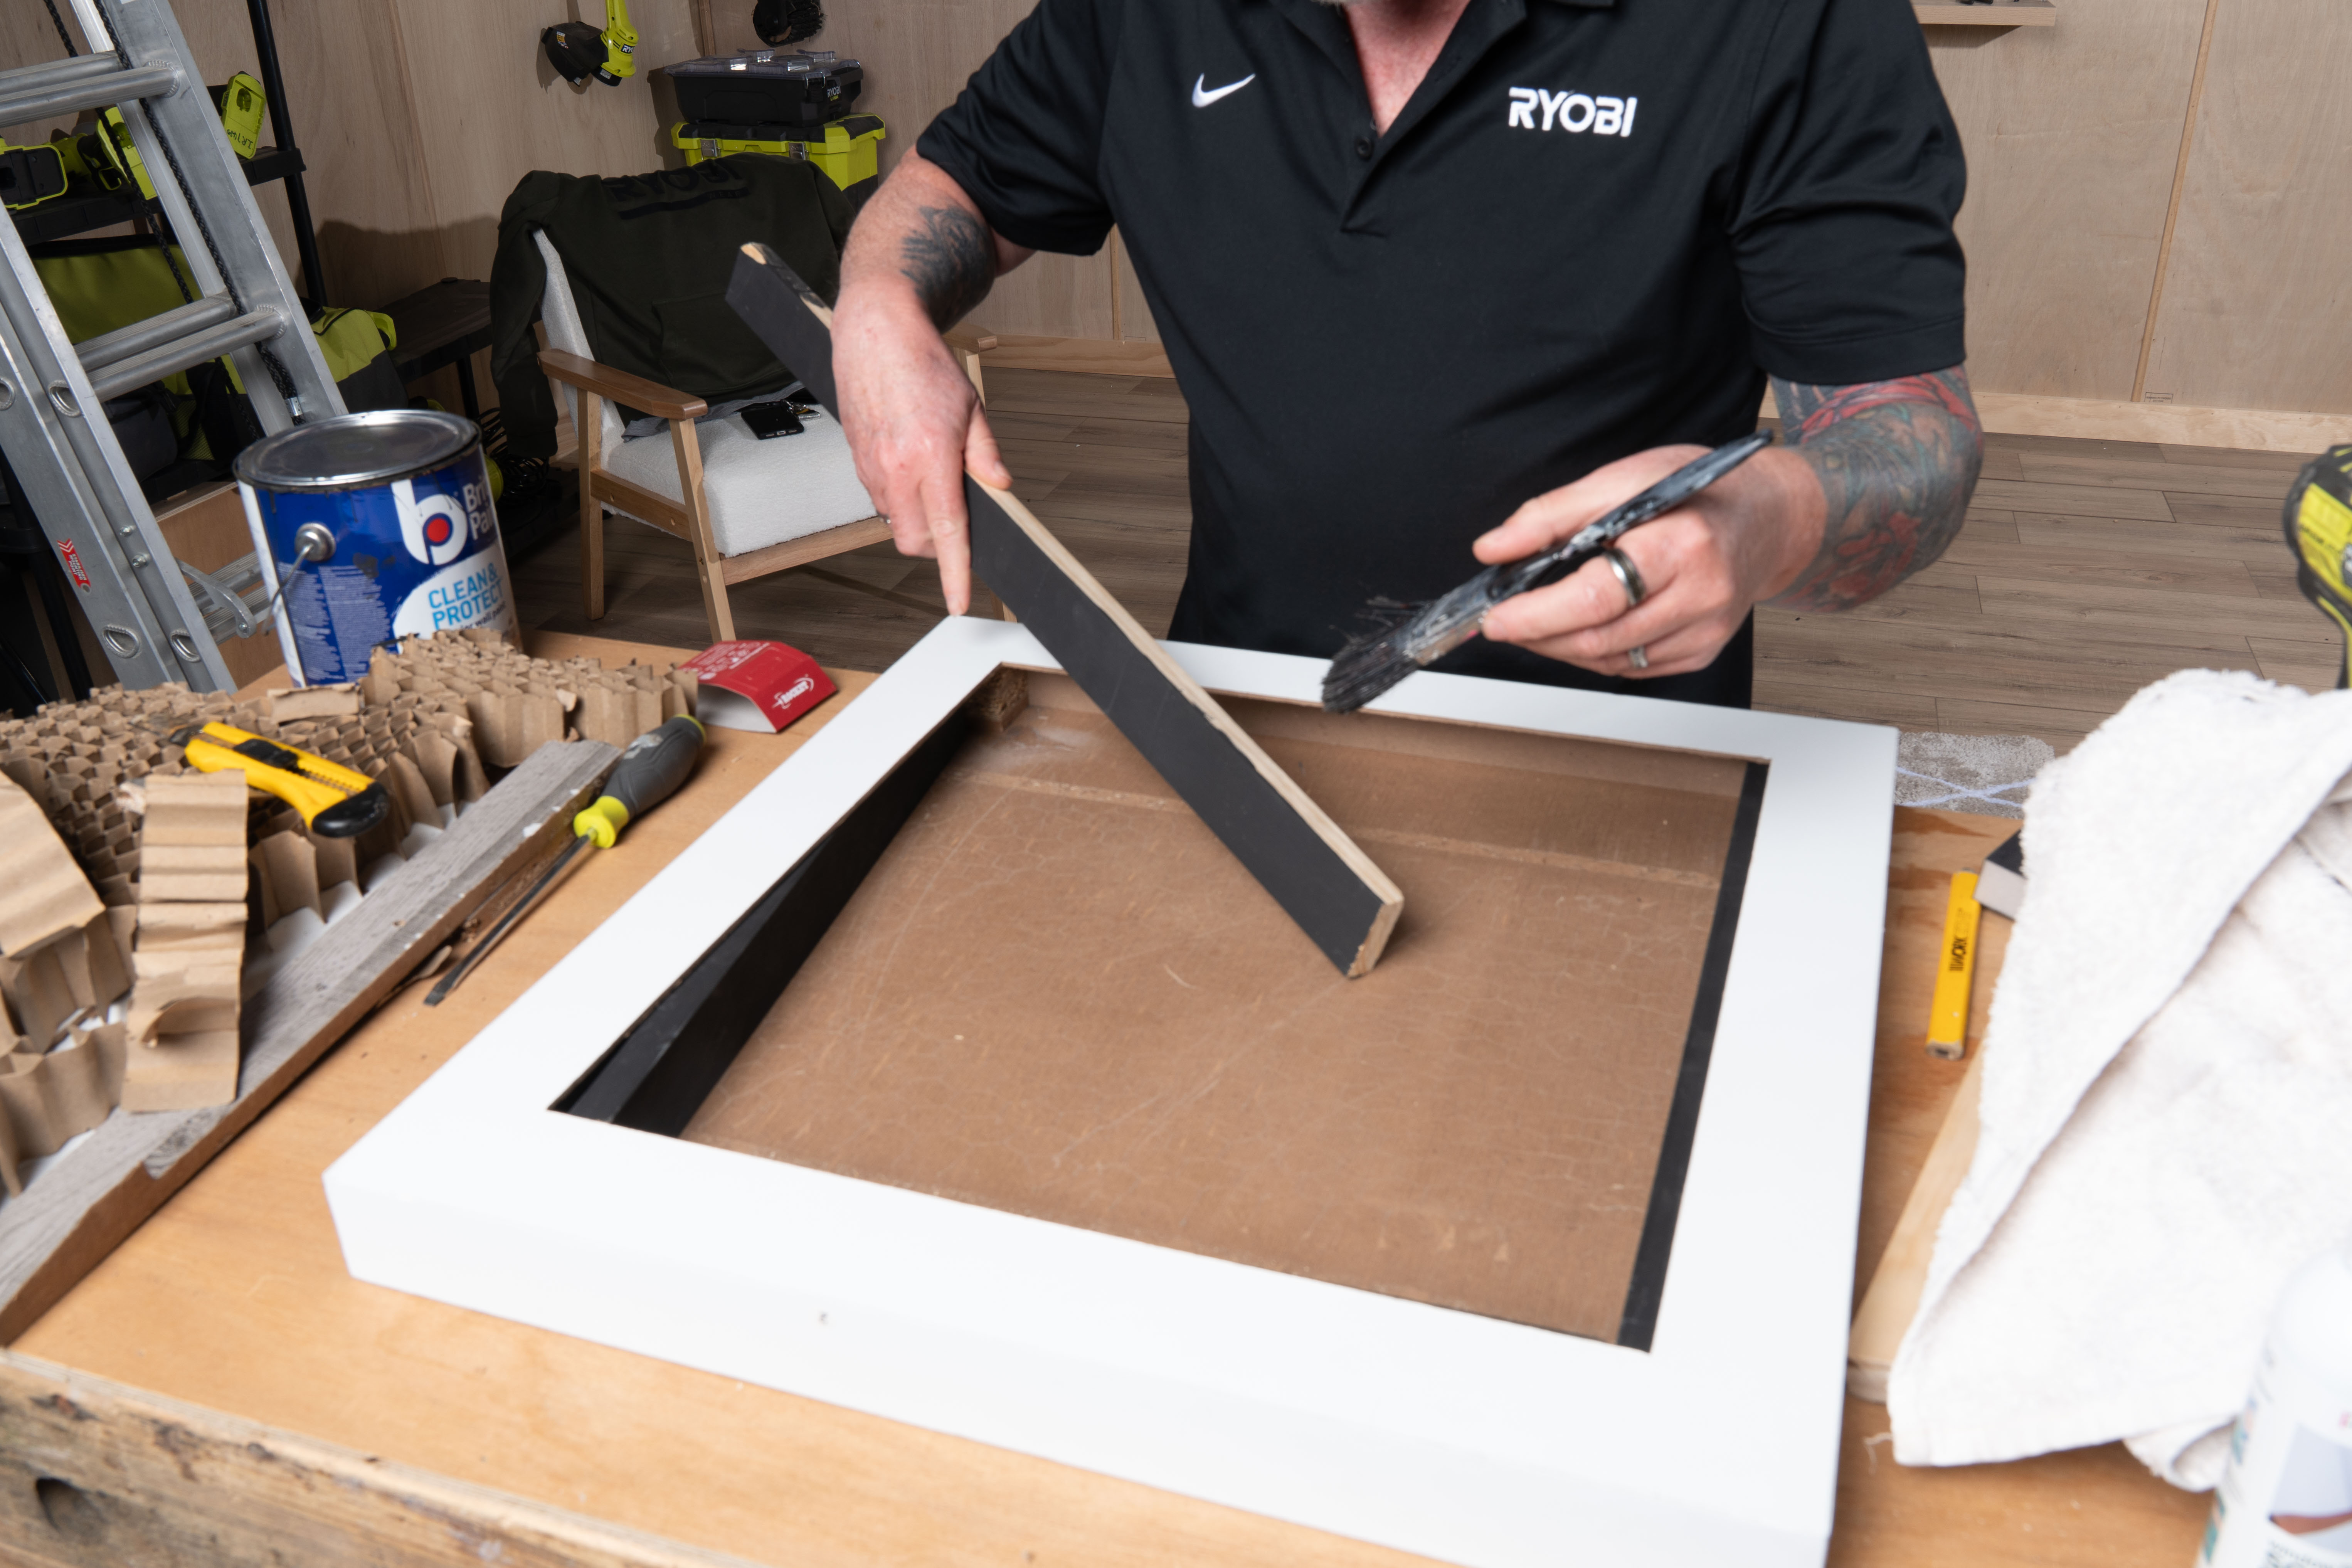
Fig. 3
Now you need 2 pieces of glass to be cut – the coffee table glass (6mm thick) and the bottom mirror (3mm).
Once you have the exact measurements of the hole you cut out, have your local glass supplier cut the glass to your dimensions. The mirror glass should be 2mm smaller than the frame’s inner dimensions so it drops in easily on the bottom of the table. The top, clear glass should be 2mm smaller than the dimension of the frame so it sits easily on the frame. Take extra care with your measurements. You can’t alter the glass sizes later.
NB: Glass suppliers usually require one or two days to fill your order.
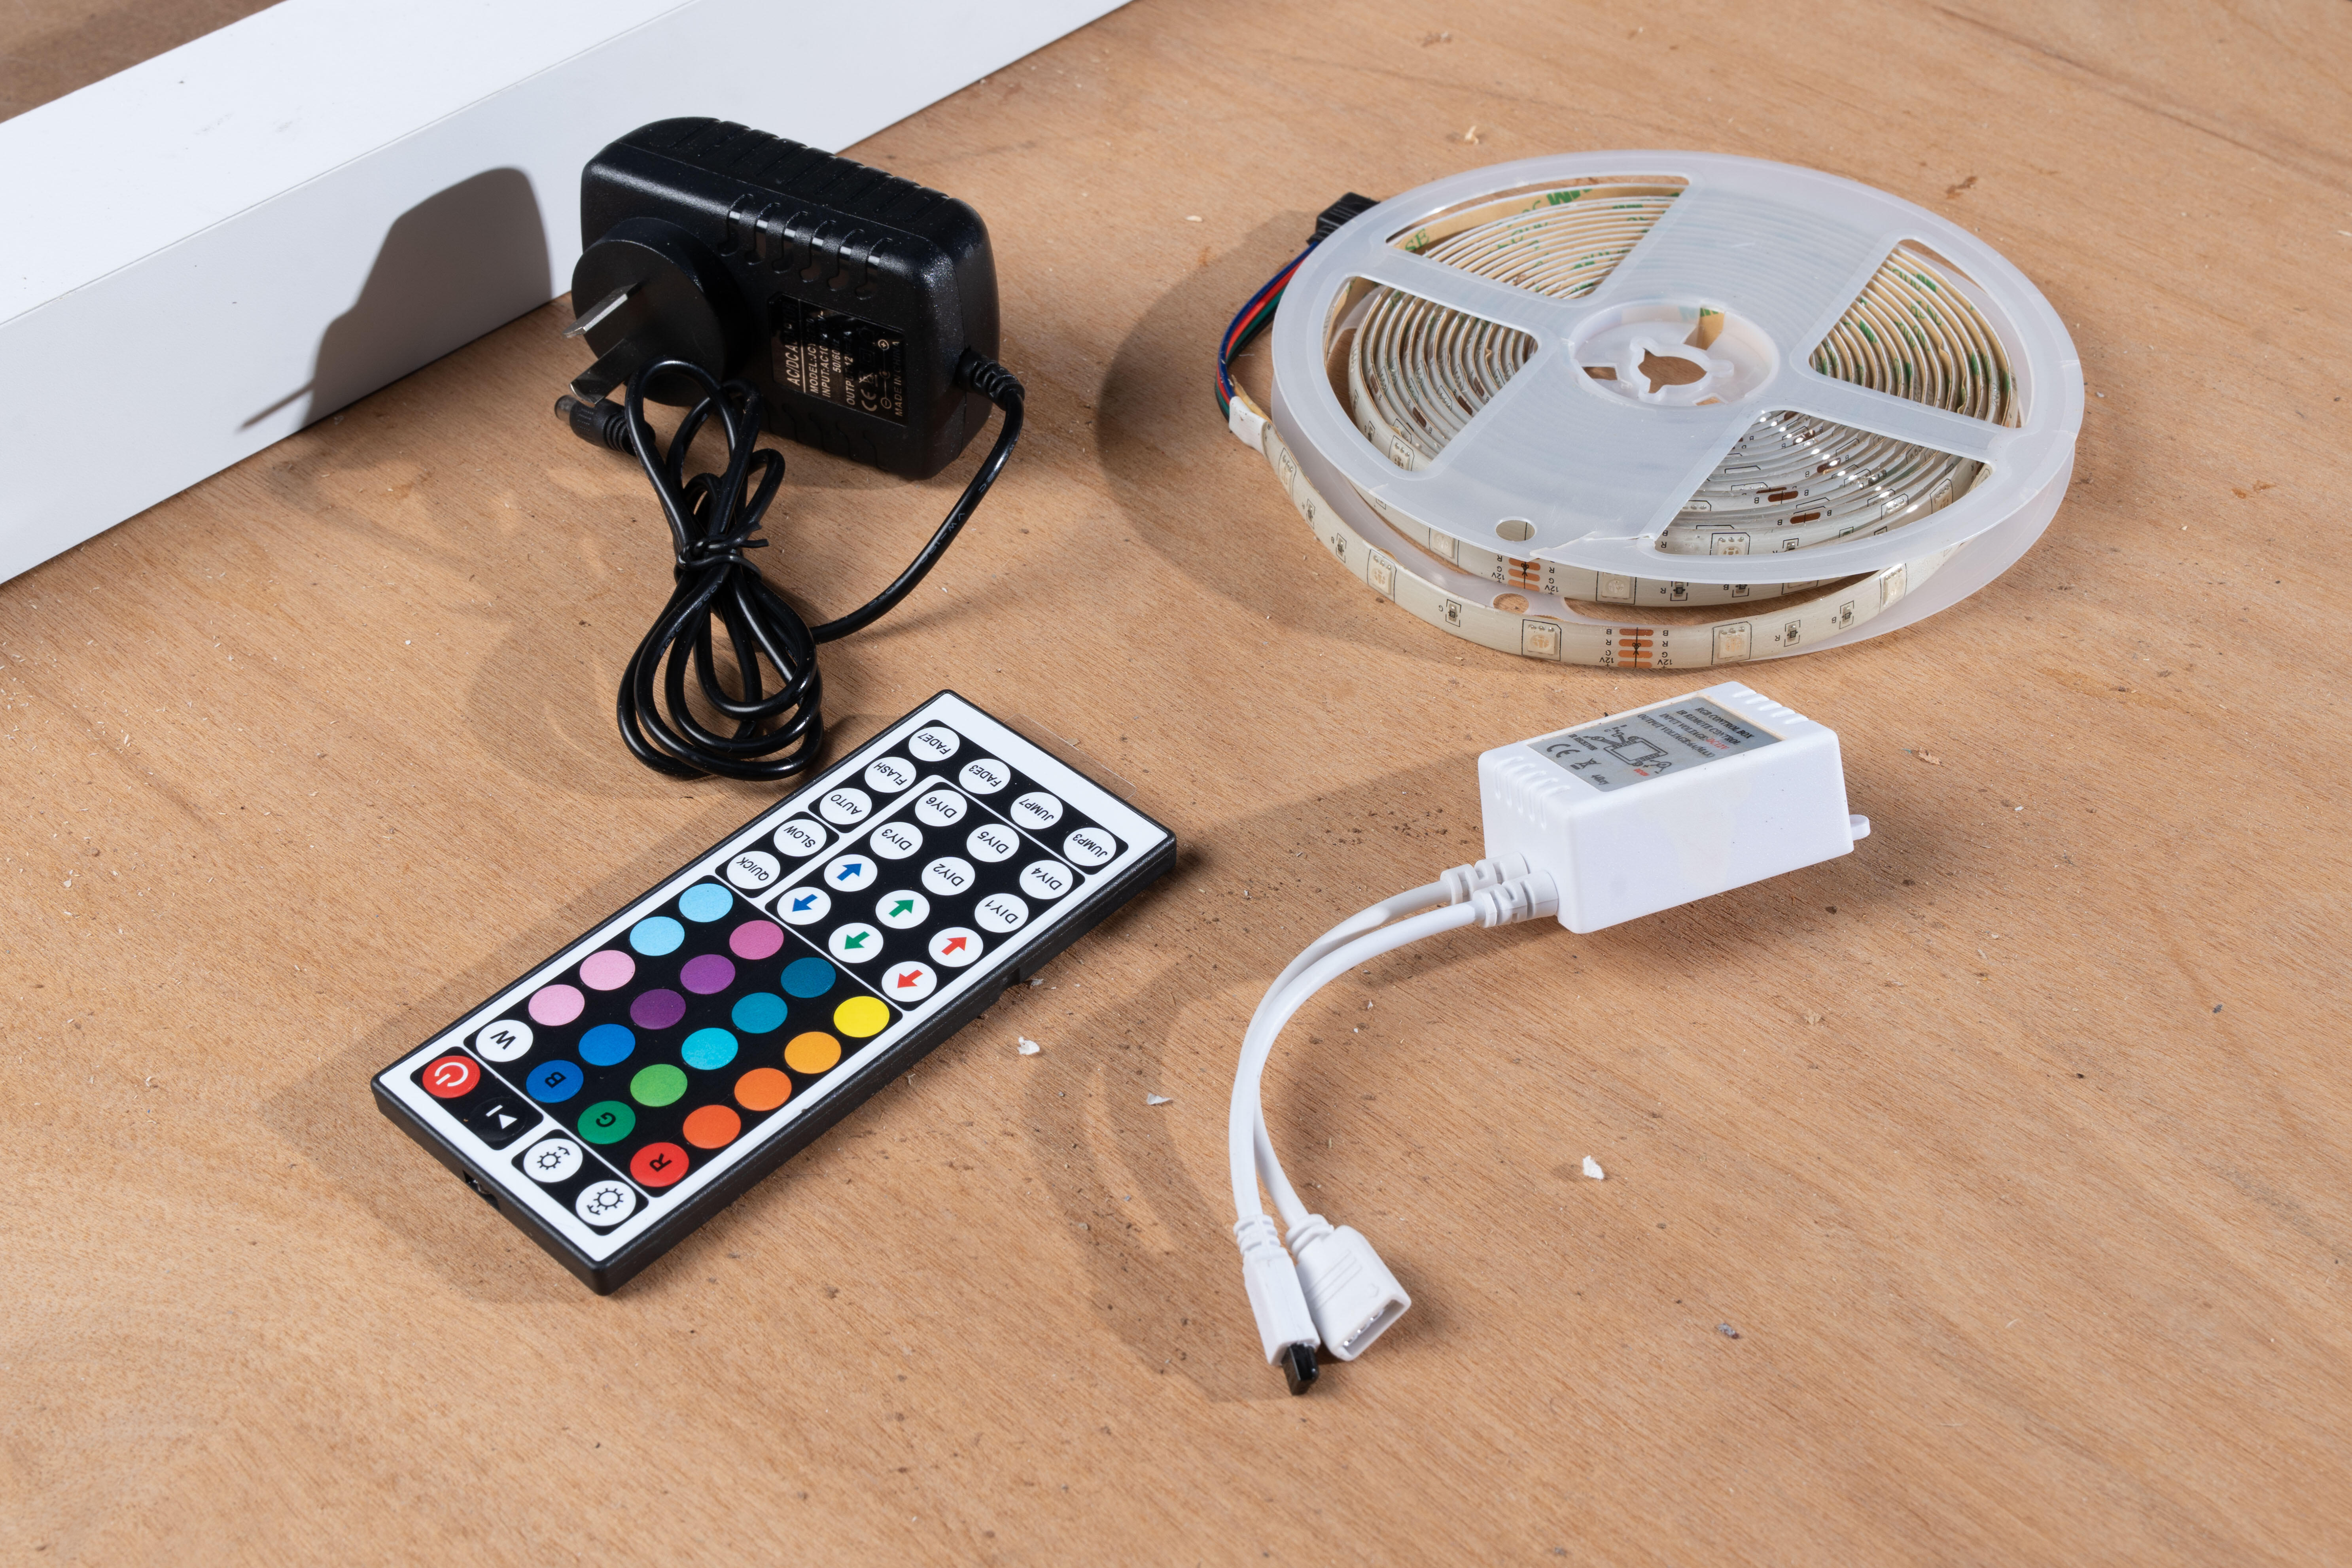
While you’re waiting on your glass order, attach the LED strip light and power source to the inside of the frame (fig. 4). Cut the strip to size where indicated. Cut a hole in the frame and base of the table for the power cable (fig. 5).
TIP: Try to place the strip in the middle of the frame on all sides and as level as possible for the best ‘infinity’ effect.
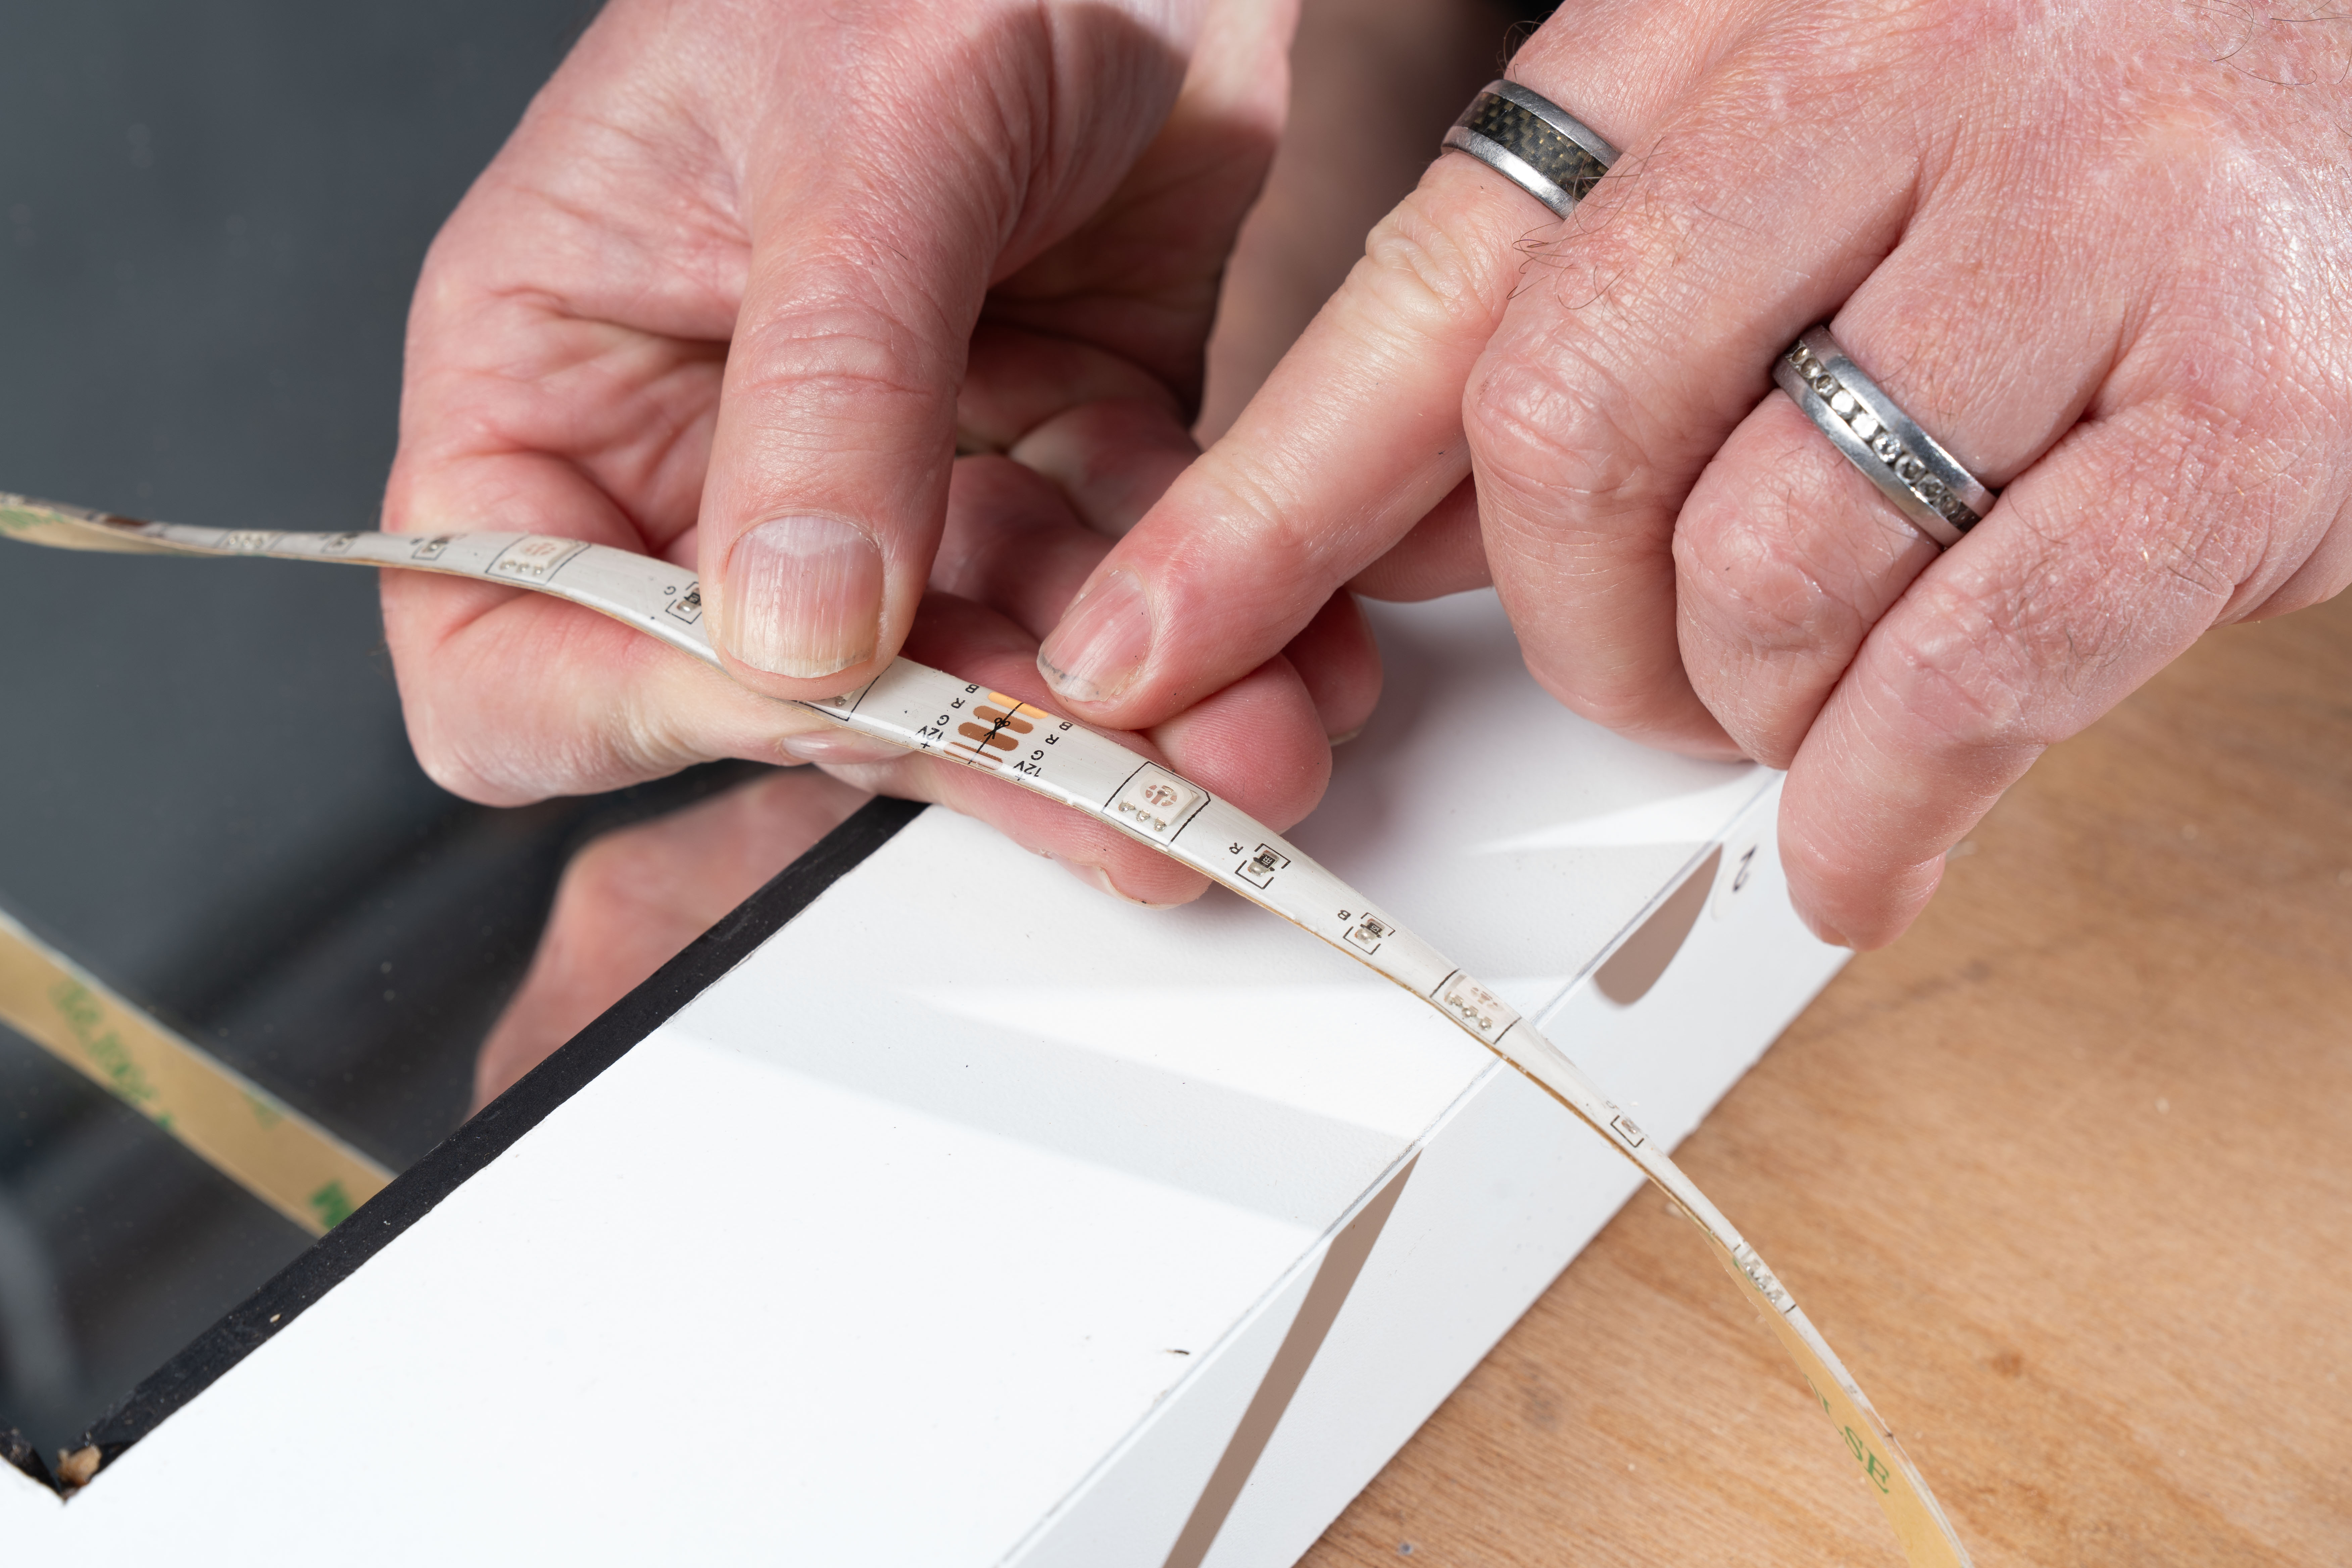
Fig. 4.1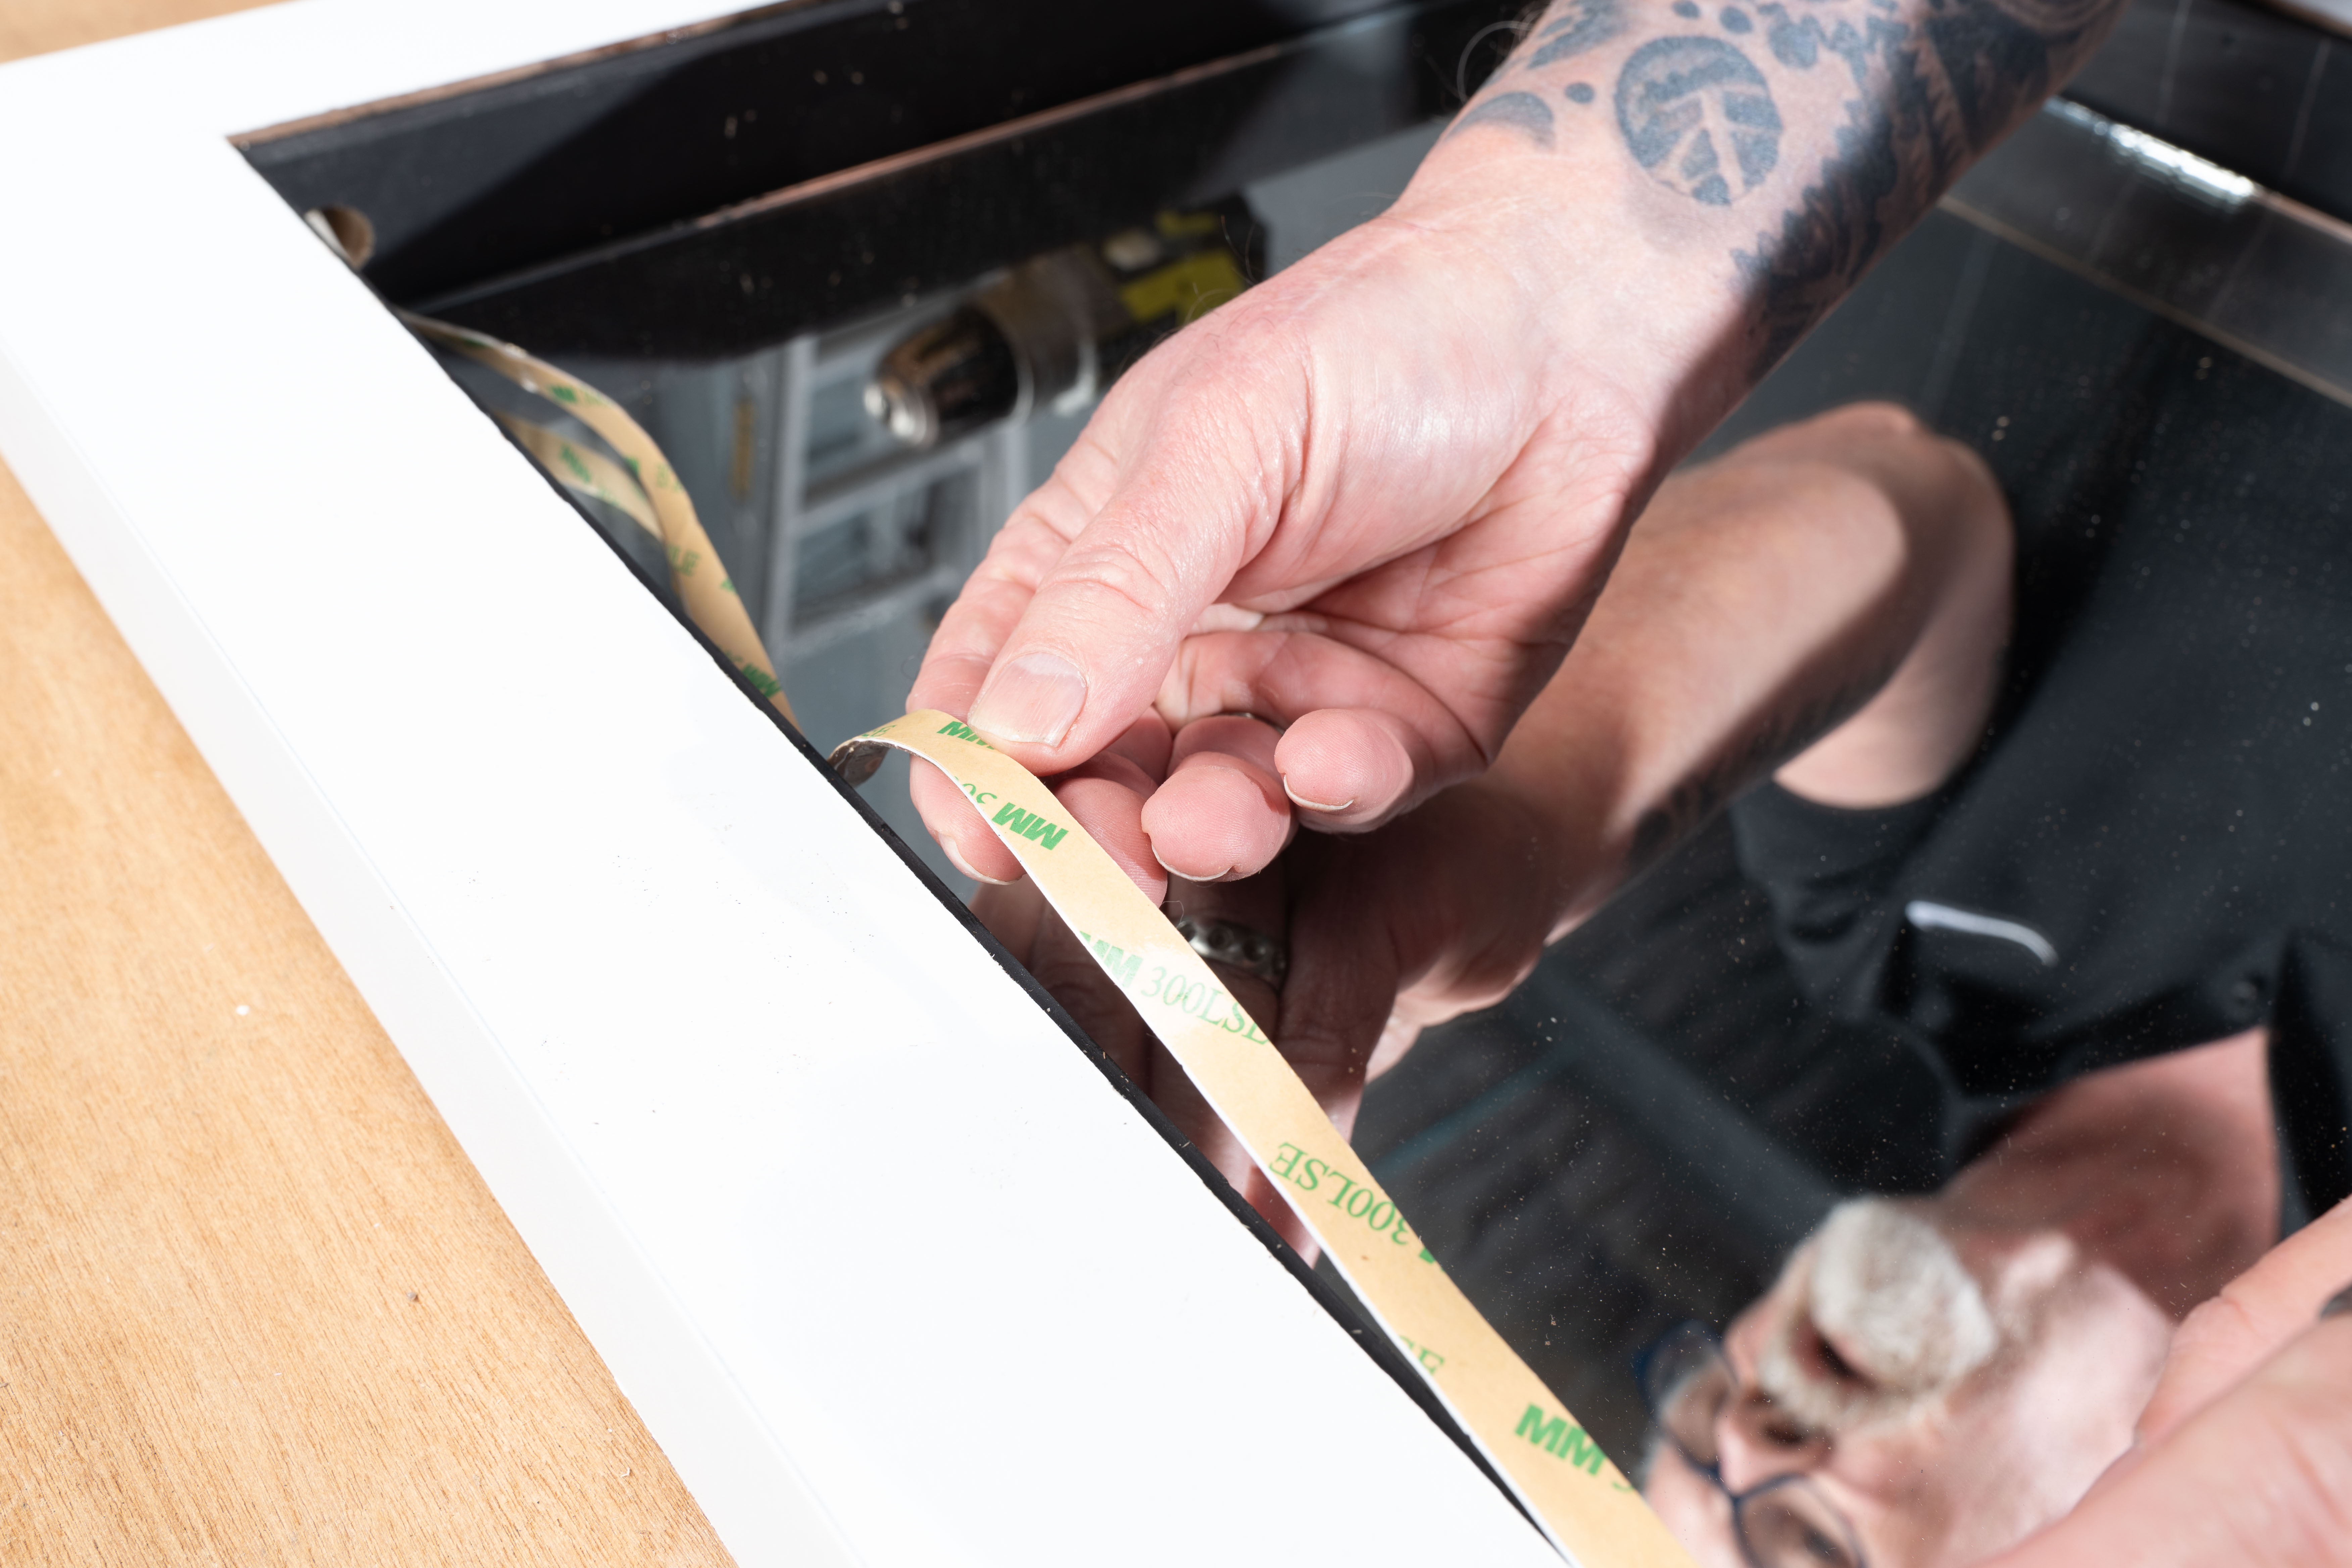
Fig. 4.2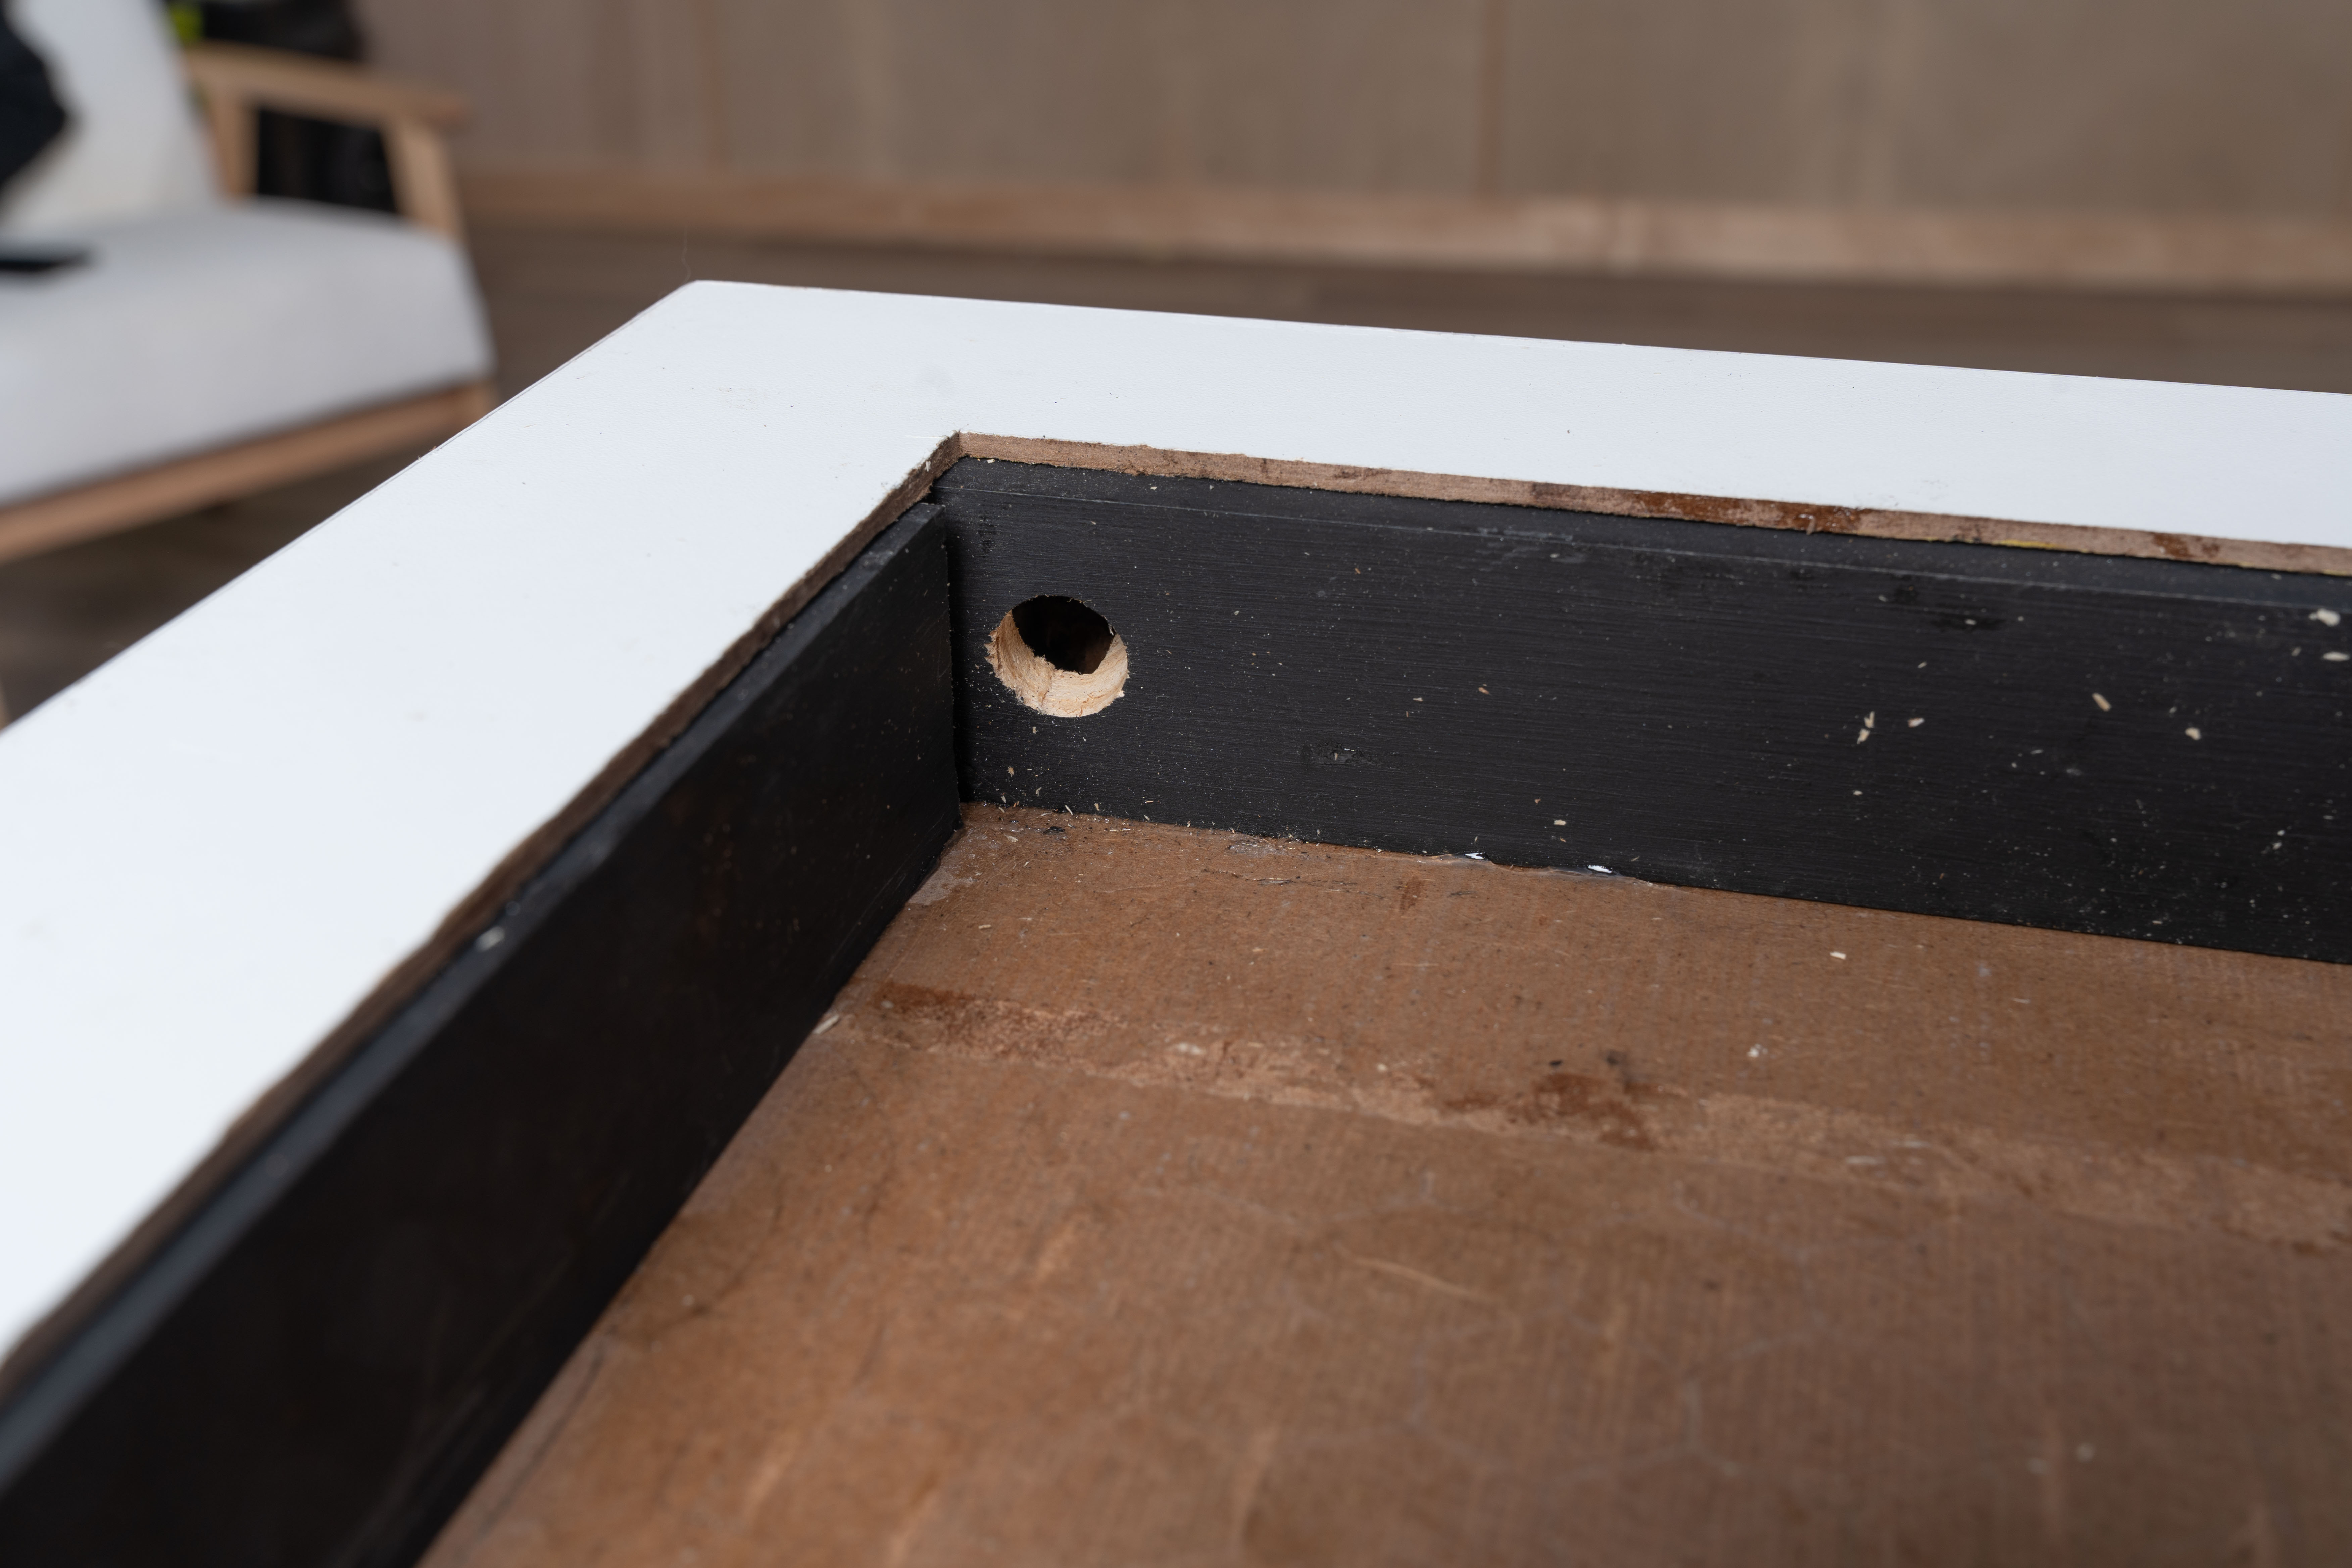
Fig. 5.1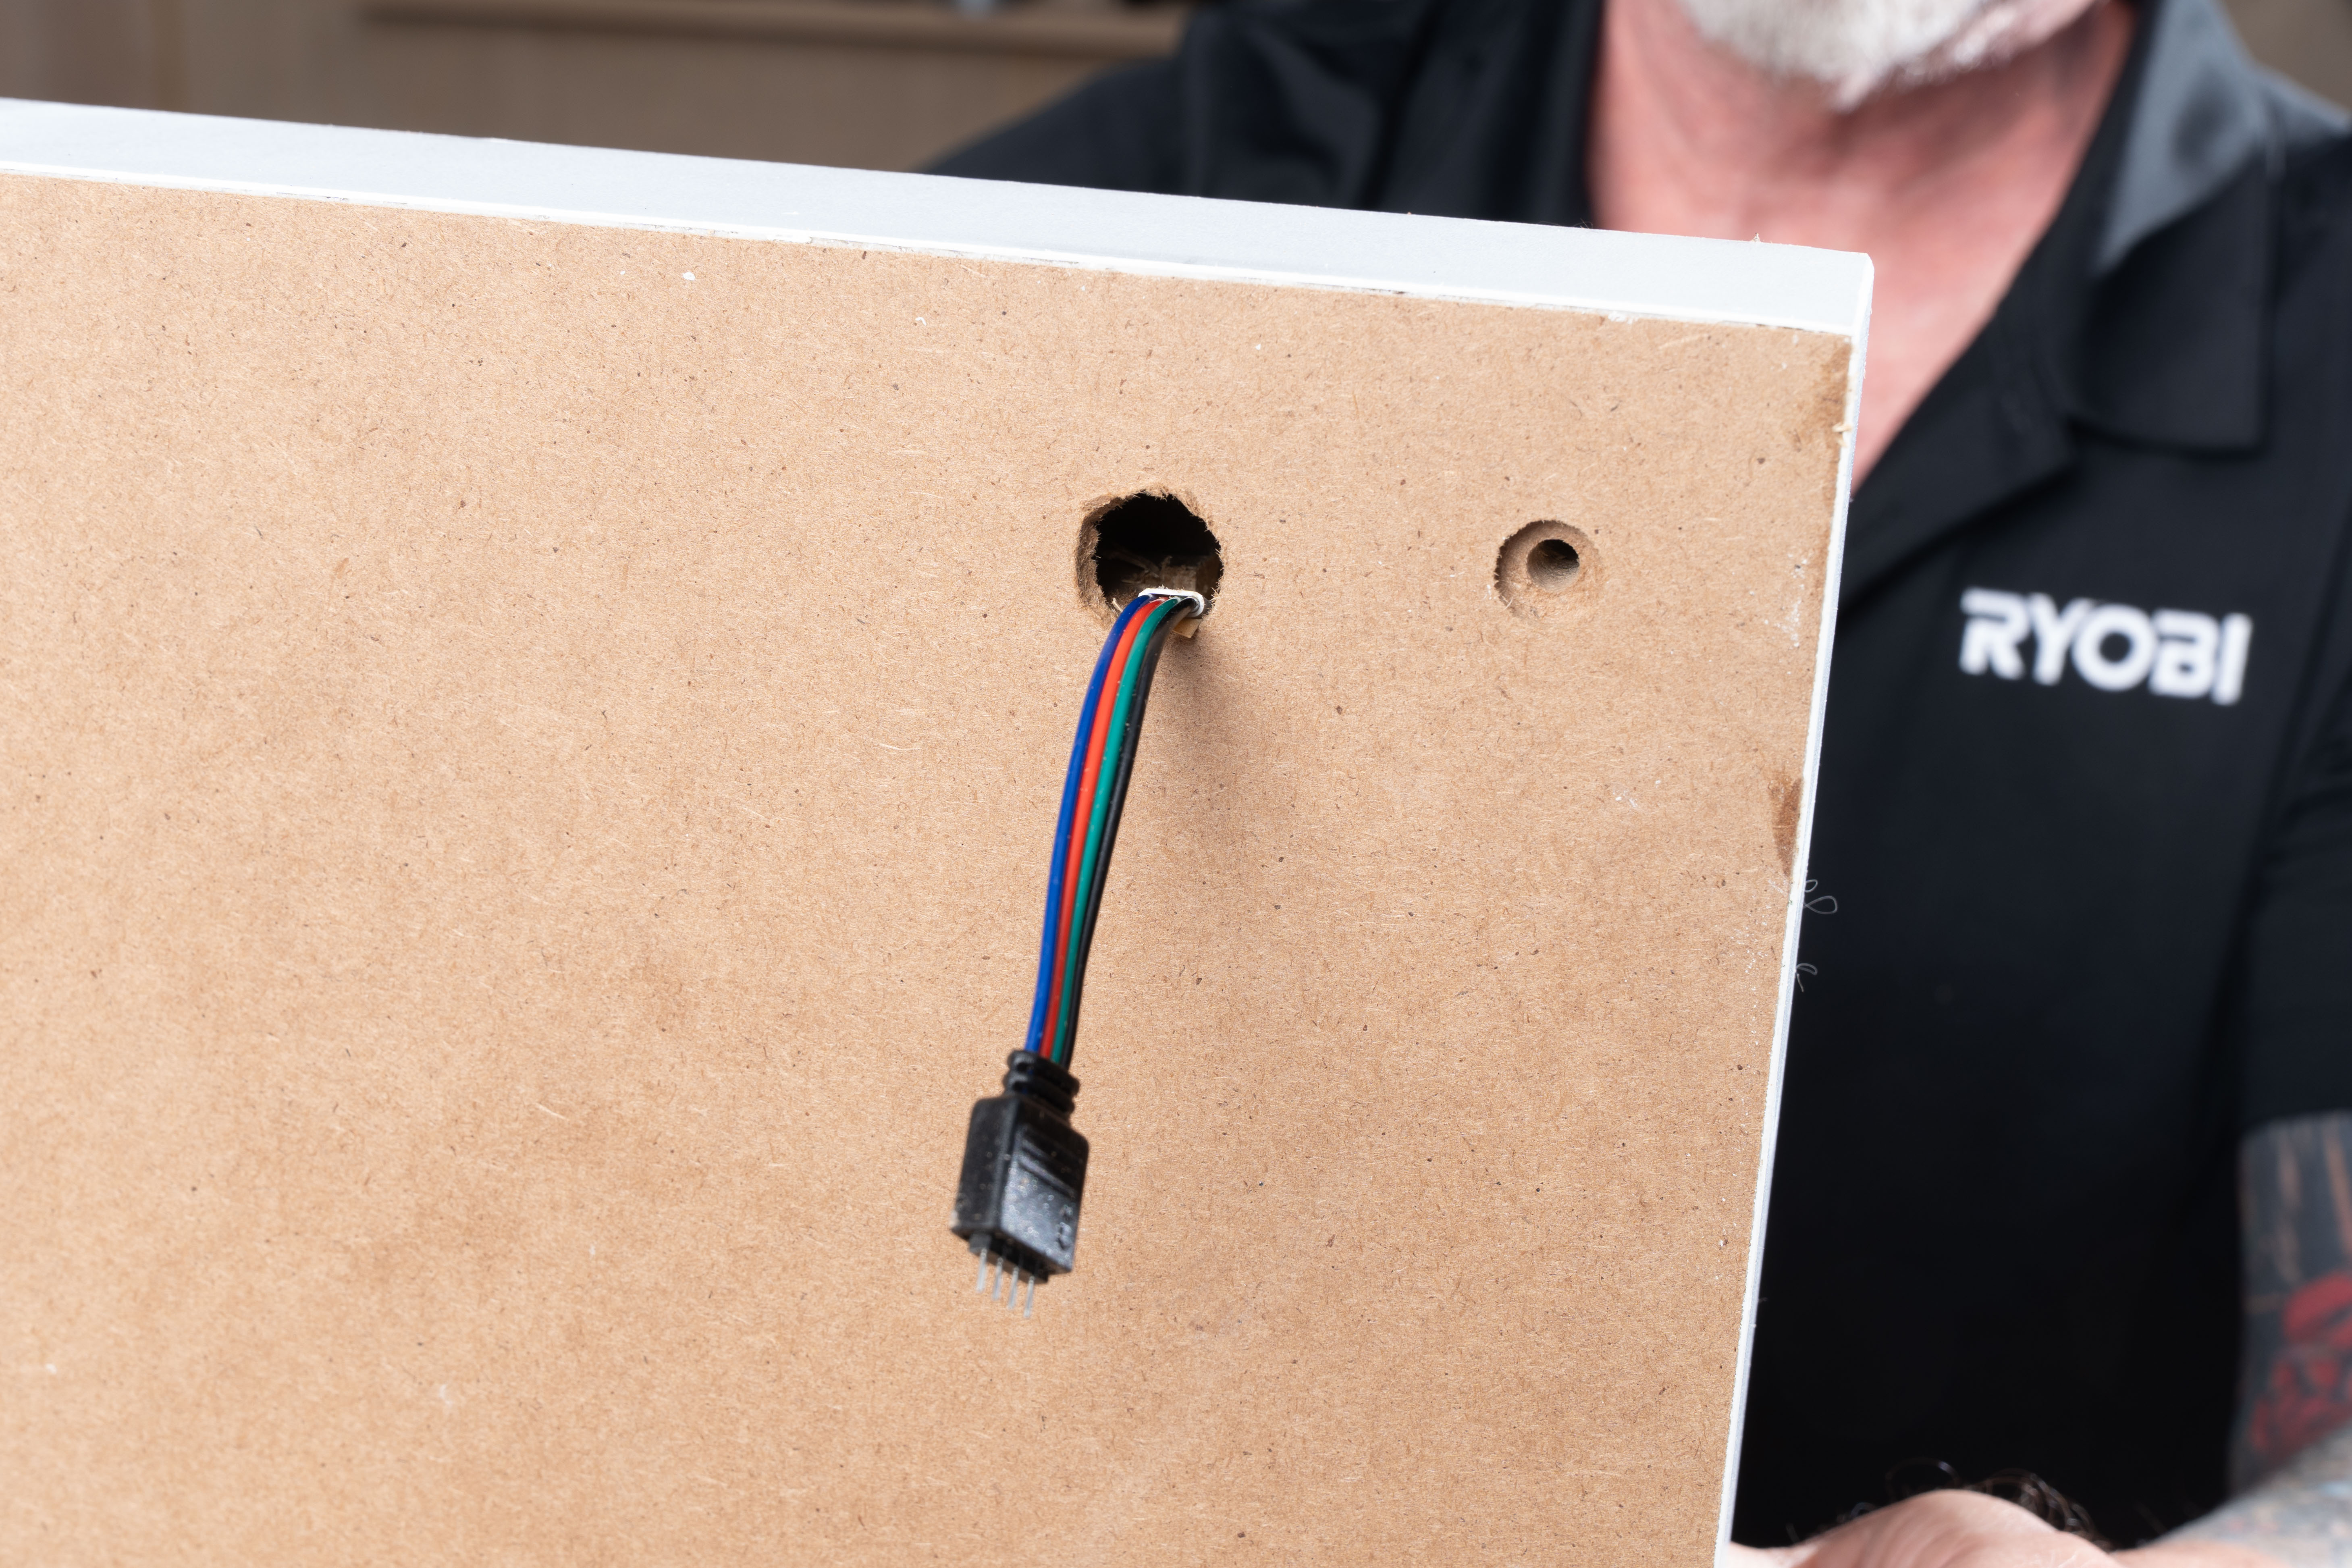
Fig. 5.2
When you have your glass and mirror, wipe all clean with a glass cleaning solution and microfibre cloth (fig. 6).
TIP: Be meticulous. Use a razor blade or glass scraper to ensure every spec of dust is removed on the surface that you will be applying the mirror film.
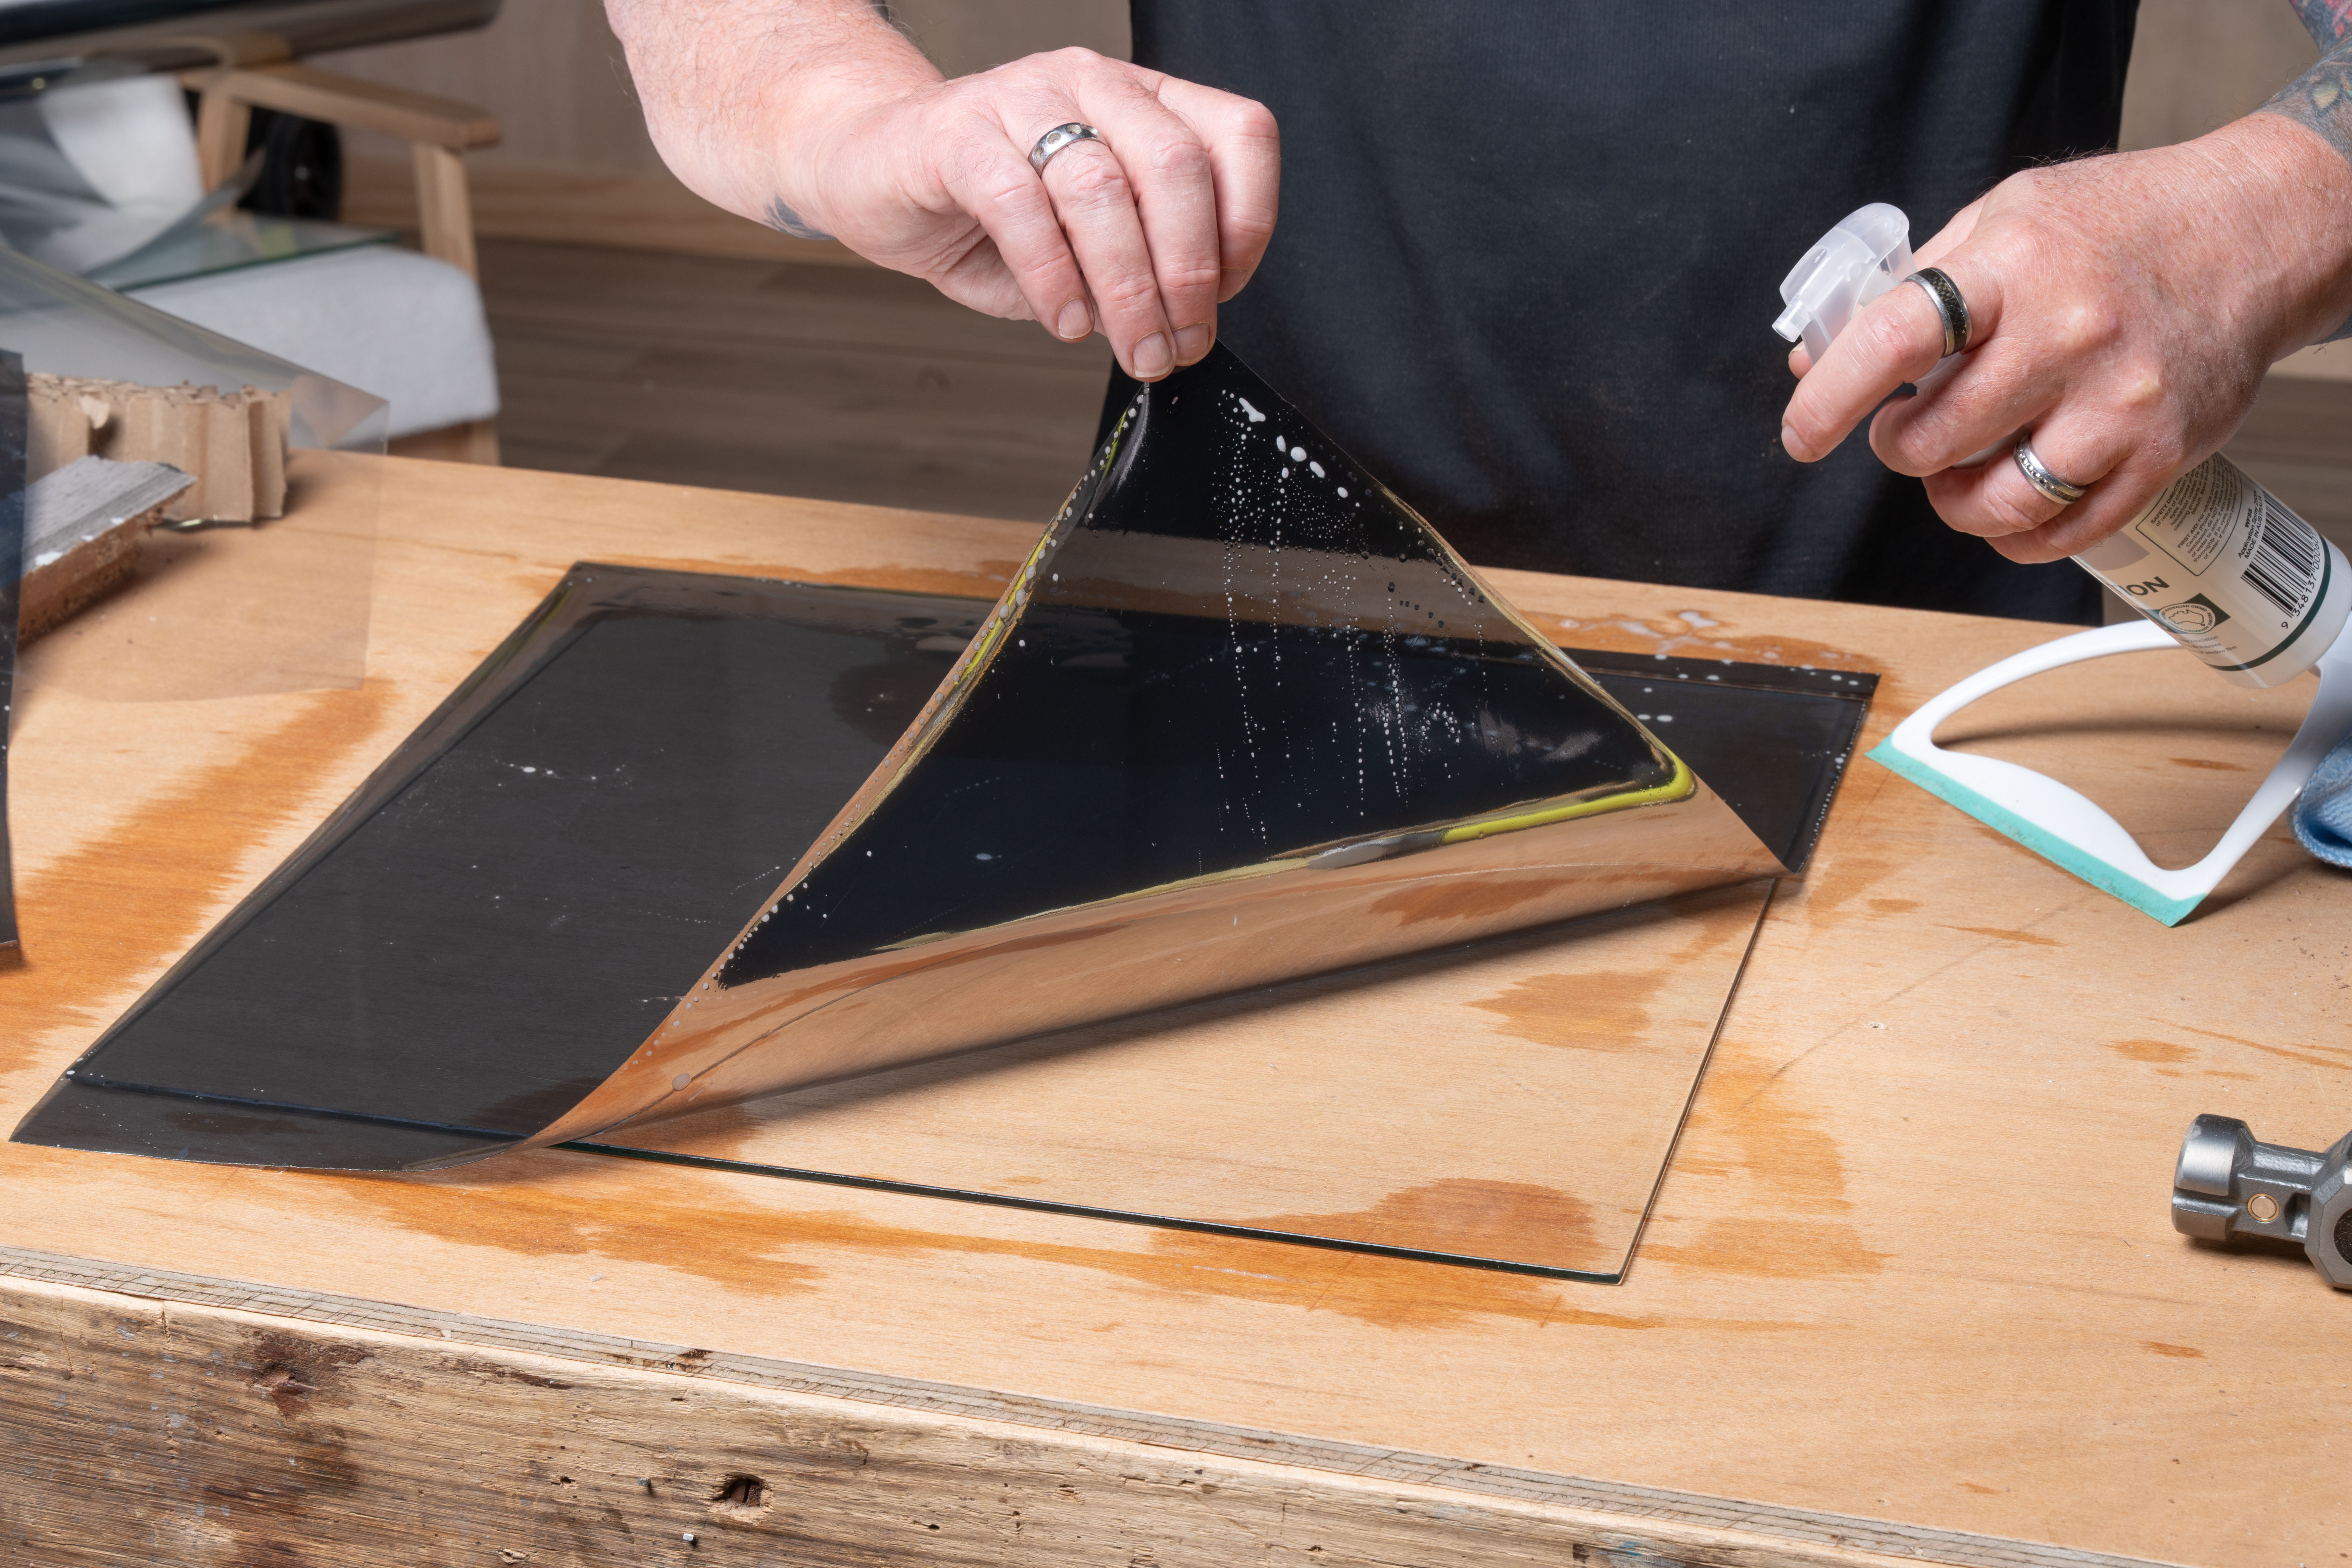
Fig. 6.1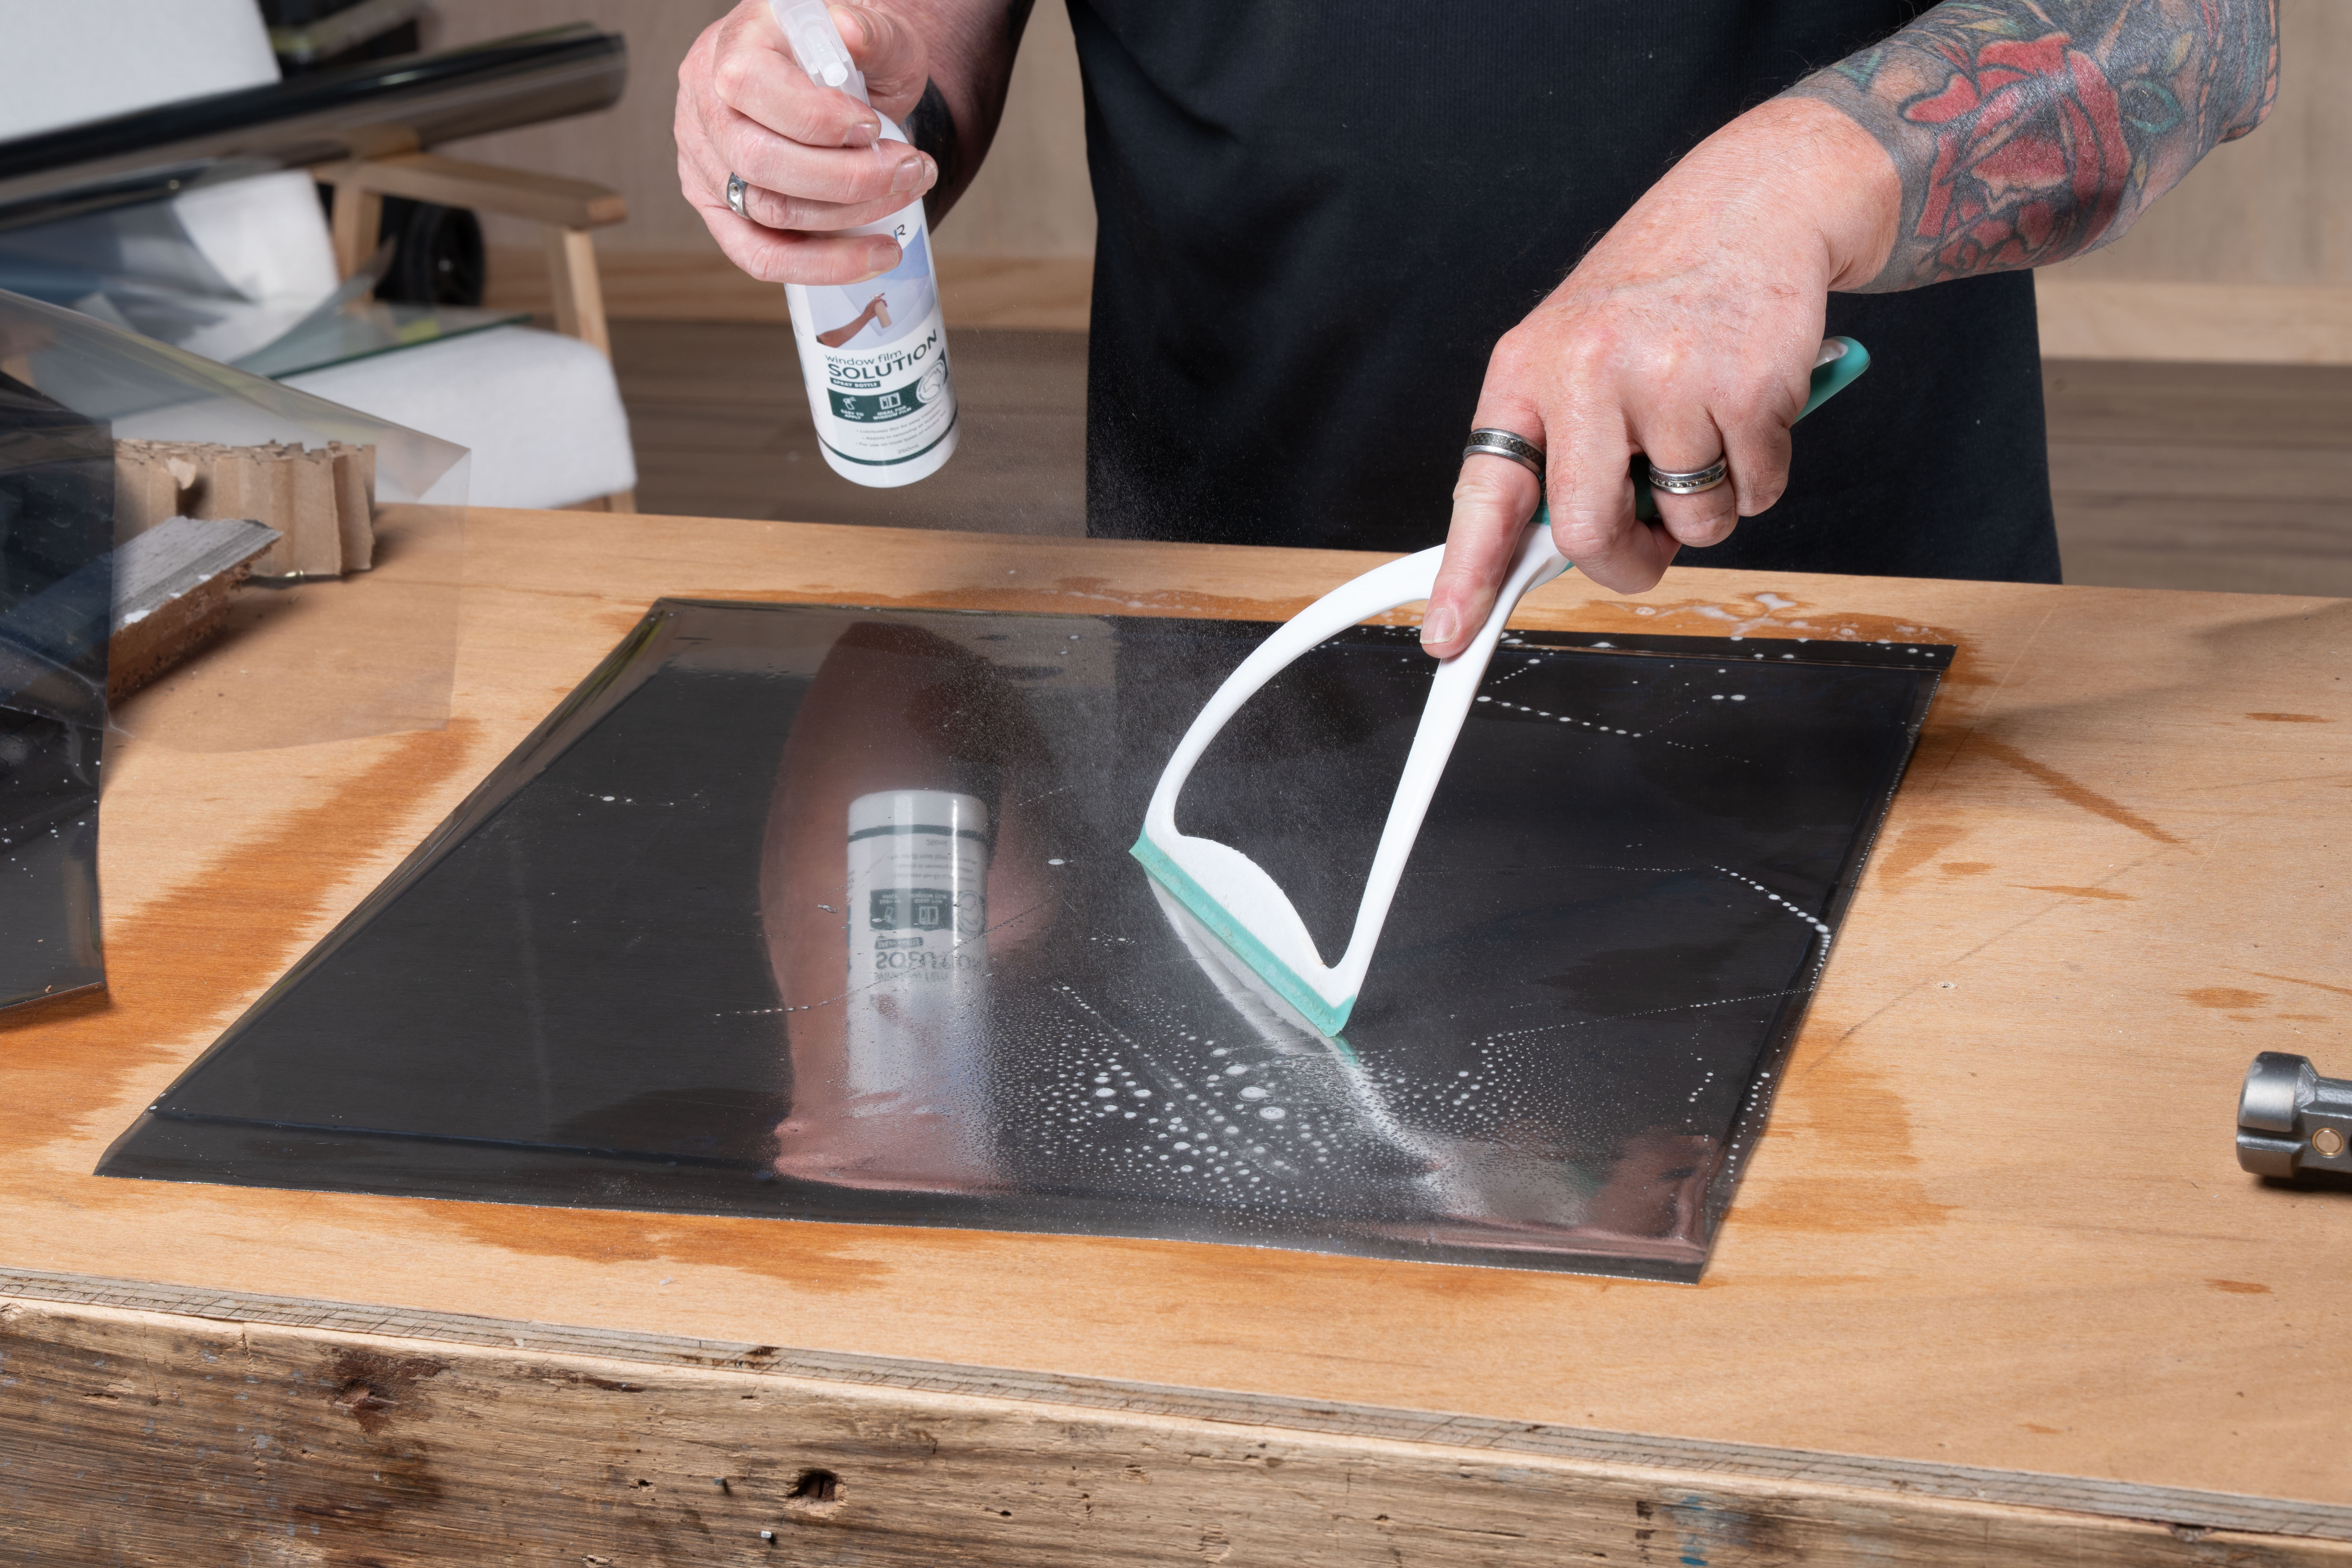
Fig. 6.2
Add a bead of silicone to the bottom of the table where the mirror will sit and carefully lower the mirror into place (fig. 7).
HINT: This is a good time to wipe any last remnants of dust and fingerprints from the mirror.
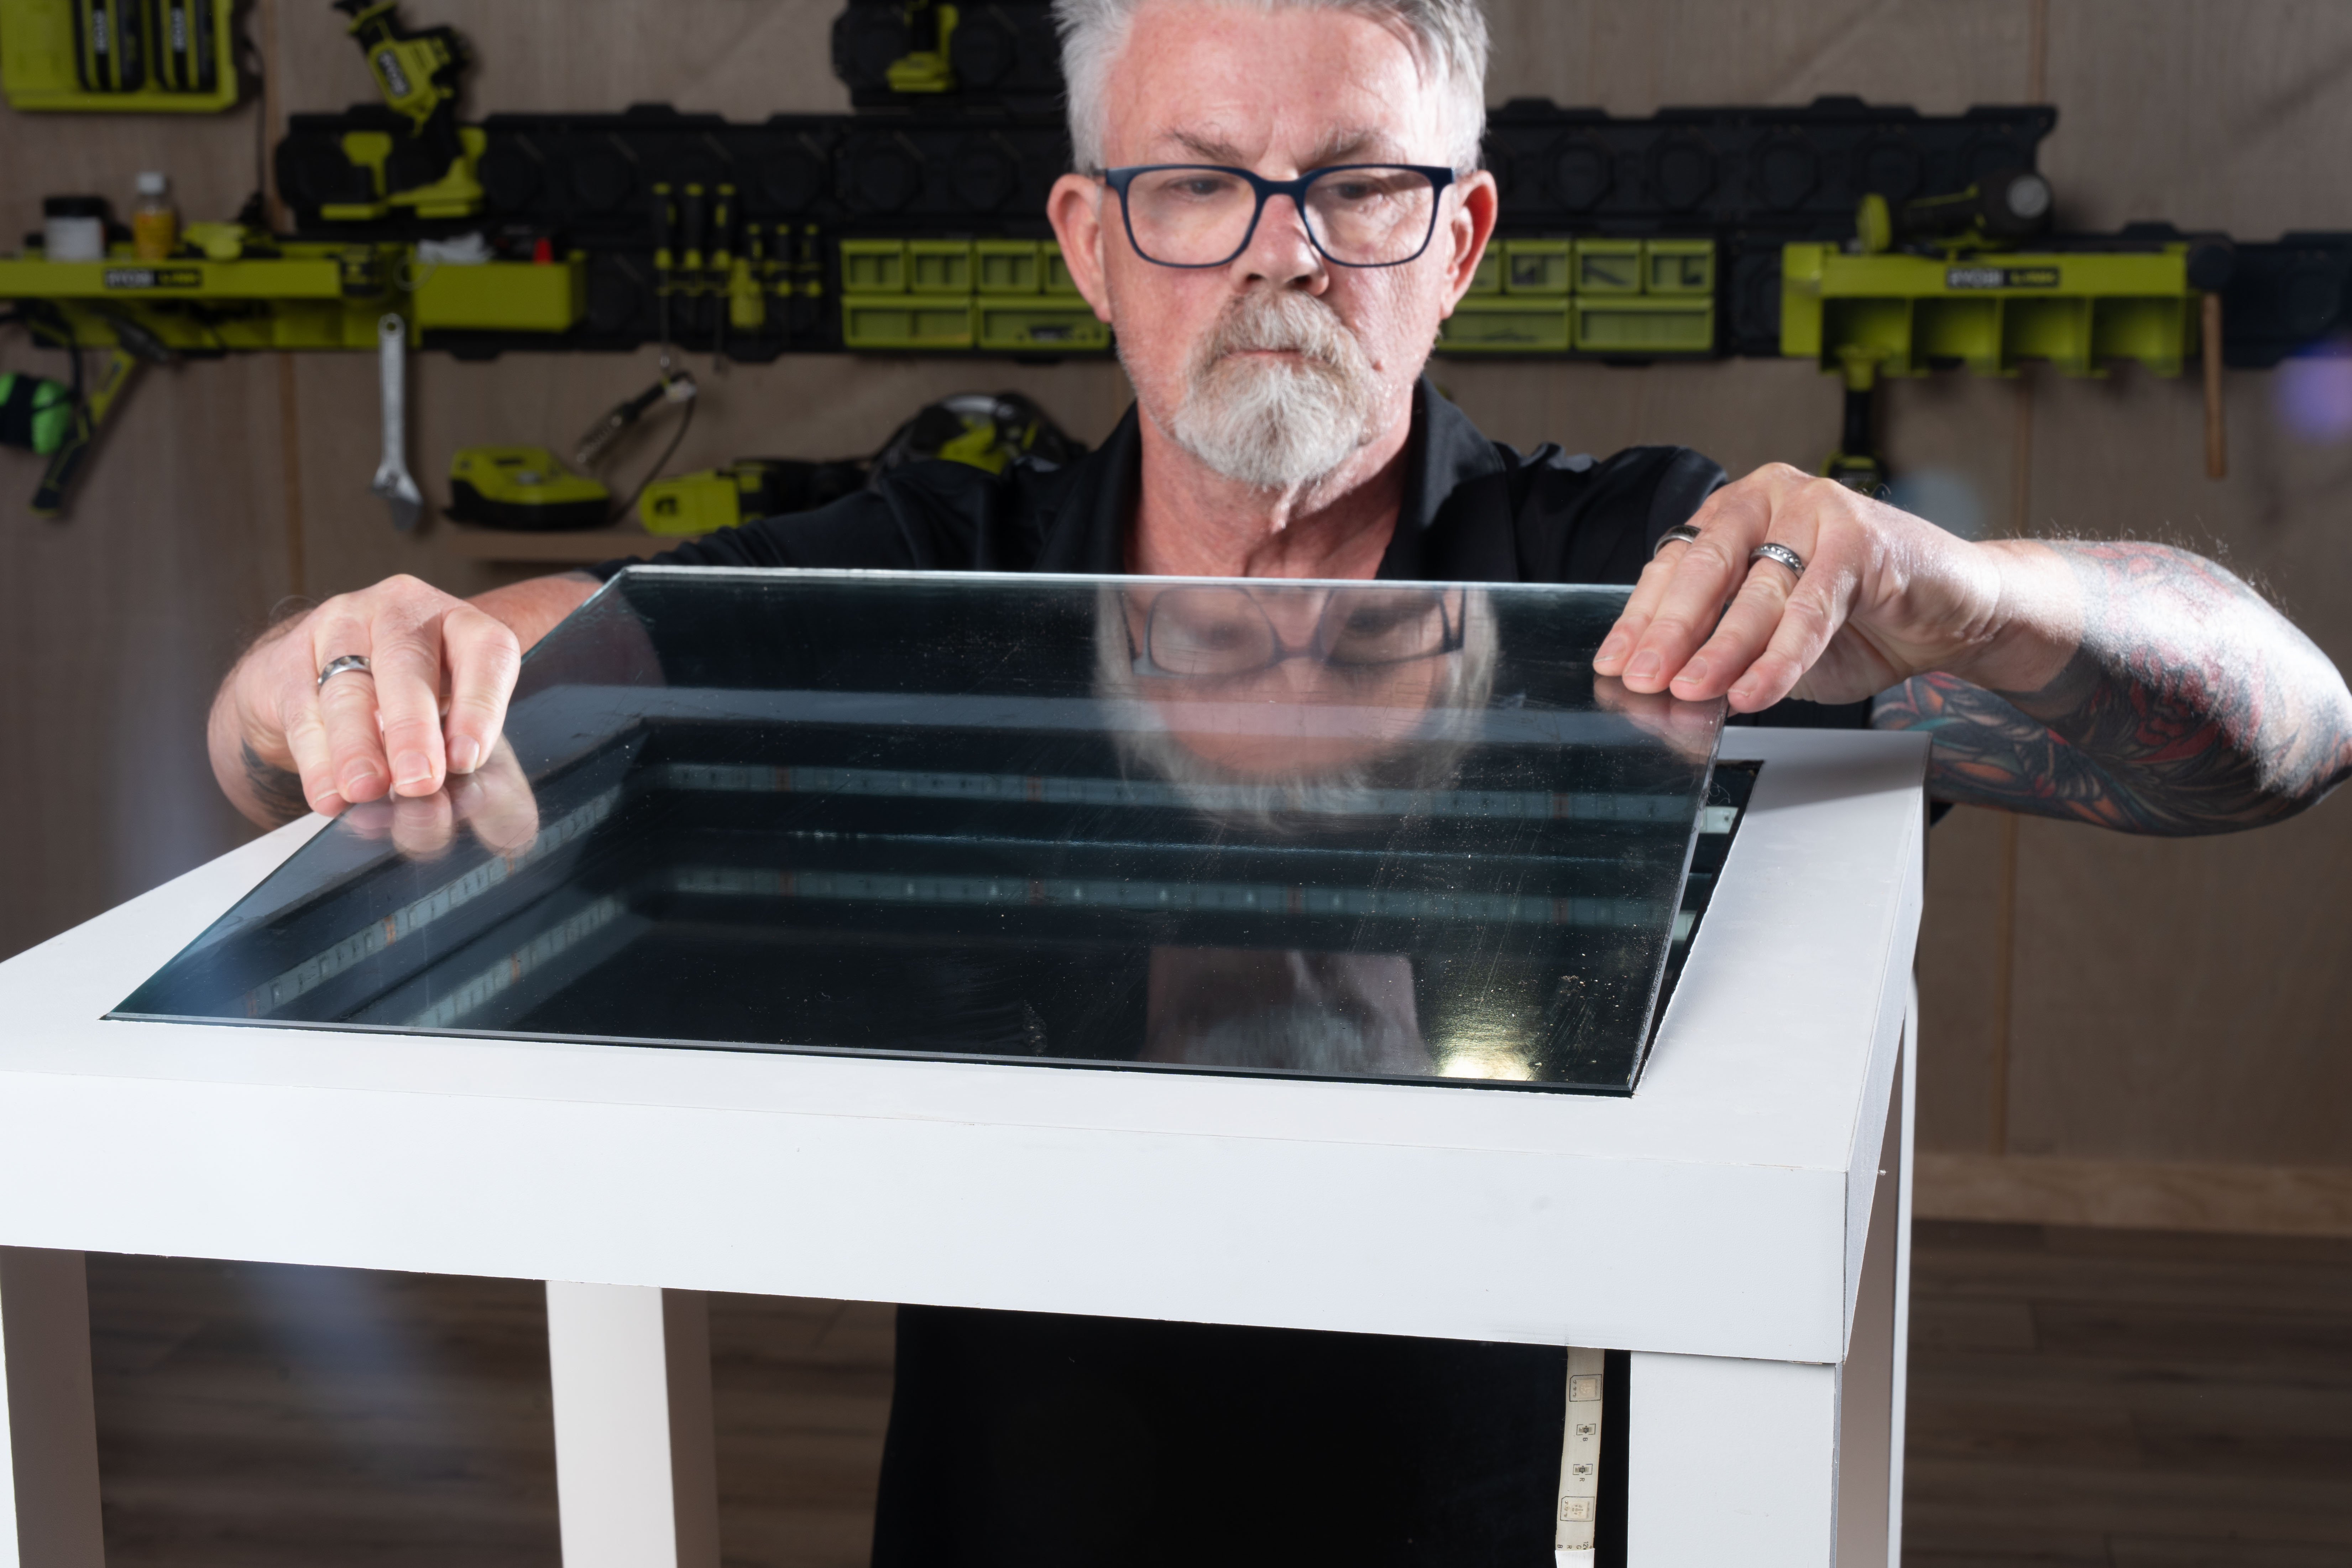
Fig. 7
Attach the mirror film to the 6mm glass, following the manufacturer’s instructions. Be patient, this can be a bit fiddly. Once it’s secured with no bubbles or defections, flip the glass and place it onto the frame in the table (mirror side facing down).
TIP: DO NOT GLUE TOP GLASS INTO PLACE. This is so you have access to the LEDs in future should the strip come loose or need realigning.
Plug in your LEDs to power and enjoy your handiwork.
Hint: Reveal your project to family and friends at night in a darkened room where you can make your standard glass-topped coffee table ‘come alive’!
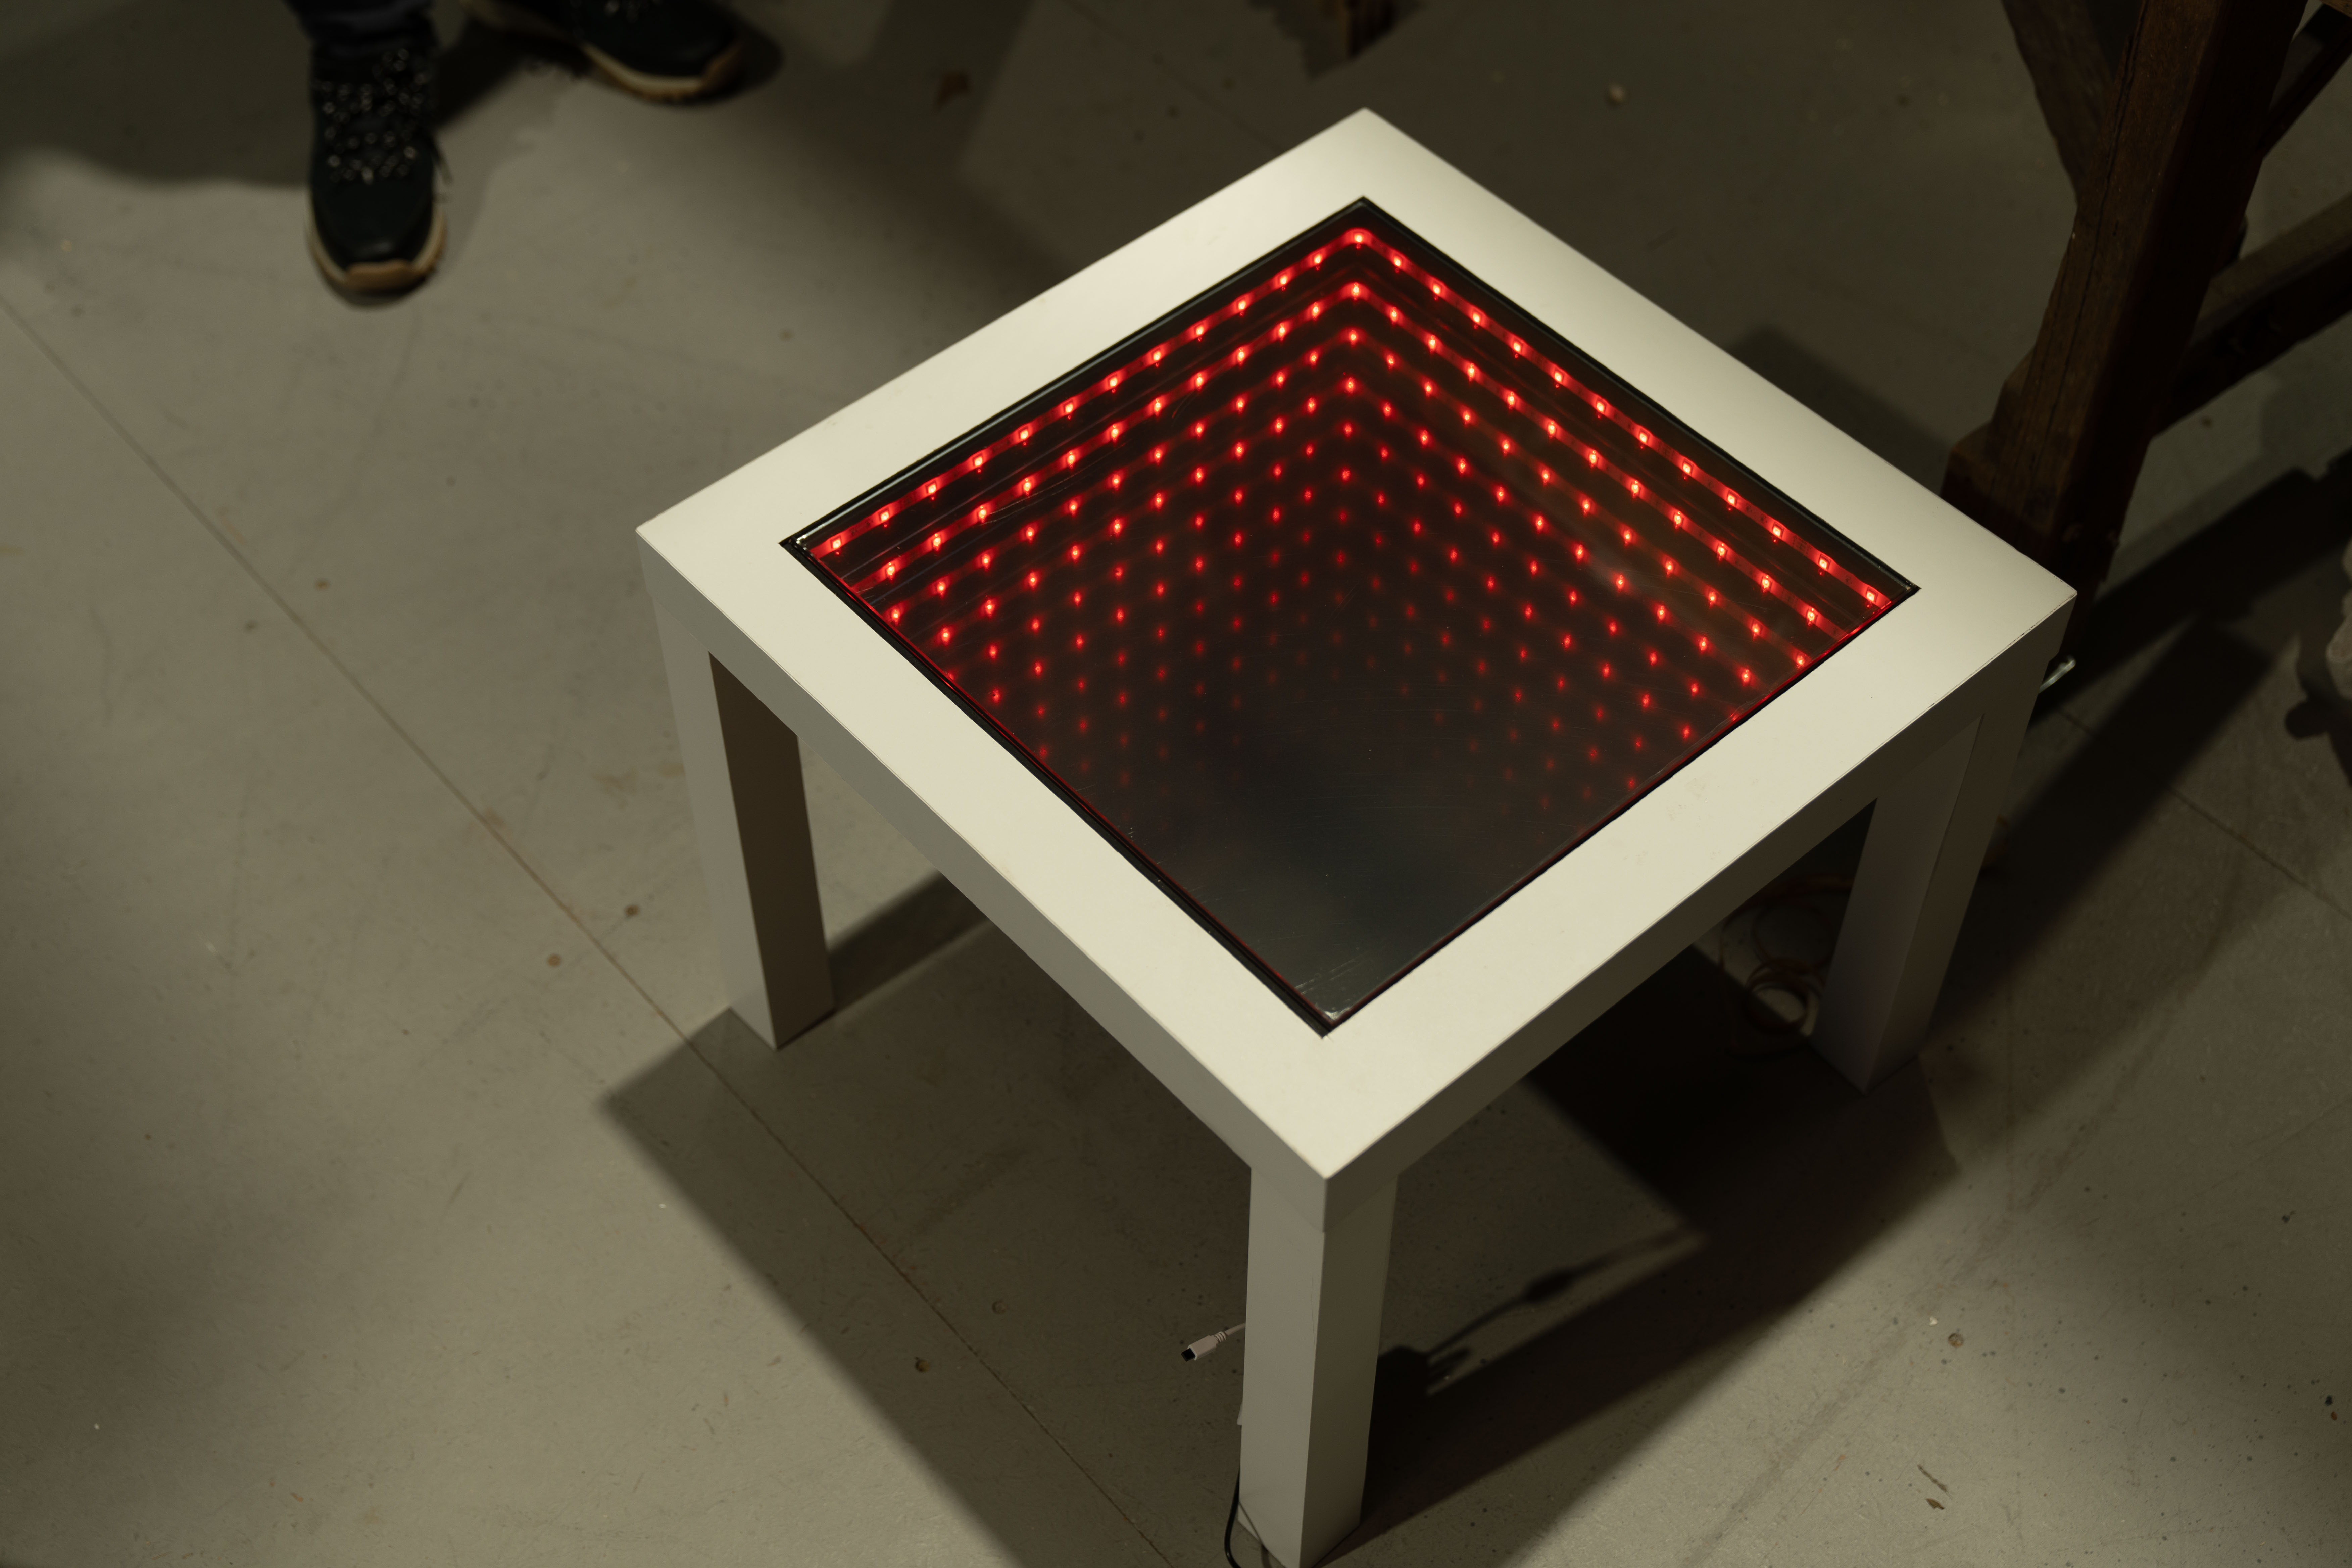
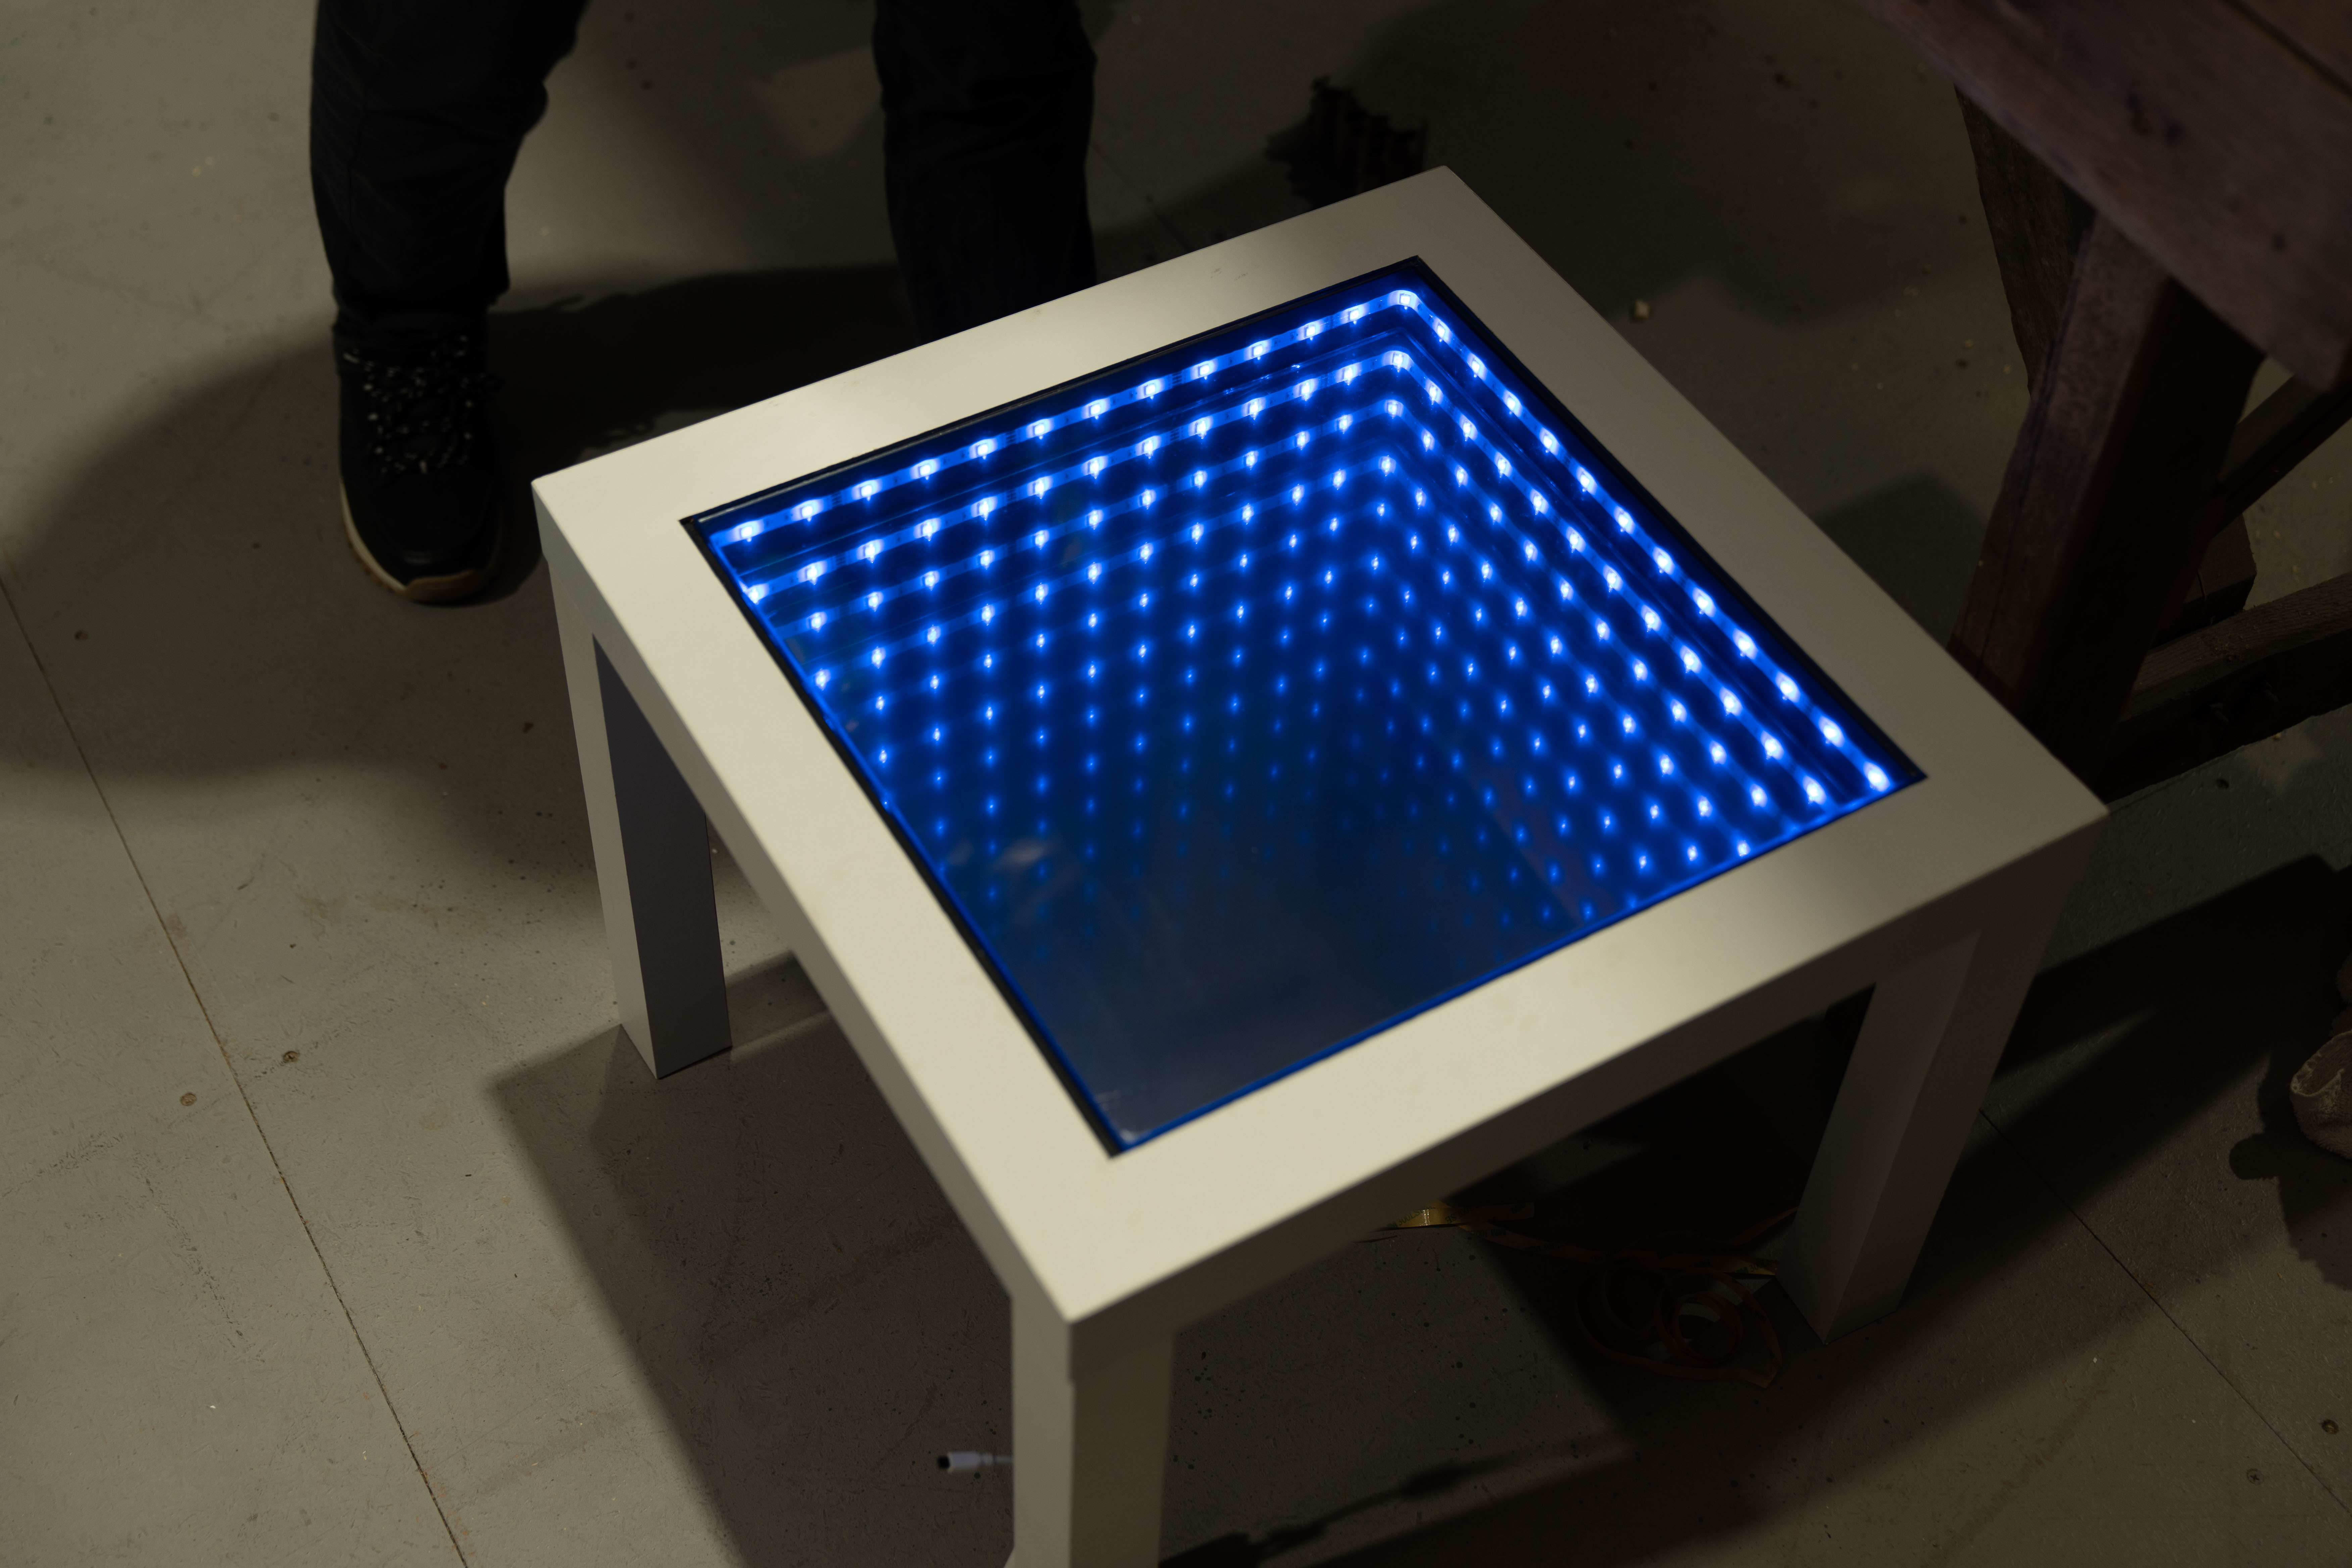
Tip: If the depth of the table cut out is close but not exactly 42mm (the same as the framing timber), either plane down the timber to fit or use padded double-sided mounting tape under the mirror to raise it 1mm or 2mm.
Feeling creative but lacking ideas? We’ve got you covered! Watch our videos and follow the step-by-step instructions to unleash your creativity.
.png?w=100&v=6c04e2a3-04b9-449c-97a0-86f8df82dcb1&itok=D7d8Umfz)

.png?w=100&v=07272864-2df4-45f0-aa93-568aa3920466&itok=Lj7SSICT)

.png?w=100&v=4297d0f7-8d6a-4632-bff2-7c593a97d3cb&itok=fnsLcLhG)


.png?w=100&v=6fe76245-ac4a-4aa3-986d-04347f143028&itok=dFif4A99)


.png?crop=yes&k=c&w=690&h=690&v=c6d185a1-d4ab-41f5-b6a8-7b4d302f8bb4&itok=J5F8BAY0)


.jpg?crop=yes&k=c&w=690&h=690&v=11c44e7f-b772-493a-b261-59af20fef0de&itok=NNvZ758s)


