Drill into timber, soft metal and hard materials including brick and concrete with the RYOBI 18V ONE+ Hammer Drill.
Checkout at Bunnings to calculate delivery or collect in-store
How to choose the right 18V ONE+ battery for your product and task. Read more.

Start typing in the search bar. Our autocomplete feature will provide relevant suggestions. Press 'tab' to accept an autocomplete suggestion.
This simple DIY Backyard Bar project is perfect for enhancing your outdoor space and creating a functional centrepiece for entertaining. It’s a great way to ensure you can stay among the action instead of having to run back and forth to the kitchen grabbing drinks and nibbles for your guests.
Using structural timber, nails, and screws, you'll build a sturdy bar frame and add a bar top of your choice. Follow along with these clear step-by-step instructions, and soon you’ll have a stylish bar ready for your next outdoor gathering.

Step 1: Prepare the Frame Pieces
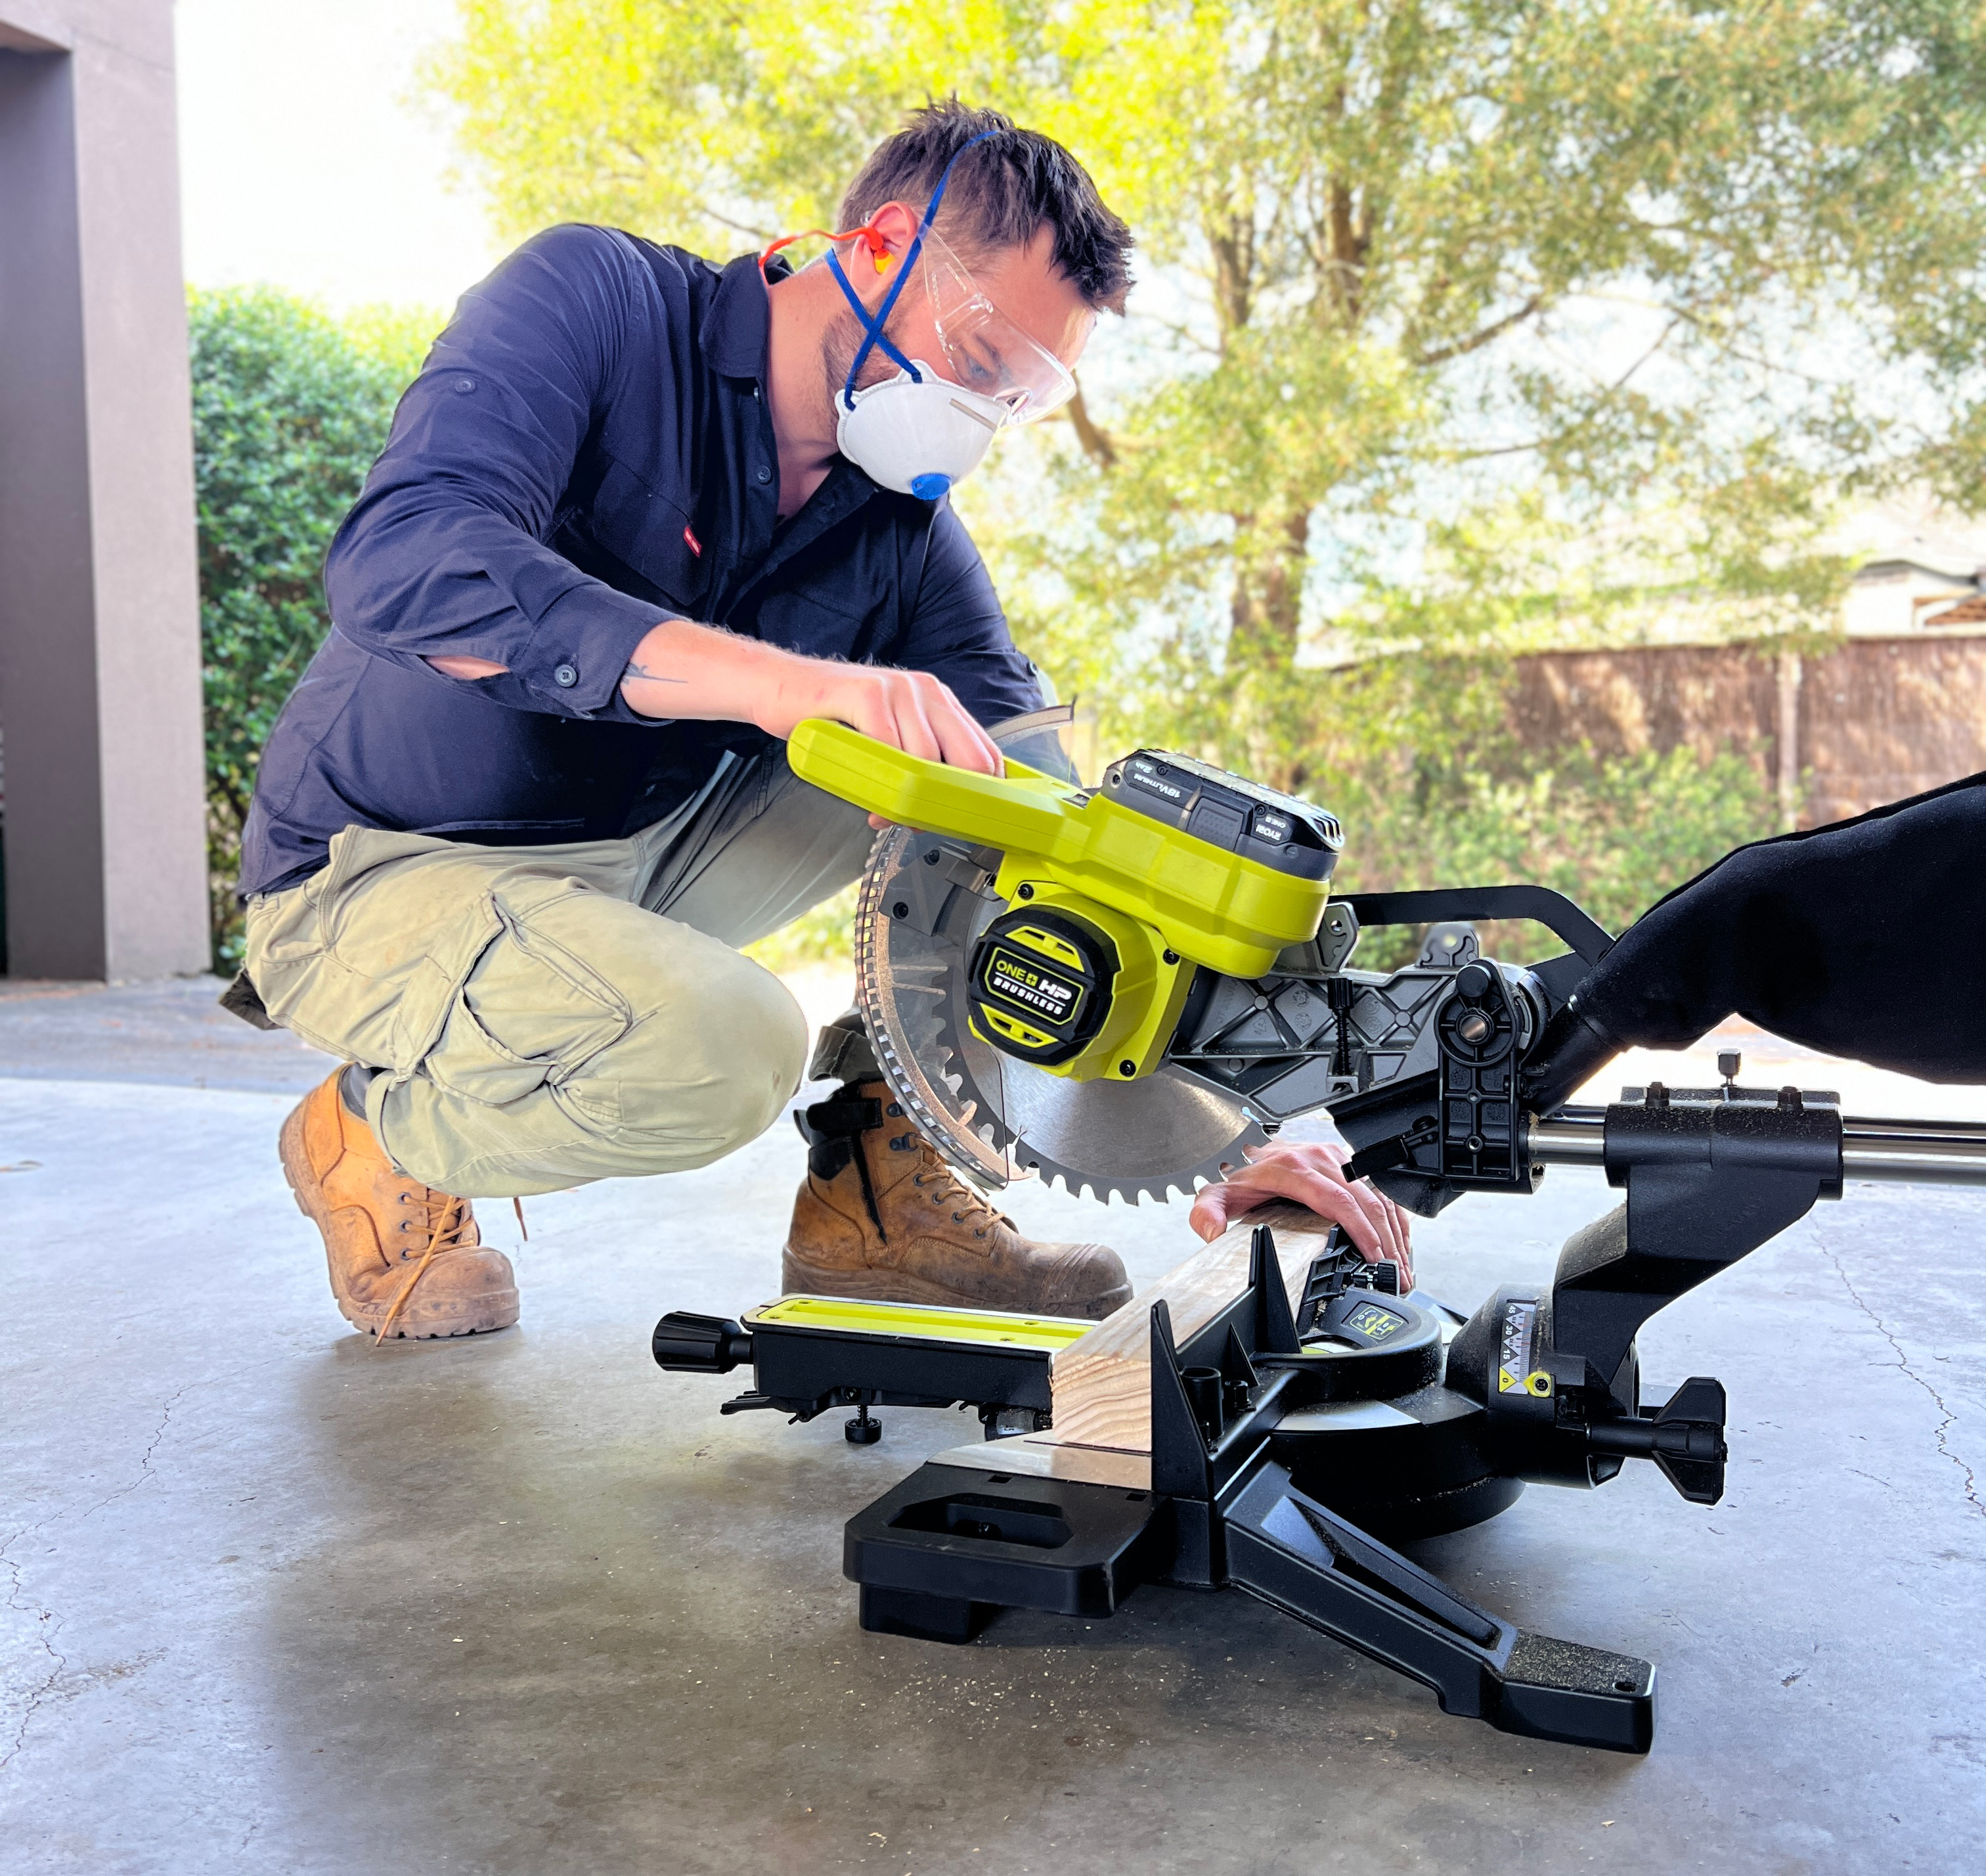
Cut the following lengths of 70 x 35mm timber:
Step 2: Assemble the Smaller Frames
Pre-drill 2 holes at each end of the 800mm lengths.
Take 2 of the 800mm pieces and attach them to 2 of the 600mm pieces to form a rectangle.
Repeat this step to create 2 identical small frames.
Step 3: Assemble the Larger Frame
Pre-drill 2 holes at each end of the 1400mm lengths.
Attach 2 of the 1000mm pieces to the 1400mm pieces to form a larger rectangle using 70mm screws.
Insert the remaining 2 x 1000mm pieces at each end and secure them with 70mm screws.
Step 4: Attach the Smaller Frames to the Larger Frame
Secure the 2 smaller rectangle frames to the larger rectangle frame using 4 x 70mm screws.
Step 5: Prepare the Paling Boards
Cut the following paling boards:
Step 6: Attach the Paling Boards to the Frame
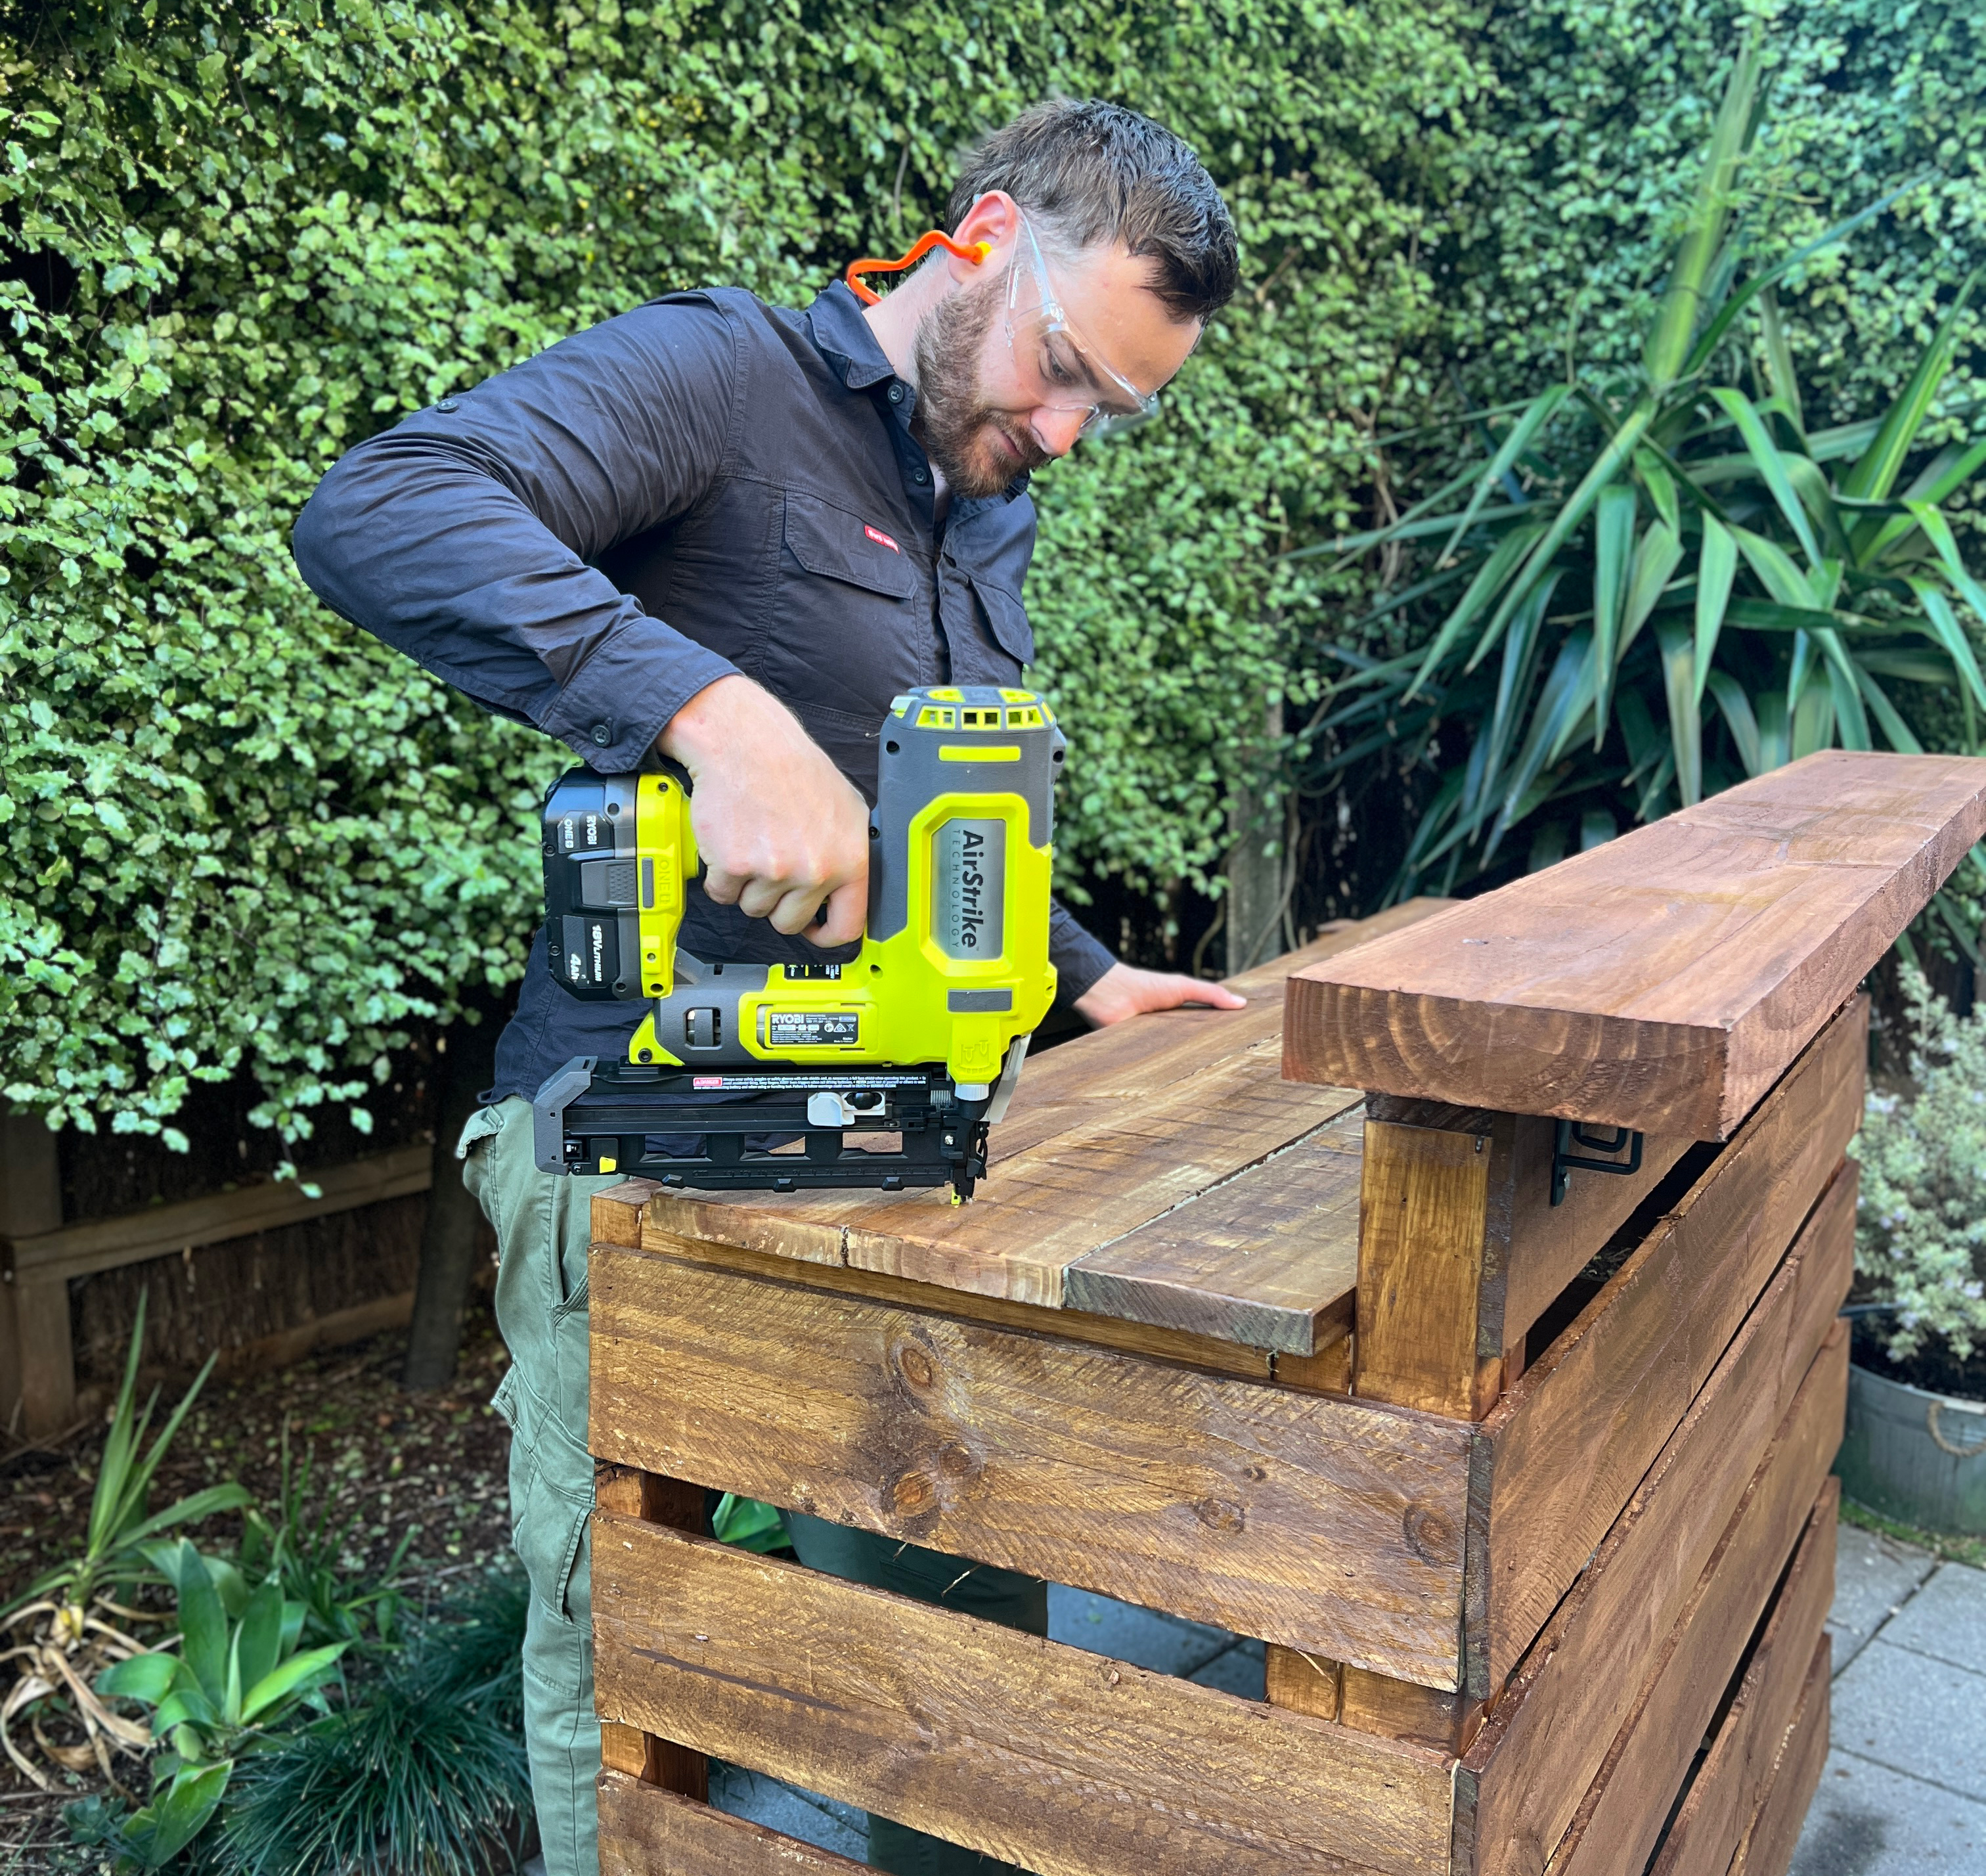
Once the frame is complete, nail the paling boards to the frame using 16GA nails. Space the boards 42mm apart.
Step 7: Install the Angle Brackets and Bar Top
Screw 2 angle brackets at each end of the bar, ensuring they’re fixed into the frame ends.
Fix your pine sleeper or chosen bar top to the angle brackets and, if necessary, screw into the frame from the top for added durability.
Step 8: Paint and Stain
Once complete, paint or stain your bar to achieve the desired finish.

Now that your DIY backyard bar is finished, you'll have a durable and stylish setup for serving drinks and snacks. The customisable bar top and sturdy frame ensure that your bar will be both functional and attractive for years to come. Don’t forget to add a coat of paint or stain to protect the wood and match your outdoor décor.
You’ll be the ‘host with the most’ if you follow along with the some of the project ideas we have, along with a checklist for getting your home in tip-top shape for the upcoming celebrations.