


_ANZ-Group-shot_v2.png?w=100&v=f3a4afac-70ac-4758-8474-ff17fe163b1c&itok=Z_Qi2FlQ)


.png?w=100&v=76611618-74f9-4150-85bd-f3f88e49eece&itok=5ehAJg_Q)


.png?w=100&v=5053a26b-c336-46d9-b44e-ab91738f07c9&itok=efvsqCNL)


.png?w=100&v=d5f9955a-145e-481e-8081-5ddf4d74c7cc&itok=hKuNtBOw)


.png?w=100&v=2695a42f-b099-4e31-bdbd-c1b445ff88c0&itok=Md9-7E8t)


%20(2).png?w=100&v=a9b7928b-cece-4e51-b913-62ae316129a9&itok=fEHREjki)
_ANZ-Group-shot.png?w=100&v=72a4a24c-7670-47f7-a68e-edeaafa41c8d&itok=k25pq8iJ)
_ANZ-Group-shots.png?w=100&v=4d5e1cd2-60a9-45da-bcfb-1b8500ccaea9&itok=v6A67Pxg)


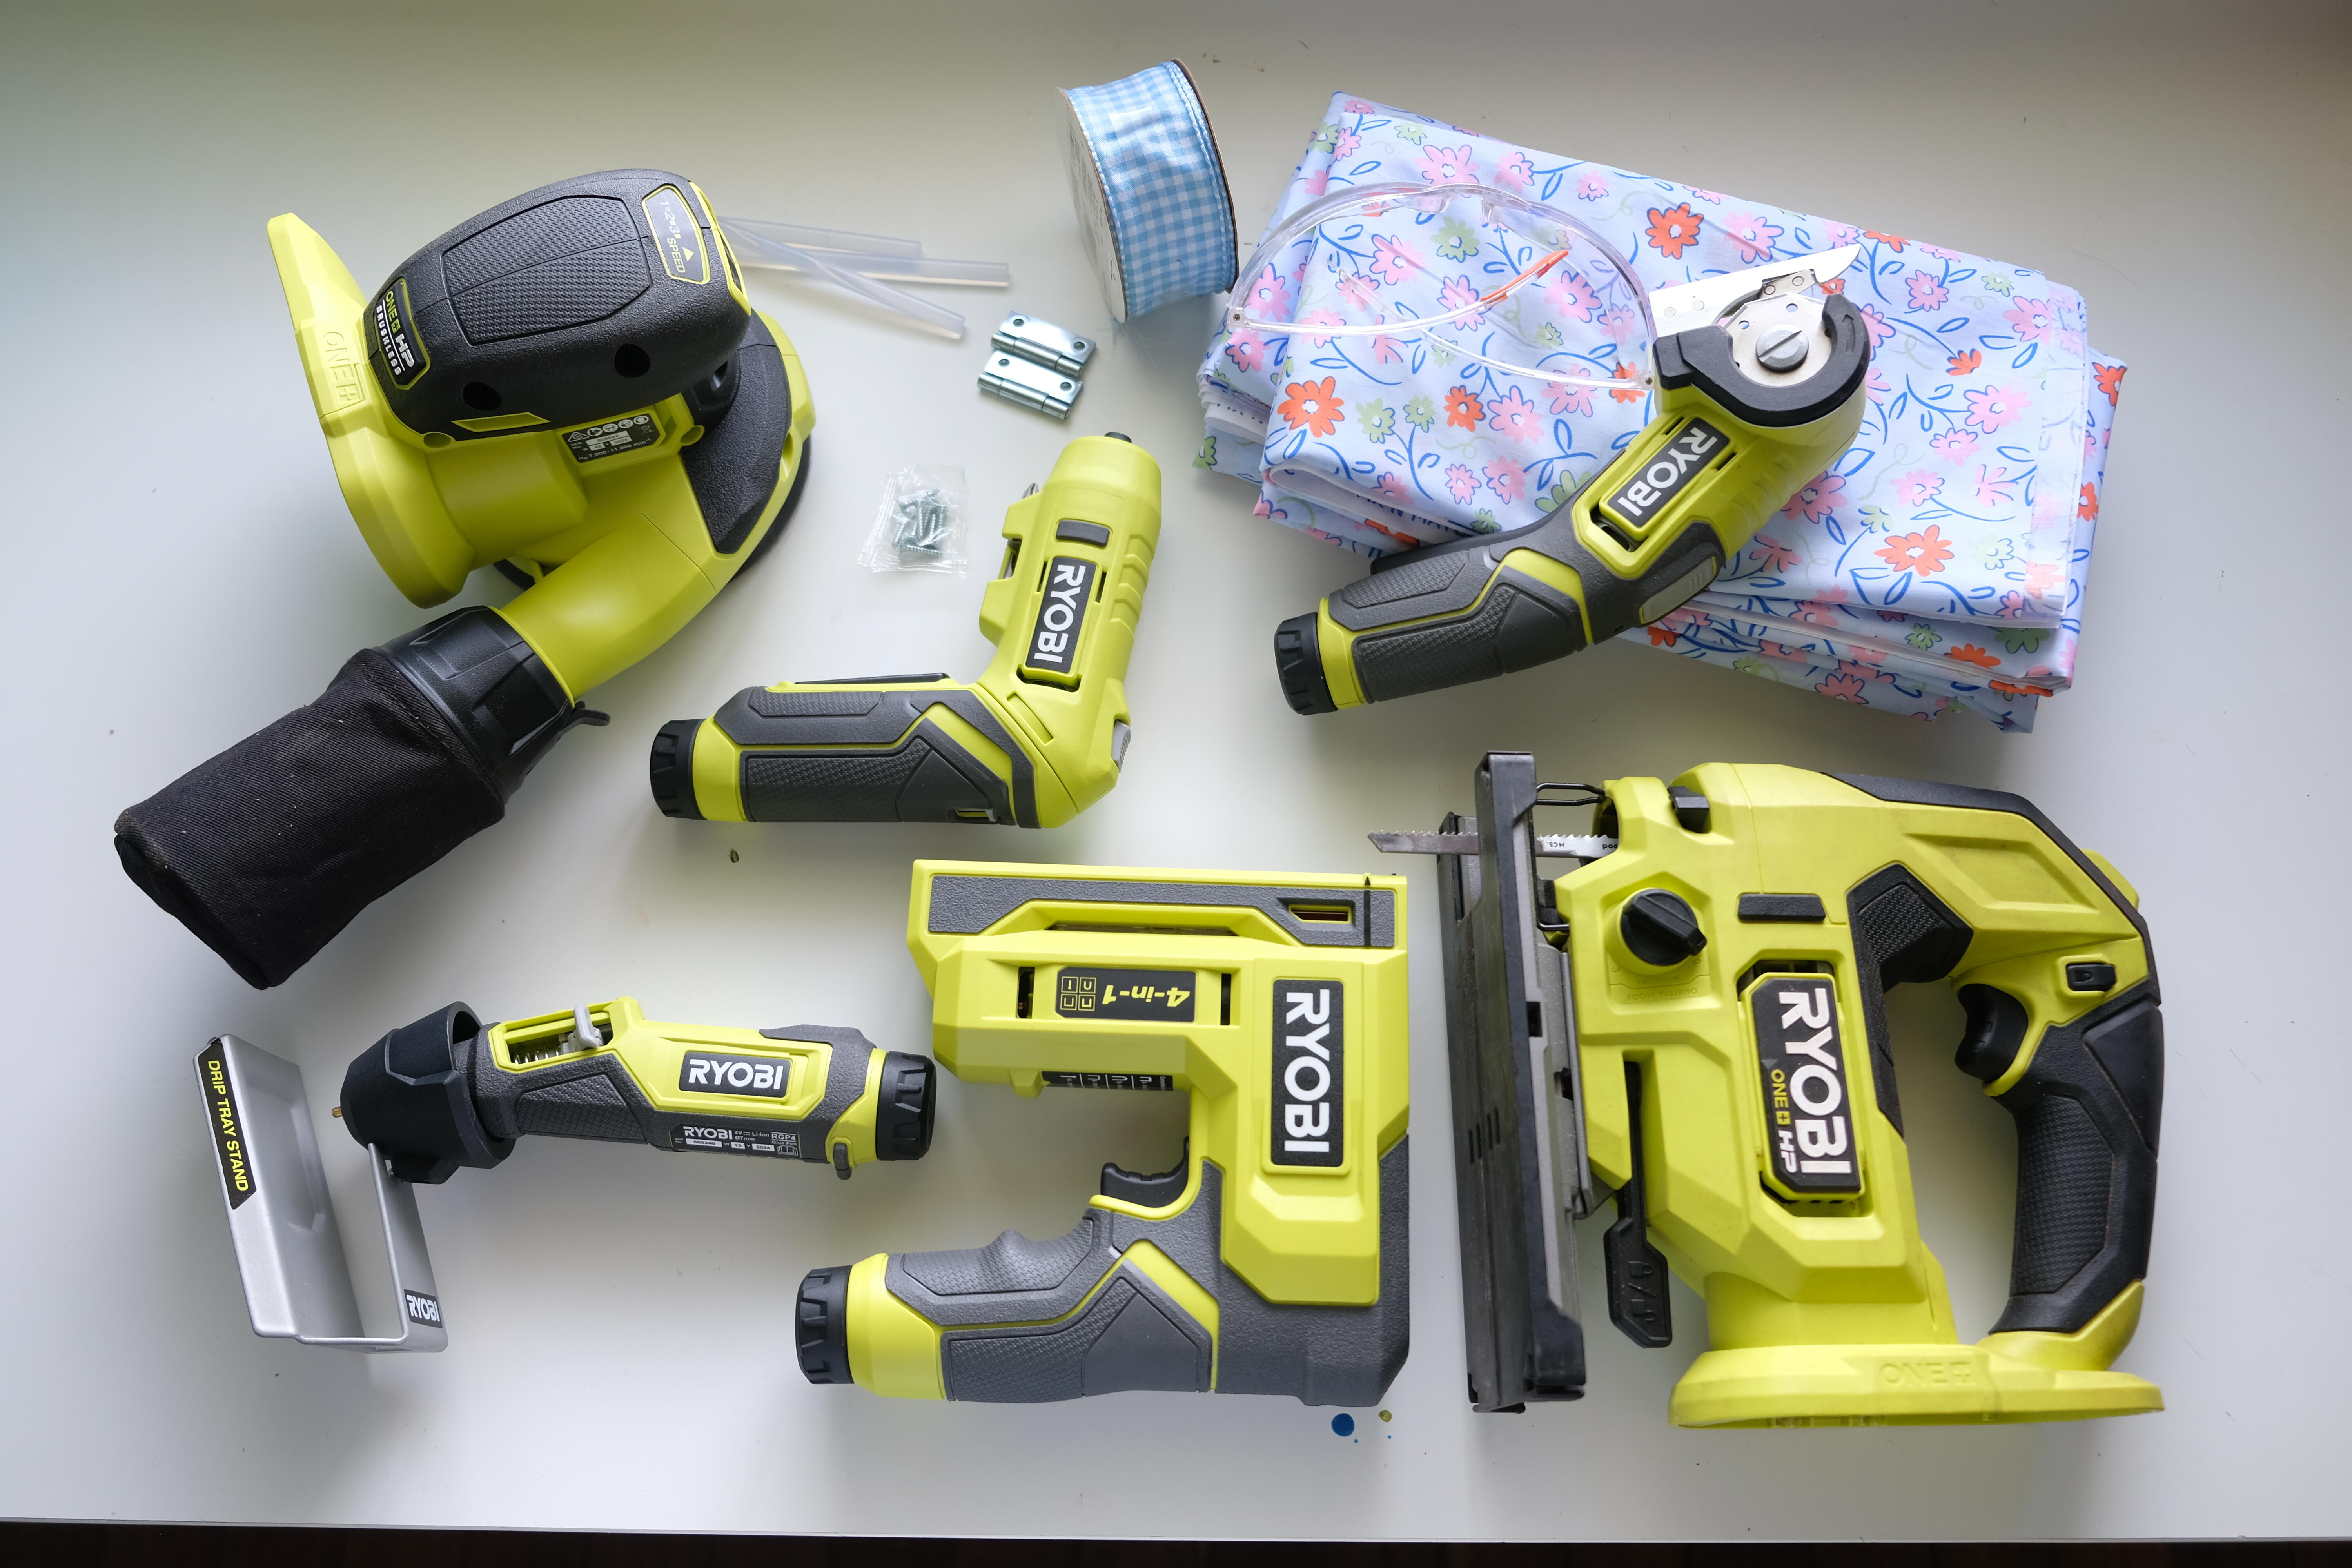
Drill into timber, soft metal and hard materials including brick and concrete with the RYOBI 18V ONE+ Hammer Drill.

This renter-friendly project is such a fun way to add a pop of colour while also tripling as a storage hider and inspiration board, all built with RYOBI crafting products. Feel inspired? Here is what you need to create your own.
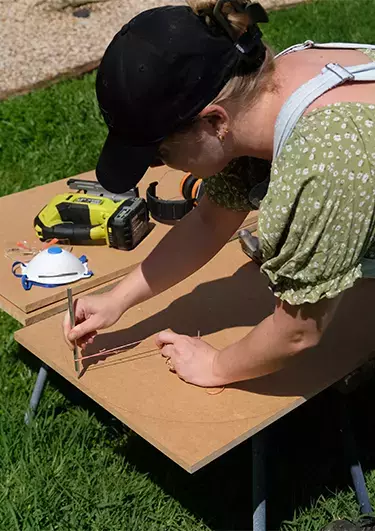
Using a tape measure, mark in 250mm from the side and top of the MDF board to get a centre point for your arch. Hammer in a nail at the centre point and secure one end of a string line to the nail and the other end to the pencil. Draw your arch.
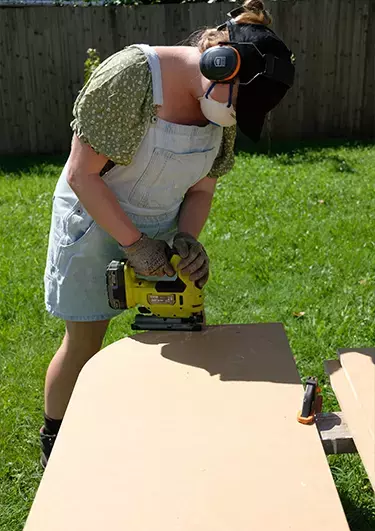
Using a jigsaw, cut along your line and sand any rough or sharp edges using the orbital sander.
Lay your MDF arches on a flat surface and place the wadding onto the boards, trimming it to size, ensuring you leave enough overhang to cover the sides. Repeat this process for the fabric.

Starting from the centre, fold the fabric over the edge of the MDF boards and secure it in place using the stapler, ensuring the wadding is under the fabric and in the correct position. Continue along the edge, stapling the fabric every 150mm. When stapling the opposite side, ensure the fabric is pulled firmly before stapling. Continue until all edges are secured.
(NOTE: I only used wadding on one side of the boards to give them enough cushioning to be used as a pinboard.)
Once stapled into place, use the power cutter to trim off any excess material, getting as close to the edge as possible.
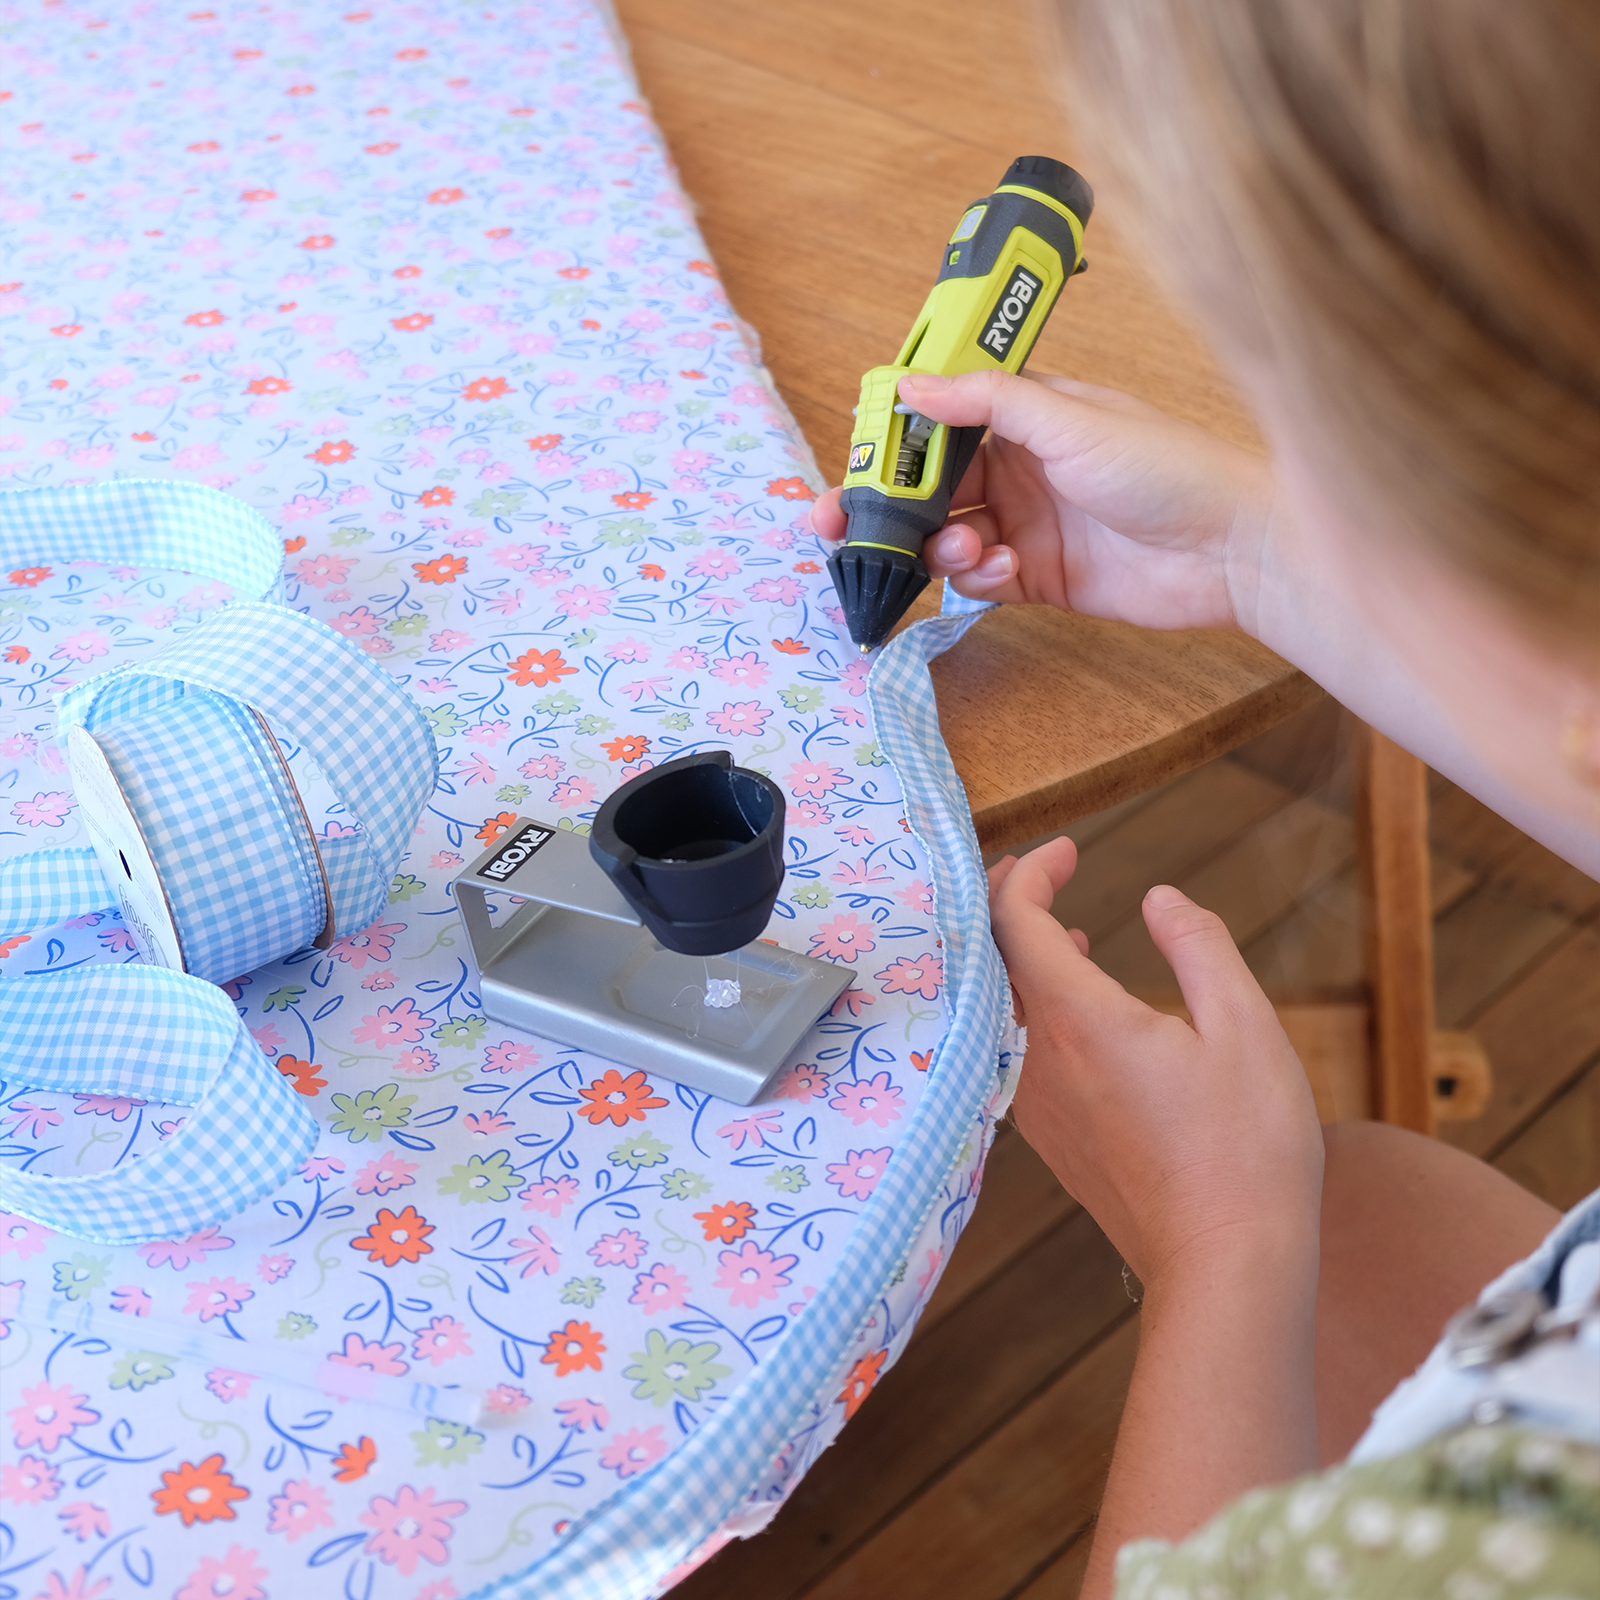
Starting from the top, attach the edge ribbon in place using the glue pen, working in small sections at a time and making sure the ribbon is even on both sides.
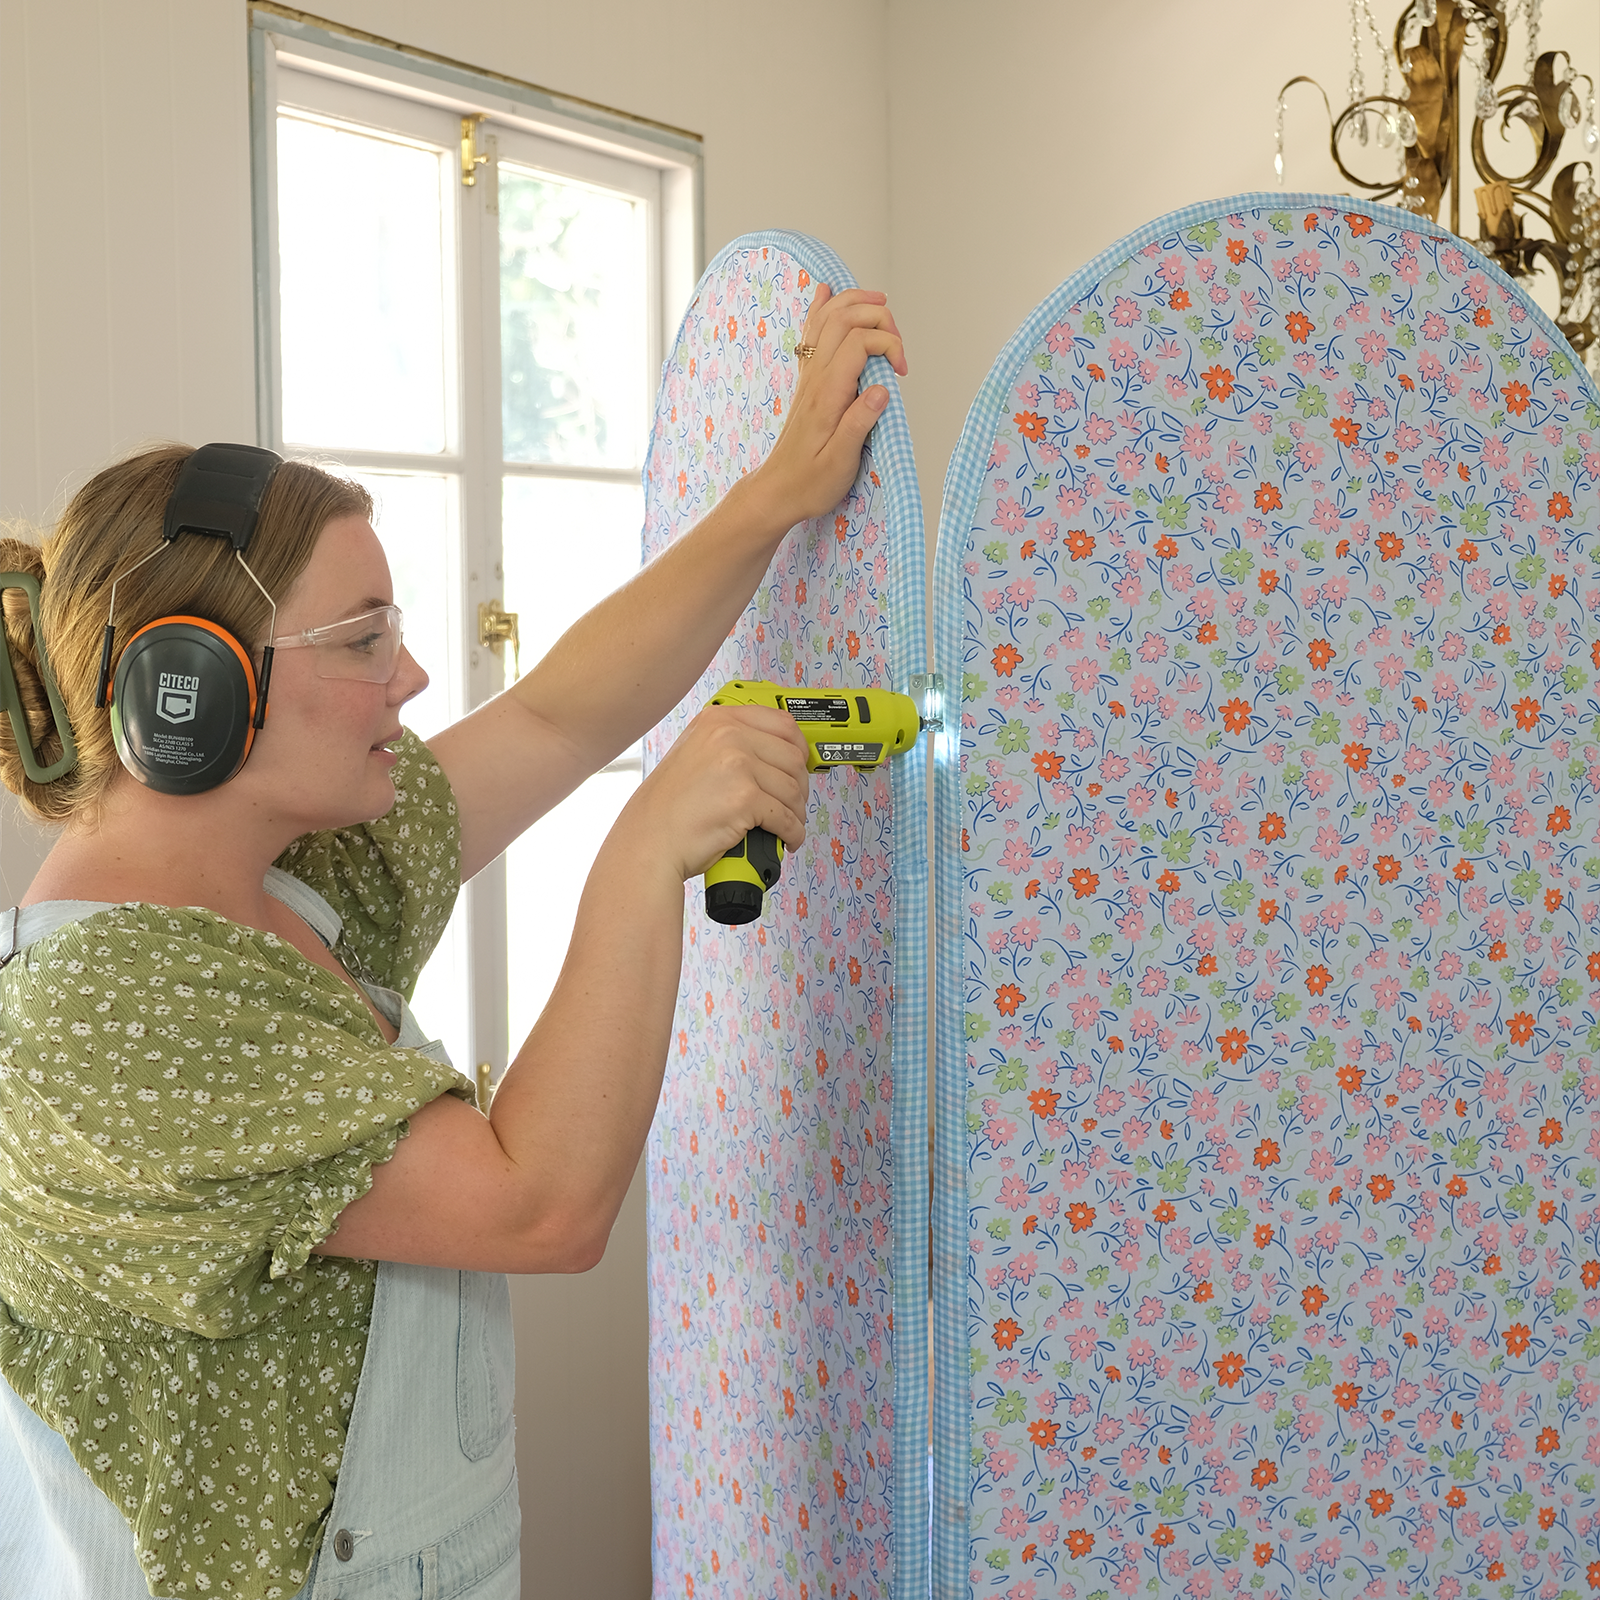
Once all the panels are complete, connect them together with the butt hinges and secure the hinges with a screwdriver (it can be a good idea to pre-drill small holes for the screws). Additionally, you can add small rubber or felt feet to the bottom so your new pinboard wall divider will not scratch your floors.
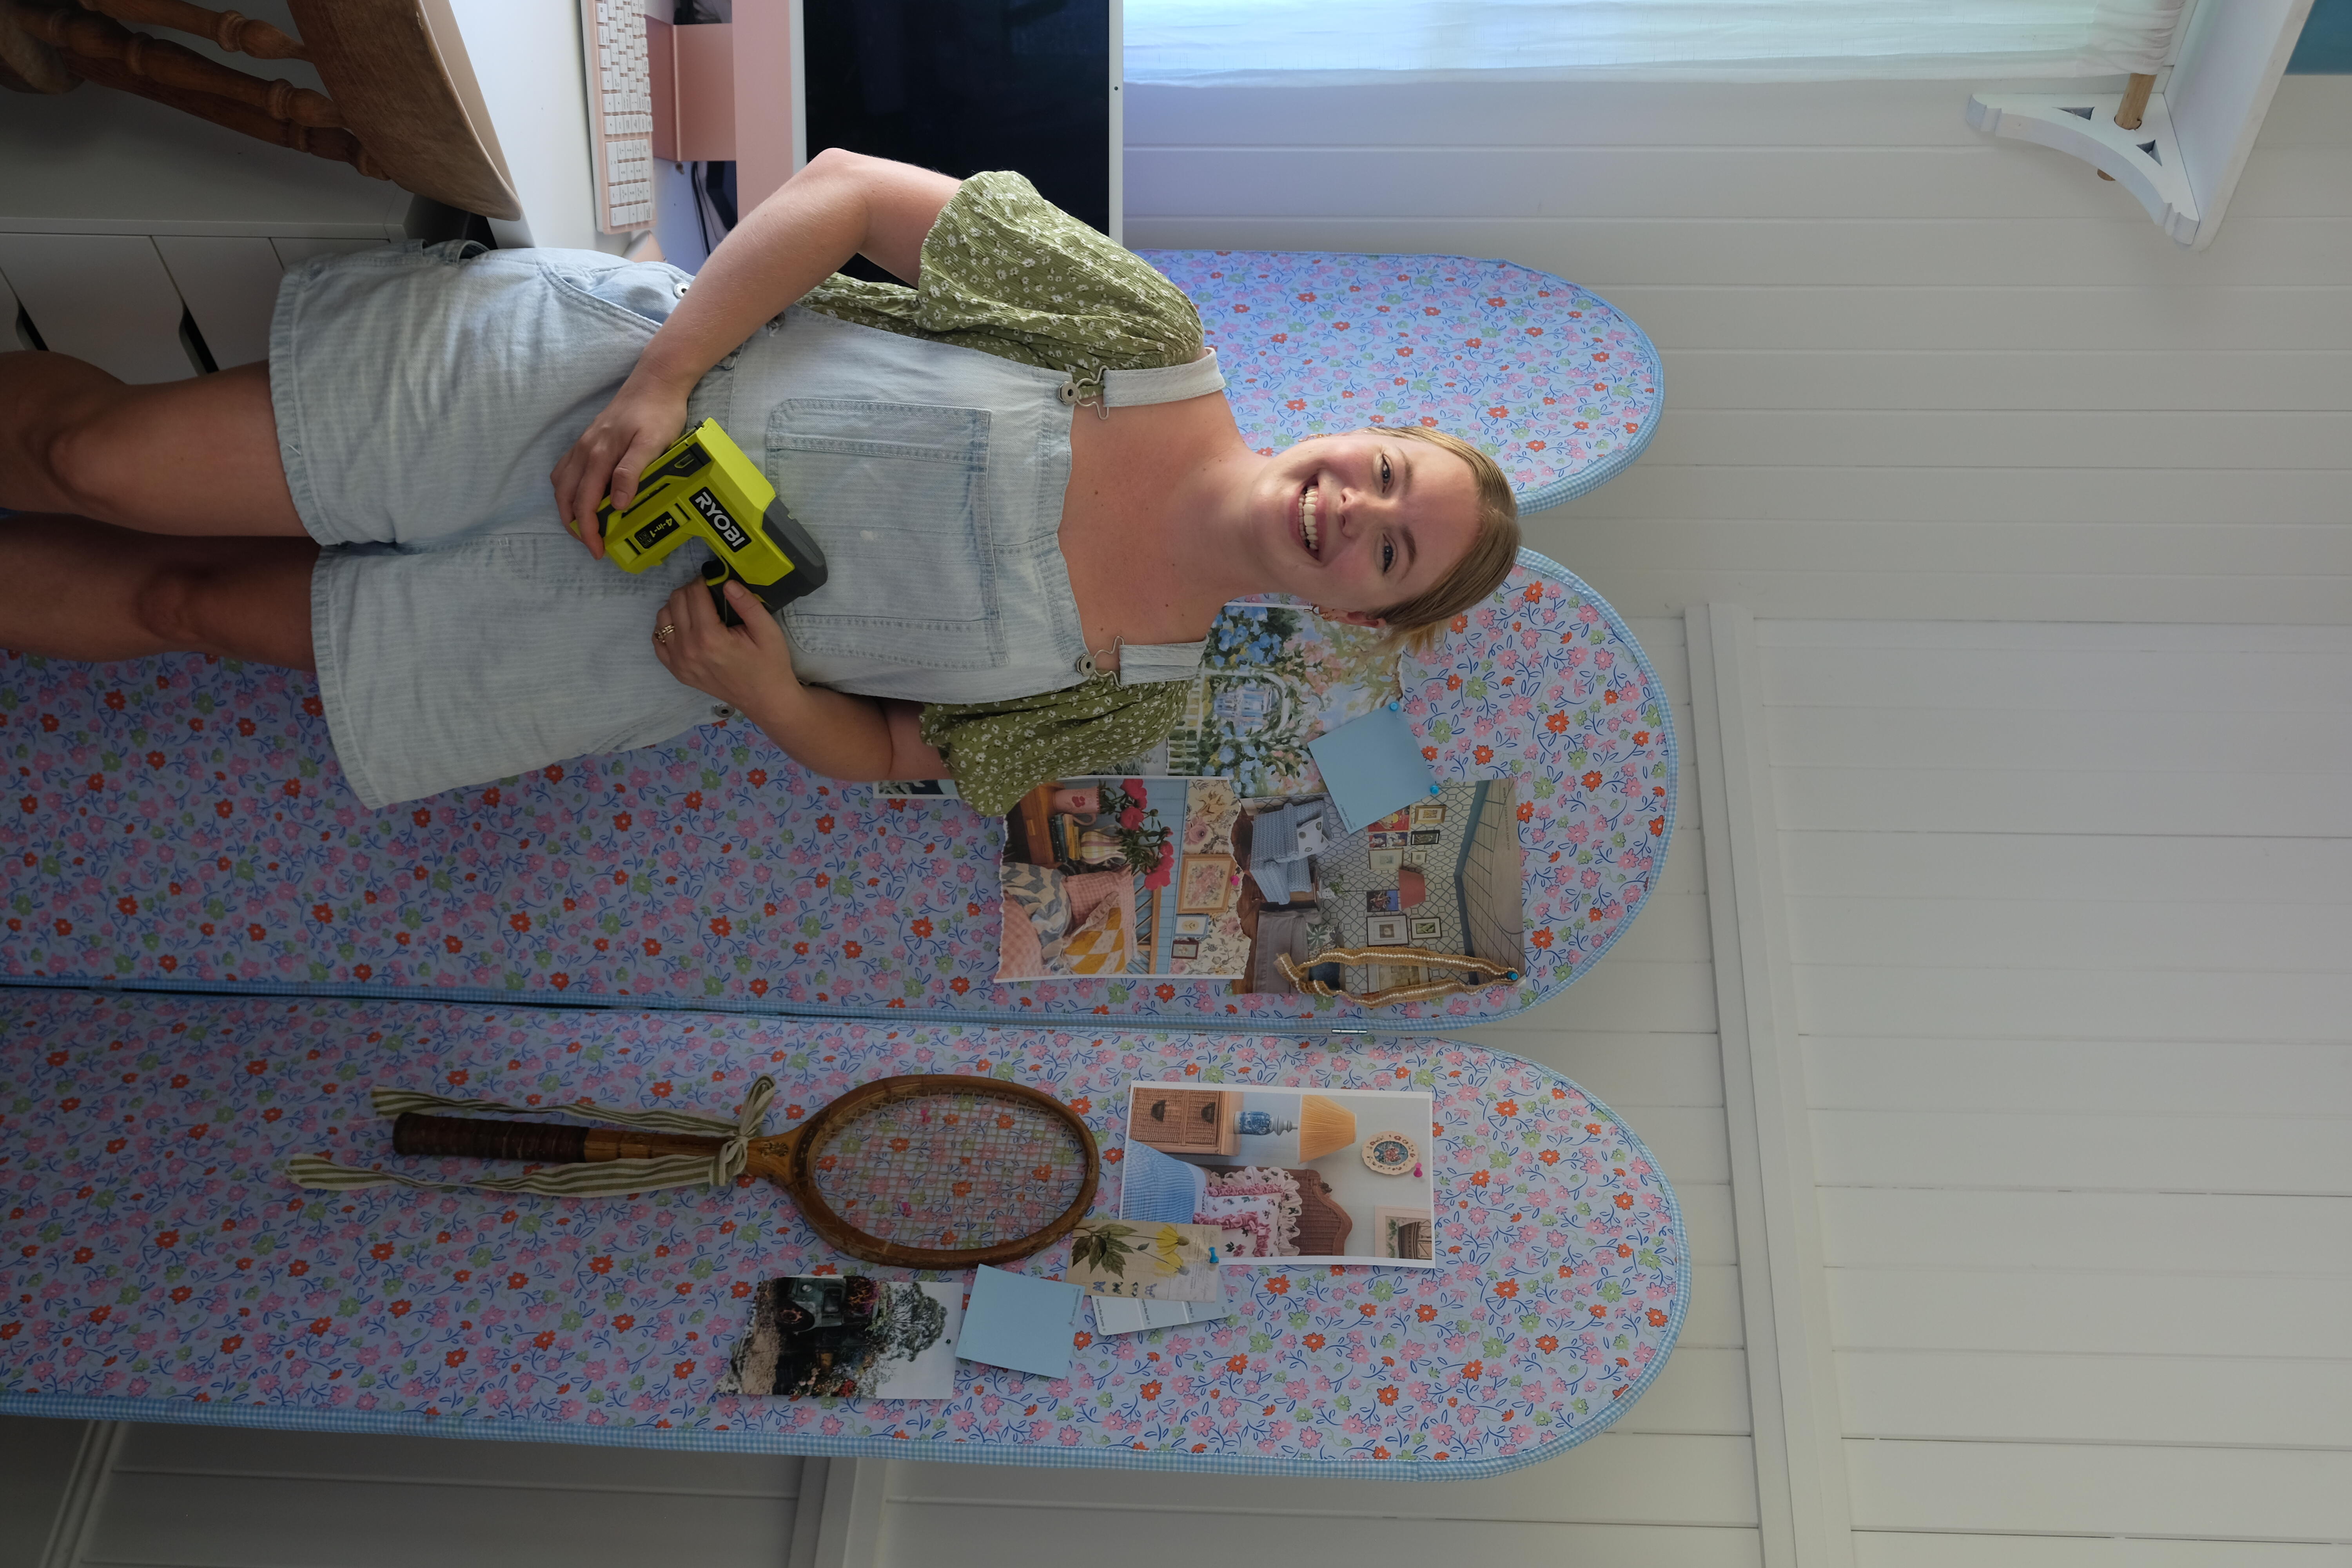
(Note: Brooke only used three panels for this project, but you can make and add as many panels as required.)
Feeling creative but lacking ideas? We’ve got you covered! Watch our videos and follow the step-by-step instructions to unleash your creativity.
.png?w=100&v=6c04e2a3-04b9-449c-97a0-86f8df82dcb1&itok=D7d8Umfz)

.png?w=100&v=07272864-2df4-45f0-aa93-568aa3920466&itok=Lj7SSICT)

.png?w=100&v=4297d0f7-8d6a-4632-bff2-7c593a97d3cb&itok=fnsLcLhG)


.png?w=100&v=6fe76245-ac4a-4aa3-986d-04347f143028&itok=dFif4A99)


_Group%20shots.png?crop=yes&k=c&w=125&h=125)
_Group%20shots.png?crop=yes&k=c&w=125&h=125)


.png?crop=yes&k=c&w=690&h=690&v=e92ba120-d88f-4038-b9f6-b8c04065bb63&itok=uR5xRQo3)


